Today, Teacher Cheng from Mark Pen Design Study Abroad continues to bring us knowledge related to Arduino. This article discusses three commonly used Arduino development boards: Arduino Uno, Arduino Nano, and Arduino Mega 2560.
Arduino can be connected to various components like LEDs, LCD screens, buttons, stepper motors, servos, temperature and humidity sensors, distance sensors, pressure sensors, or any devices that can output data or be controlled via a breadboard or other expansion boards. It can also wirelessly connect to other devices through Bluetooth, WiFi, Zigbee, NB-IoT, and other wireless communication modules, or access the internet. You can collect data from sensors using Arduino and upload it to a data center, then control connected peripheral devices based on commands from the data center.
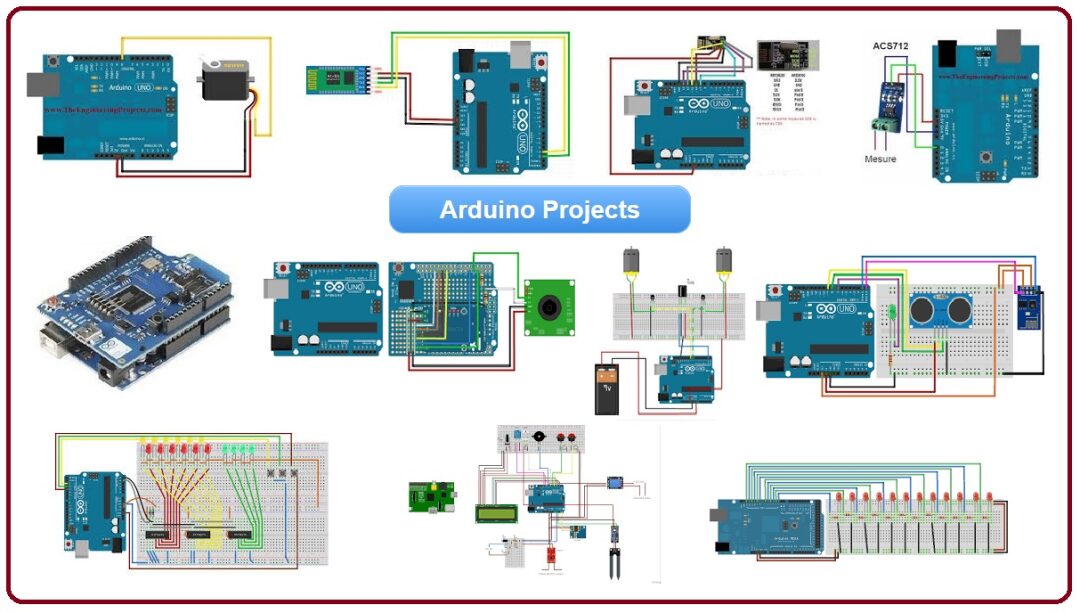
Arduino development boards come in various models, such as Arduino Uno, Arduino Leonardo, Arduino 101, Arduino Mega 2560, Arduino Nano, Arduino Micro, Arduino Ethernet, Arduino Yún, Arduino Due, etc. Arduino Uno is a microcontroller development board based on the ATmega328p, featuring 14 digital input/output pins (6 of which can be used as PWM outputs), 6 analog input pins, and a 16 MHz crystal oscillator; Arduino Mega 2560 is based on the ATmega2560 microcontroller, offering 54 digital input/output pins (15 of which can be used as PWM outputs), 16 analog inputs, and 4 UARTs; Arduino Nano is a compact development board based on the ATmega328p, which can be directly plugged into a breadboard.
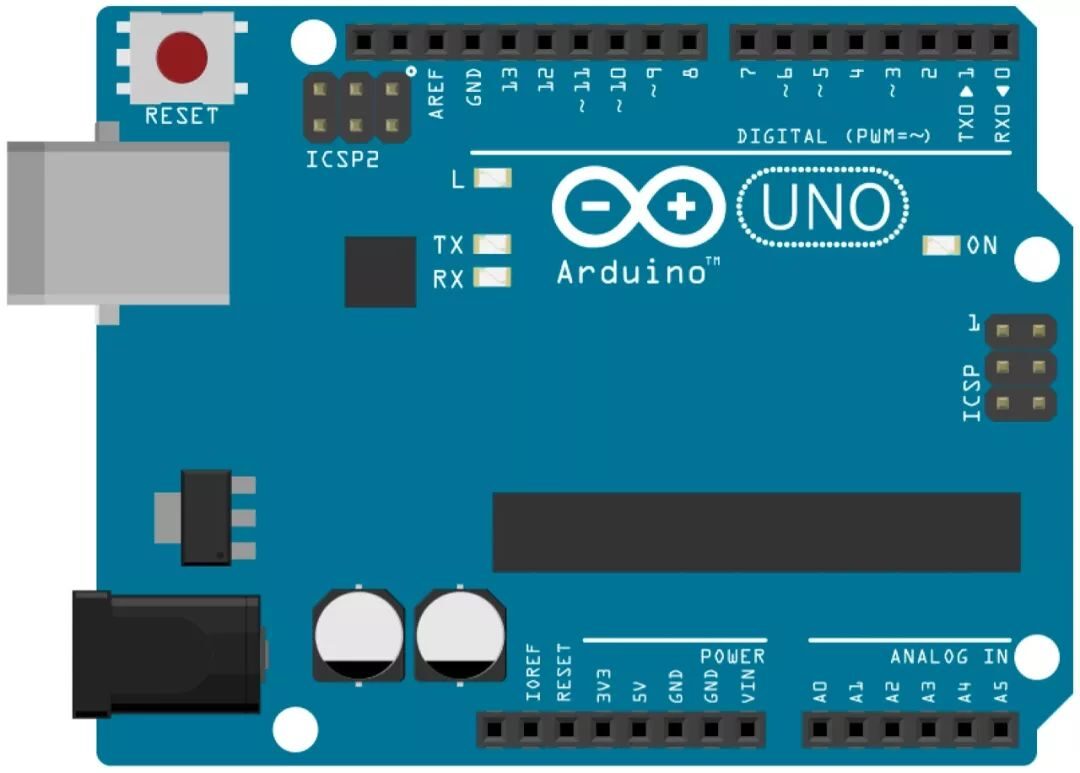
Arduino Uno is centered around the AVR microcontroller ATmega328p. The Arduino Uno R3 development board is shown below. Since both the hardware and software of Arduino are open-source, all software and hardware resources related to Arduino can be obtained online, thus, a large number of clone boards can be purchased. If we are interested, we can also use the official schematics and PCB layouts to create one ourselves.The board provided in the beginner’s kit is this one, and I have already introduced a lot of content about this board in previous articles, so I won’t go into detail here. “How to Start Learning Arduino for Beginners?”
Arduino is a series of boards; besides the popular Arduino UNO, there are several commonly used development boards, one of which is Arduino Mega 2560. The main difference between Mega and UNO lies in the processor; ATmega2560 has more memory and more peripheral devices than ATmega328. The PCB of Mega is also larger, but it maintains compatibility with the standard Arduino interface. It adds three expansion sockets on the right side, increasing the PCB length by about 1 inch, while the other circuit parts are basically the same as Arduino Uno, as shown in the figure below, the shape and function are almost compatible with Arduino UNO.
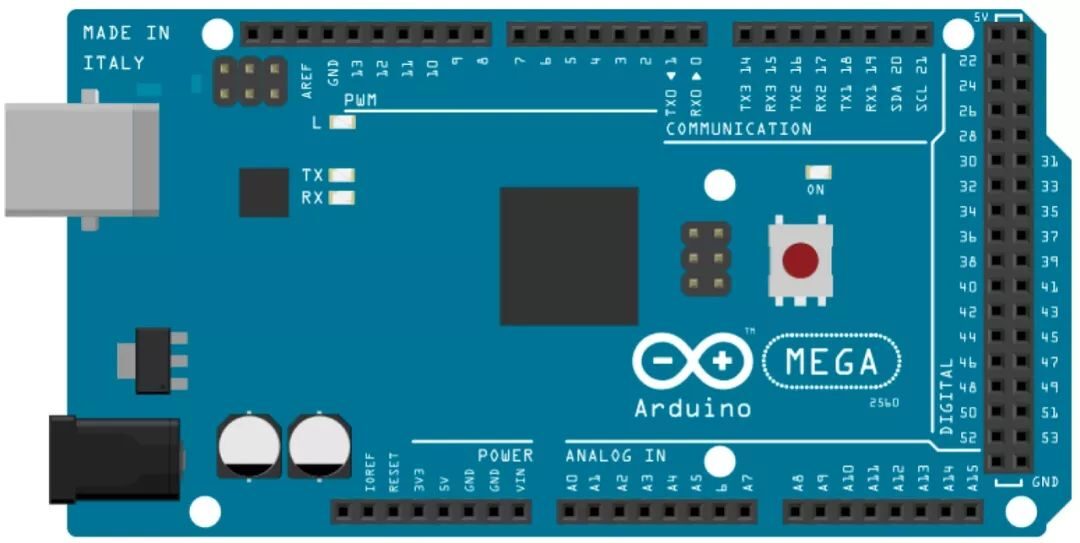
Compared to Arduino UNO, Arduino Mega provides more IO ports, with 54 digital input/output pins (15 of which can be used for PWM output), 16 analog input pins, 4 UART interfaces, 1 USB interface, 1 DC interface, 1 ICSP interface, 1 16 MHz crystal oscillator, and 1 reset button. If you need to control more sensors and connect more pins simultaneously, you can choose Arduino Mega 2560.
Arduino Nano is a miniature version of Arduino Uno, removing the DC power jack and voltage regulation circuit found in Arduino Duemilanove/Uno, and using a Mini-B standard USB socket. As shown below, the size of Arduino Nano is very small and can be directly plugged into a breadboard.
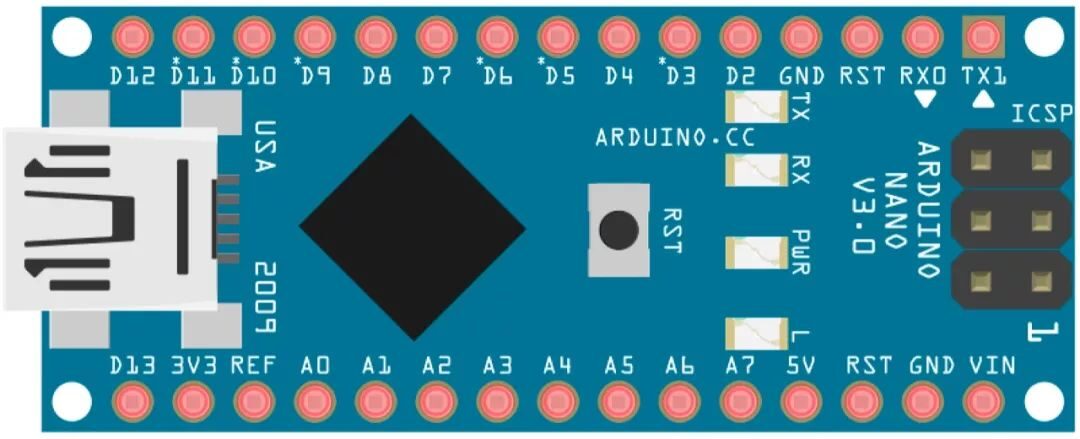
Aside from the appearance changes, the other interfaces and functions of Arduino Nano remain largely unchanged, still using the ATmega328 (Nano 3.0) controller, featuring 14 digital I/O pins (6 of which support PWM output), 8 analog inputs, 1 16MHz crystal oscillator, 1 mini-B USB port, 1 ICSP header, and 1 reset button. There is virtually no difference in use between Arduino Nano and Arduino Uno; just make sure to select the correct board type in the IDE. Additionally, the USB interface chips used by the two boards differ; Uno uses ATmega16U2, while Nano uses FT232RL. Due to the different packaging of the ATmega328 used by the two boards, Nano has two extra pins A6 and A7, allowing it to support 8 analog inputs.
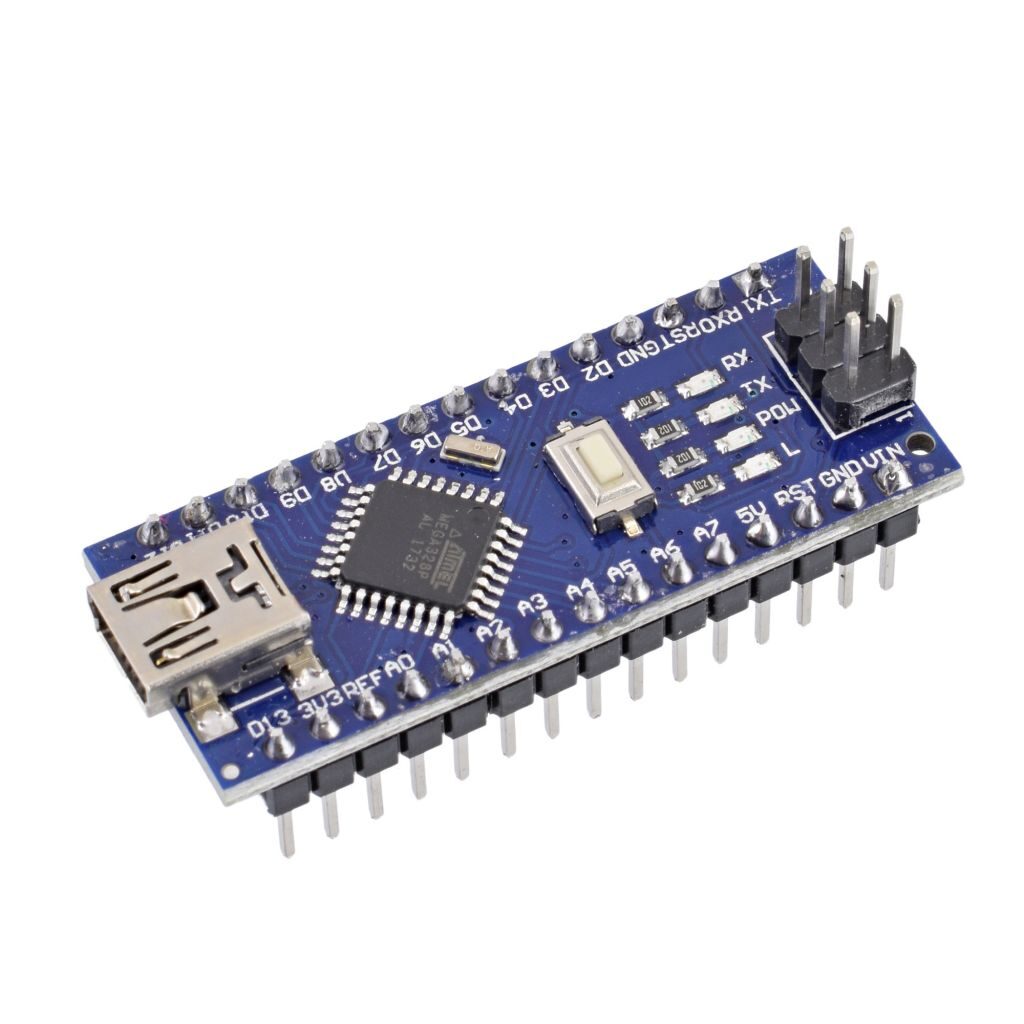
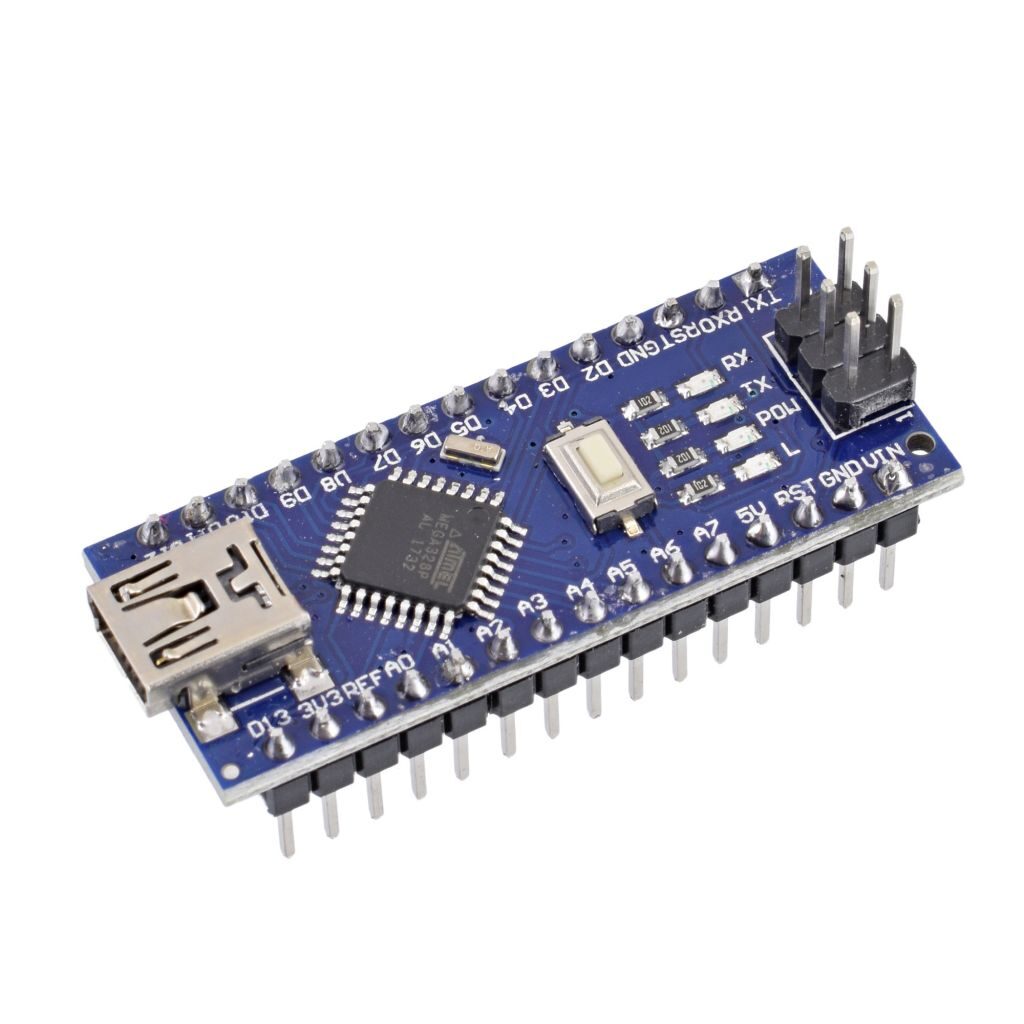
Of course, there are two versions of Arduino Nano: one with pins that can be directly plugged into a breadboard, and another without pins, requiring us to cut Dupont wires to expose the wires to fit into the board’s holes. In terms of flexibility, the version without pins is more adaptable than the one with pins, allowing us to connect several wires into one hole, which the version with pins does not allow. The purpose of using Arduino Nano is generally to reduce the size of our model, so we usually choose the version without pins. Ultimately, which development board to use depends on the specifics of your project.
All images are sourced from the internet.
Author:Cheng Yaqiu
Master of Product Design, Royal College of Art, UK
Specializes in product service system design, user experience design, and hardware Arduino interaction.
For any questions regarding schools and portfolios,
Feel free to communicate anytime.
Knowledge should be shared freely.


