01
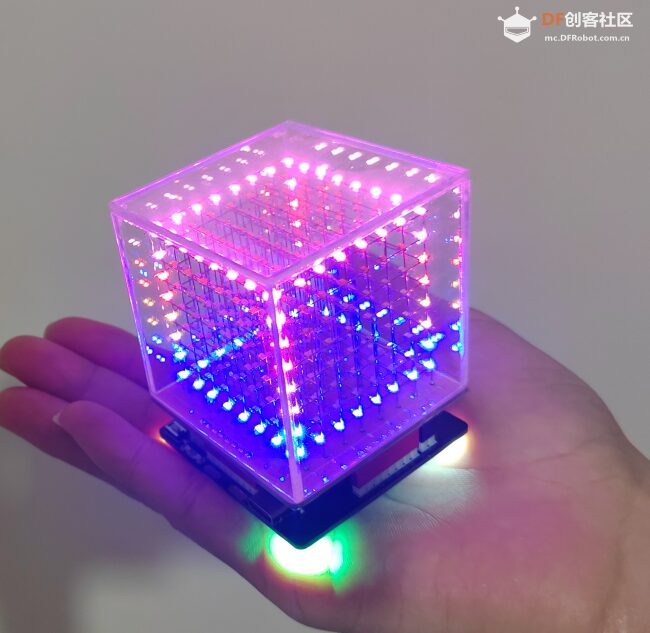
It looks quite cool. If you like it, feel free to replicate and communicate.
▲ Click to watch
02
-
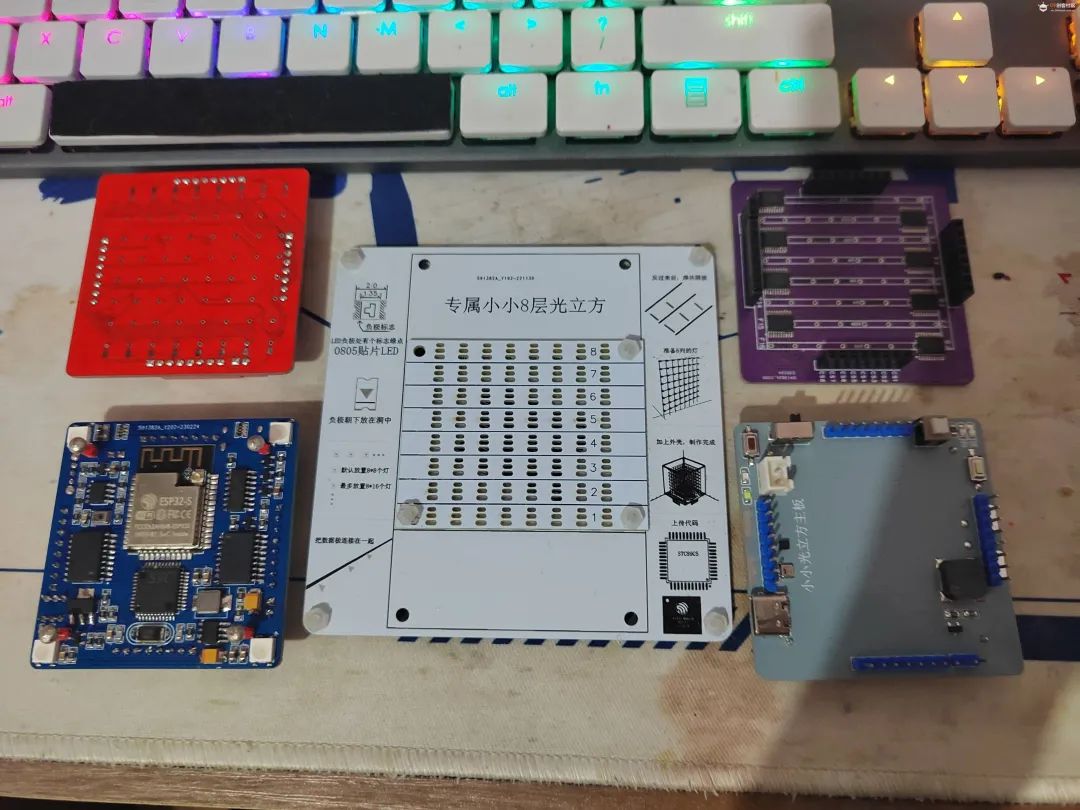
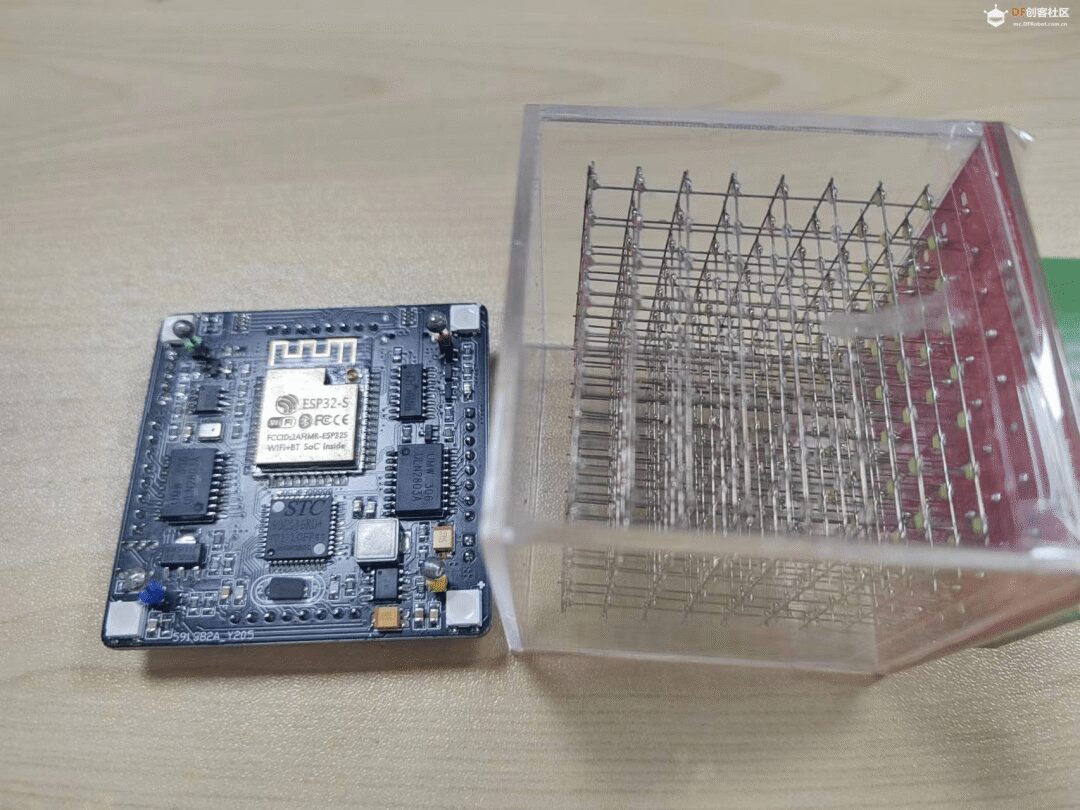
Light cube made using ESP32 and STC51 chips -
Light cube made with 0805 surface mount LEDs, hand-soldered -
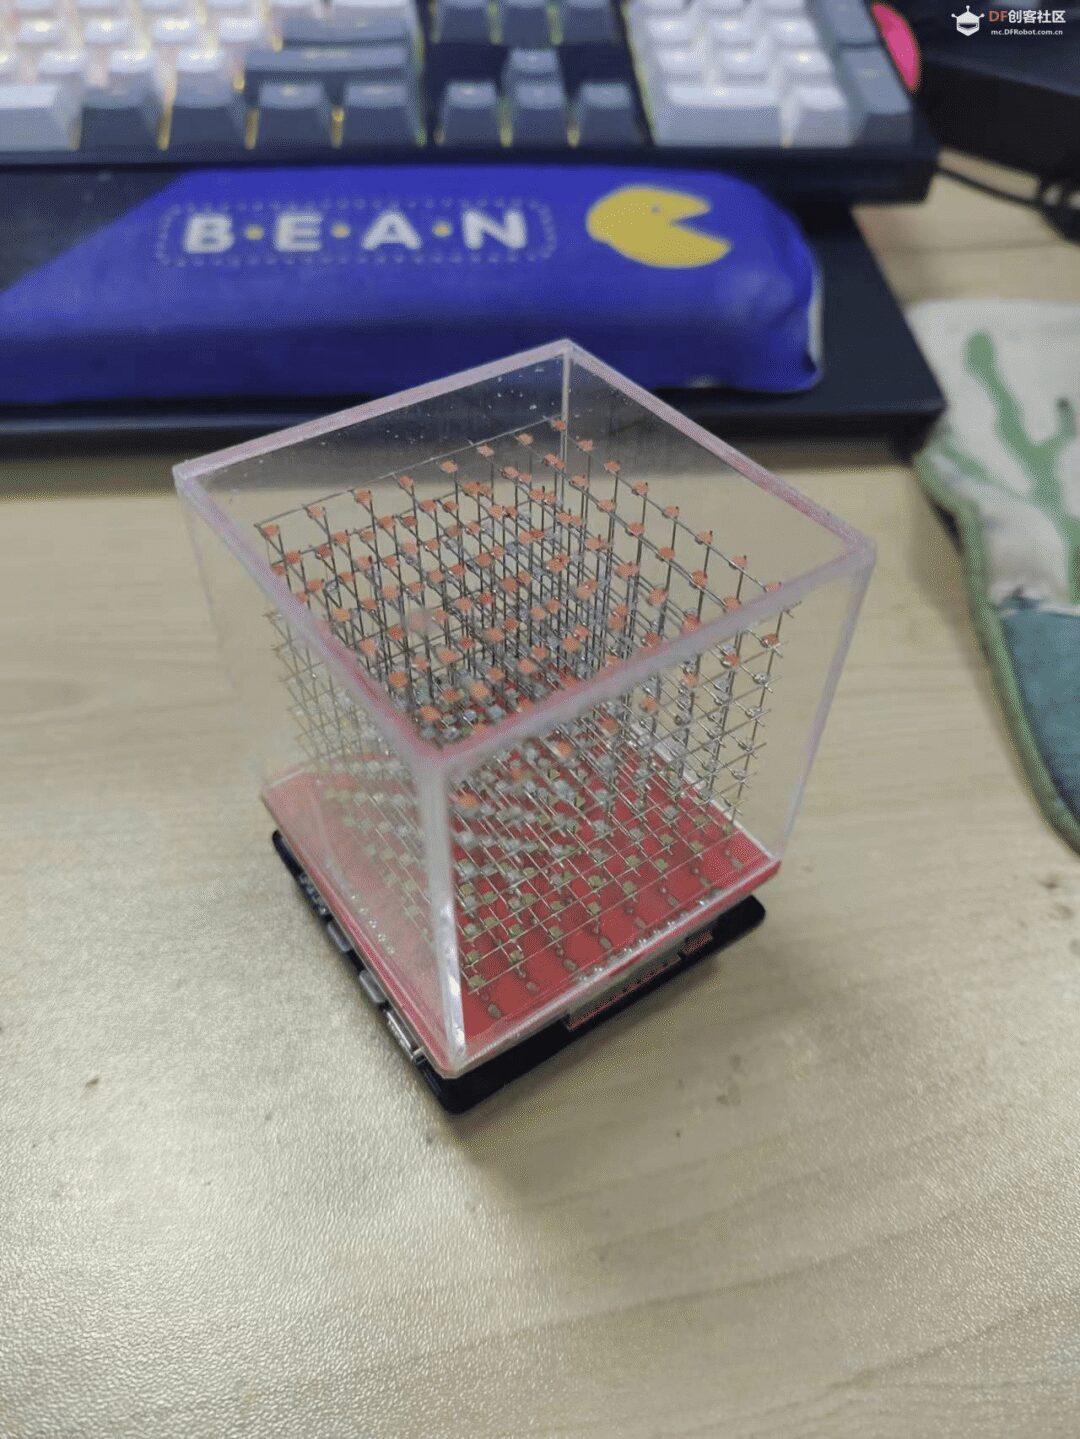
Finished product dimensions: 565678mm -
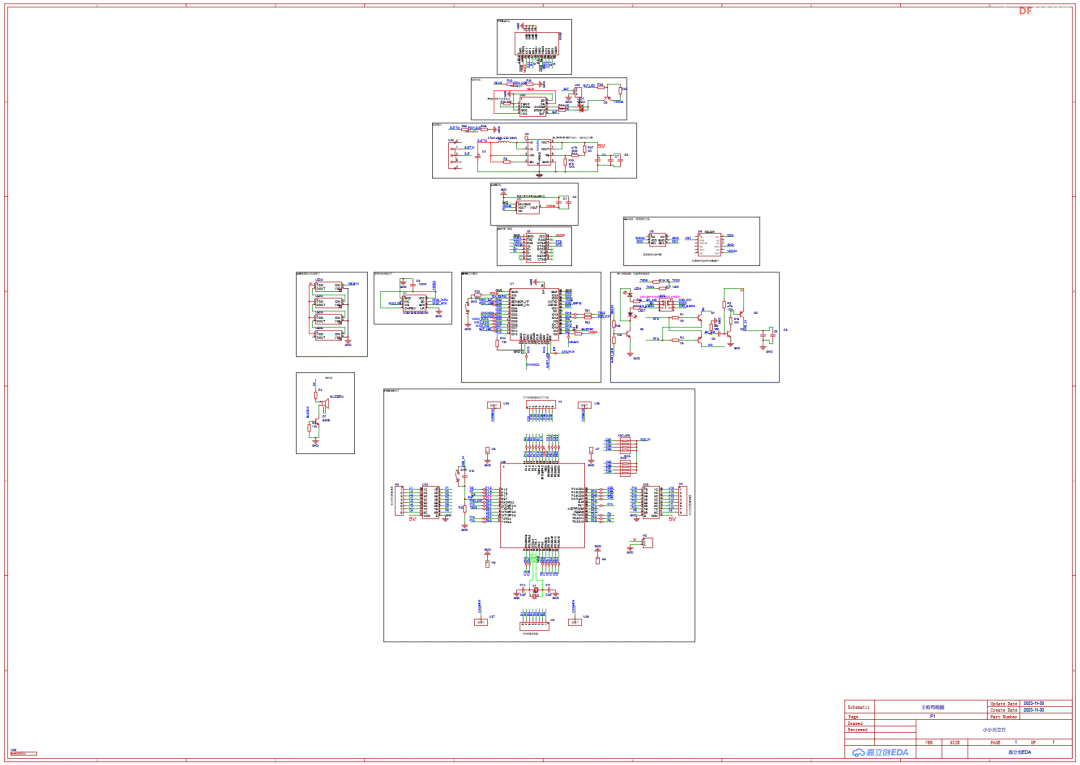
Hardware circuit and source code are open-source, PC software is open-source (light cube only) -
Can connect to WiFi and serial port to control the light cube -
Can be used independently or connected to a PC -
PC software developed with Unity3D, highly extensible. The PC software supports Windows computers and Android phones. -
SDKs supported for light cube development: Arduino esp32, Unity3D packet, Python, Android Studio, C# WinForms, Do-It-Yourself. -
Giving it to a girlfriend will ensure no breakup!
The mini light cube and related materials are original works, freely open-source.
Hardware is complete. More software functions can be developed.
Design materials are open-source
Link: <span>https://pan.baidu.com/s/1S9MsWZ7Lz66SiAS-eFISFQ?pwd=2twt</span> Extraction code: <span>2twt</span>
All materials are around 6G, stored in the cloud. We are still collecting developer testing issues, and materials will be updated irregularly.
03
This section only introduces the functions that the mini light cube has already implemented. For circuit soldering, uploading code, using the light cube, and PC usage, please refer to the design materials for related documents.
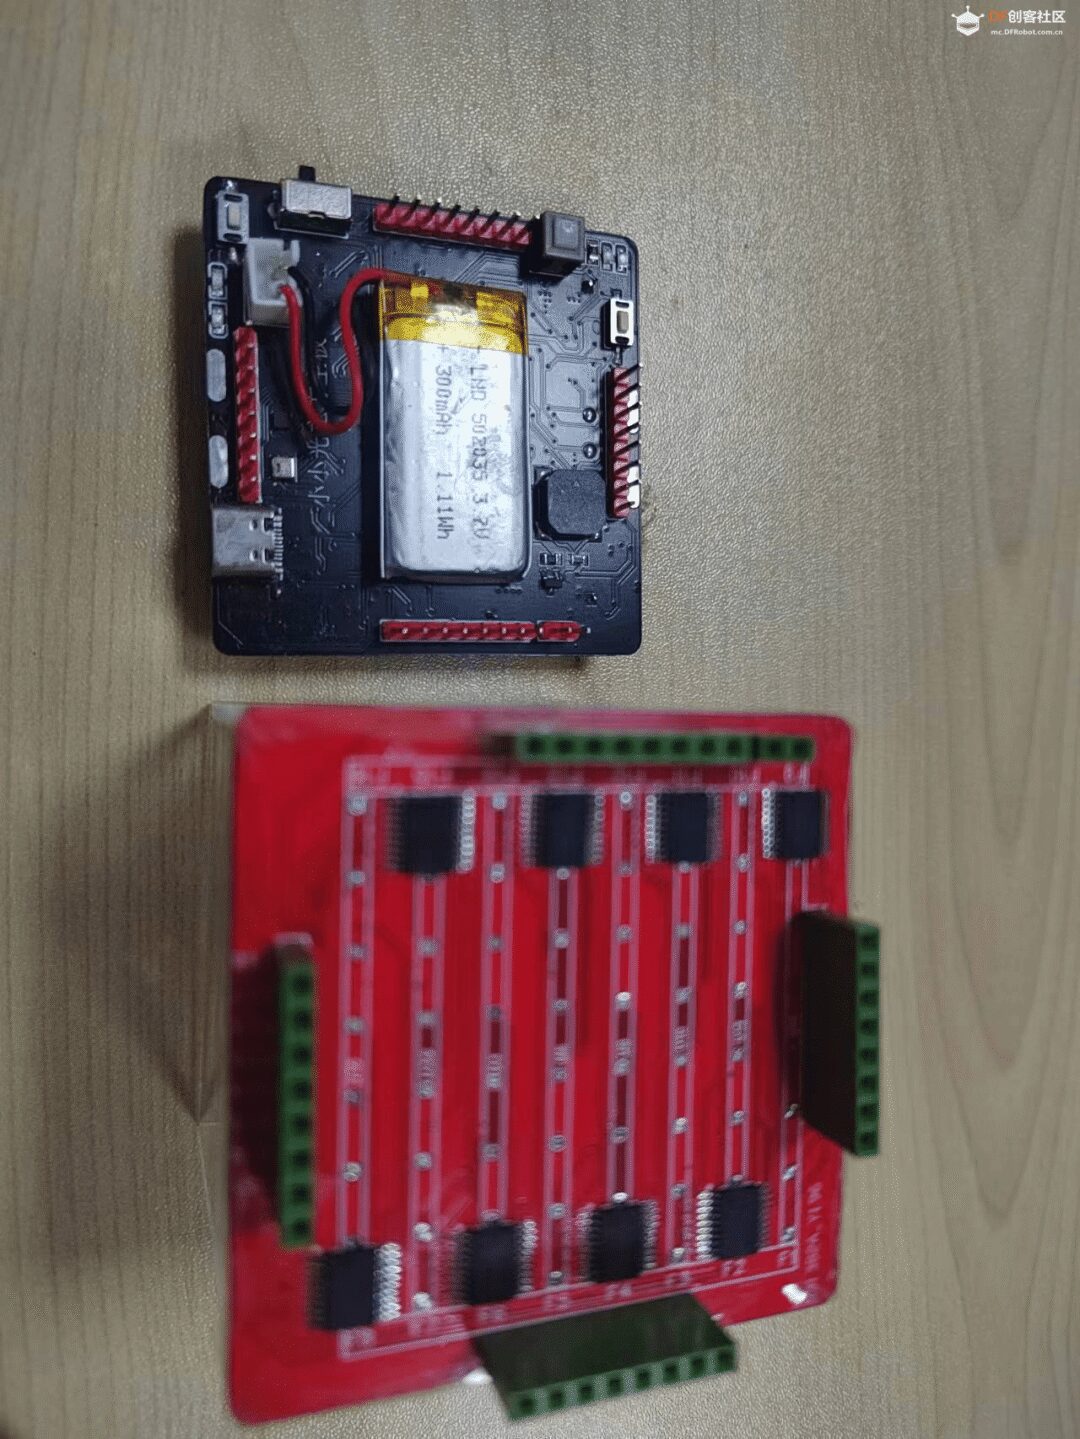
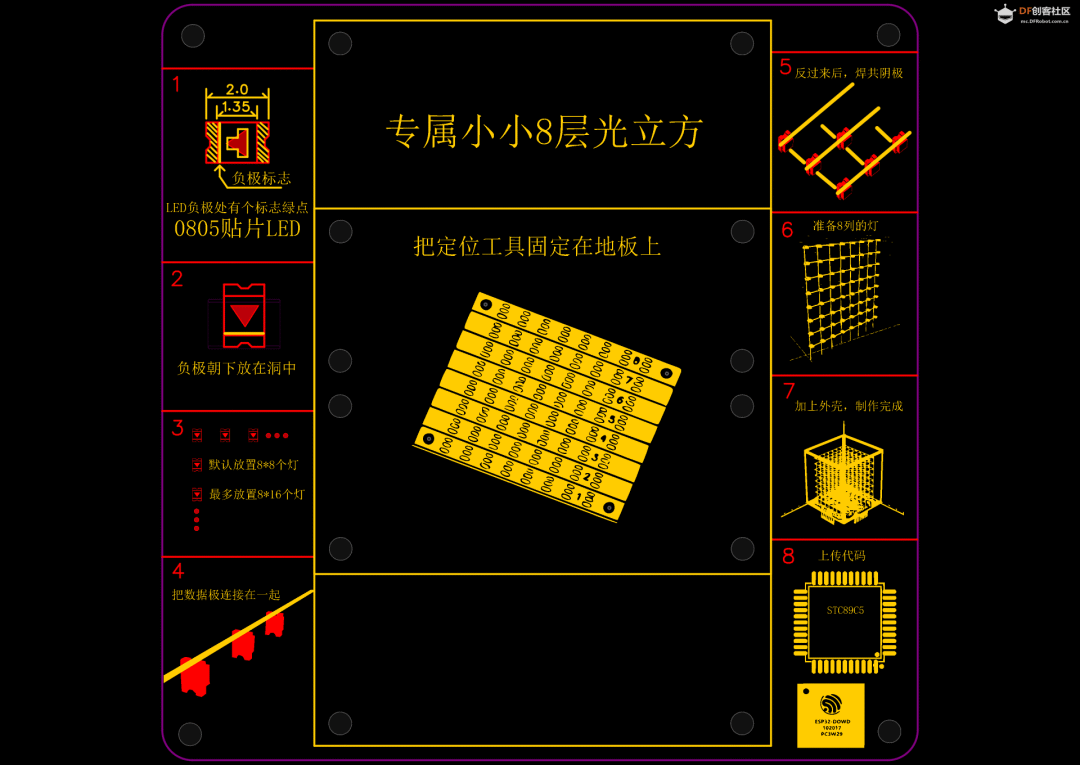
1. The tools for soldering the light cube are quite simple, and generally, no complex processes are required; just buy the equipment. The light cube uses a USB port to upload code to the ESP32 and 51, with a self-locking switch to switch upload modes, eliminating cumbersome operations. The light cube is small, and using carbon steel wire to connect the LEDs is not easy to damage. The light cube has its own battery and can be used independently of other devices.
2. First, upload the default demo code to ensure that the light cube can run. Next, we will introduce the operation of the light cube.
The light cube chip board has four touch buttons, which are power, mode, effect, and custom.
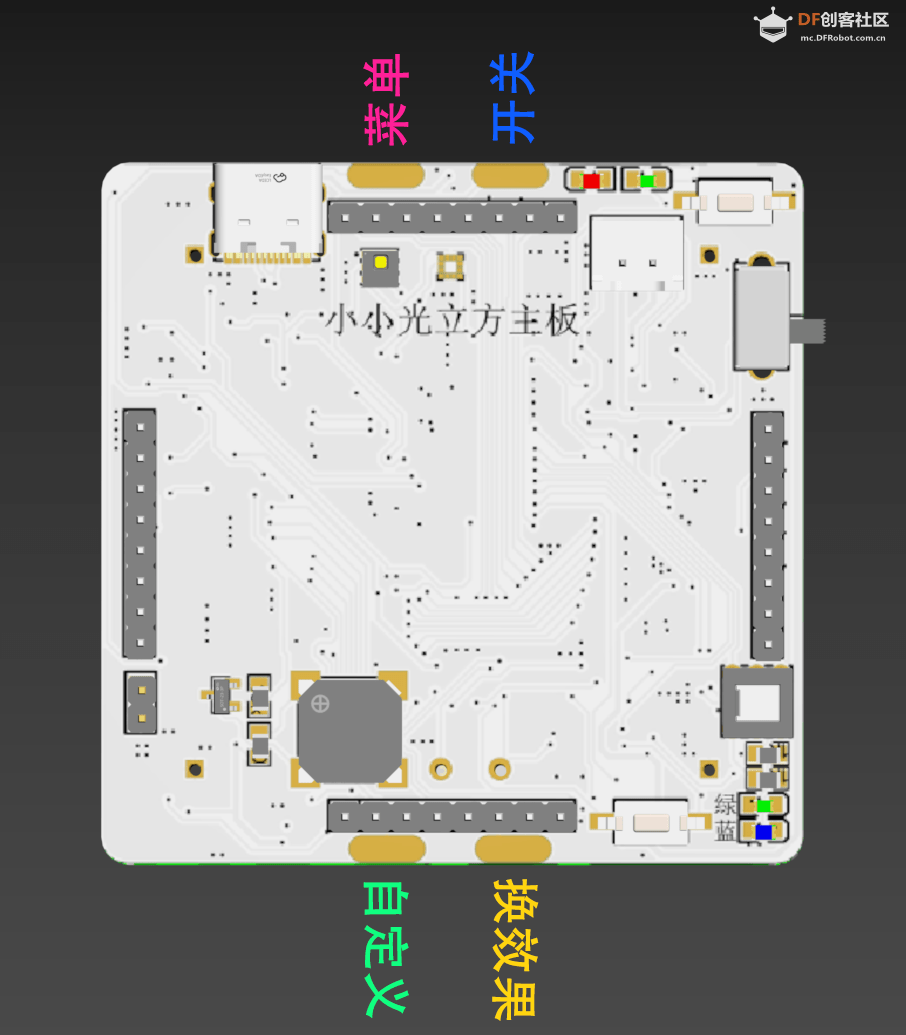
The power button is used to turn the control of the ESP32 on and off. When turned on, the ESP32 controls the running effects of the light cube; when turned off, the ESP32 will not send information to the 51 chip.
Mode
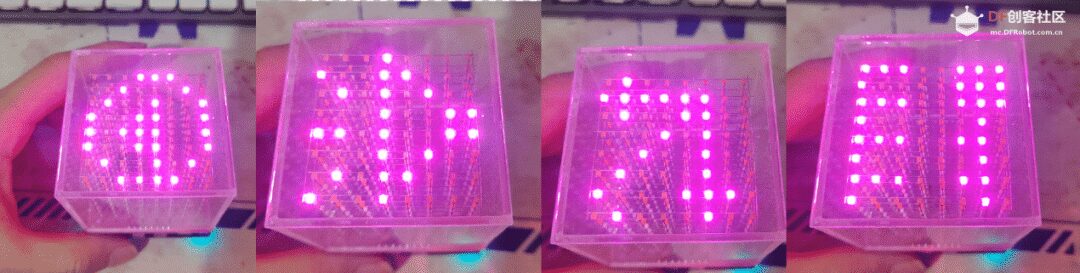
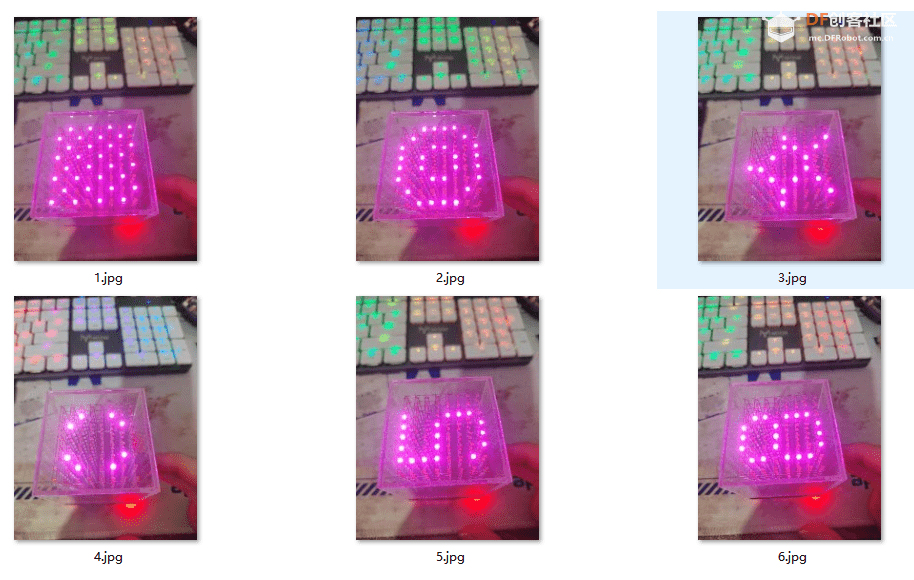
The button is used to switch between several modes, including audio mode, animation mode, buzzer mode, temperature and humidity mode, and three-axis mode.
Effect
Switch the effects under the current mode
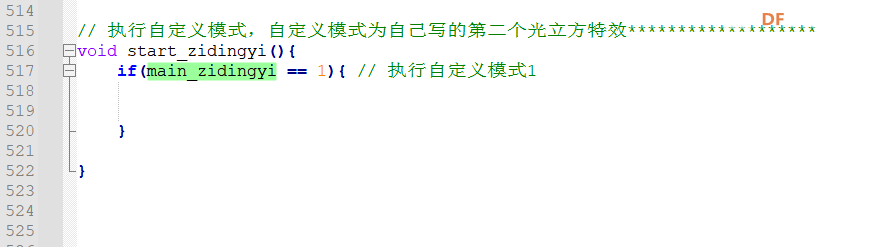
Custom
Set custom functions in the code. Custom code is generally a combination of previously written light cube functions to create the desired effect.
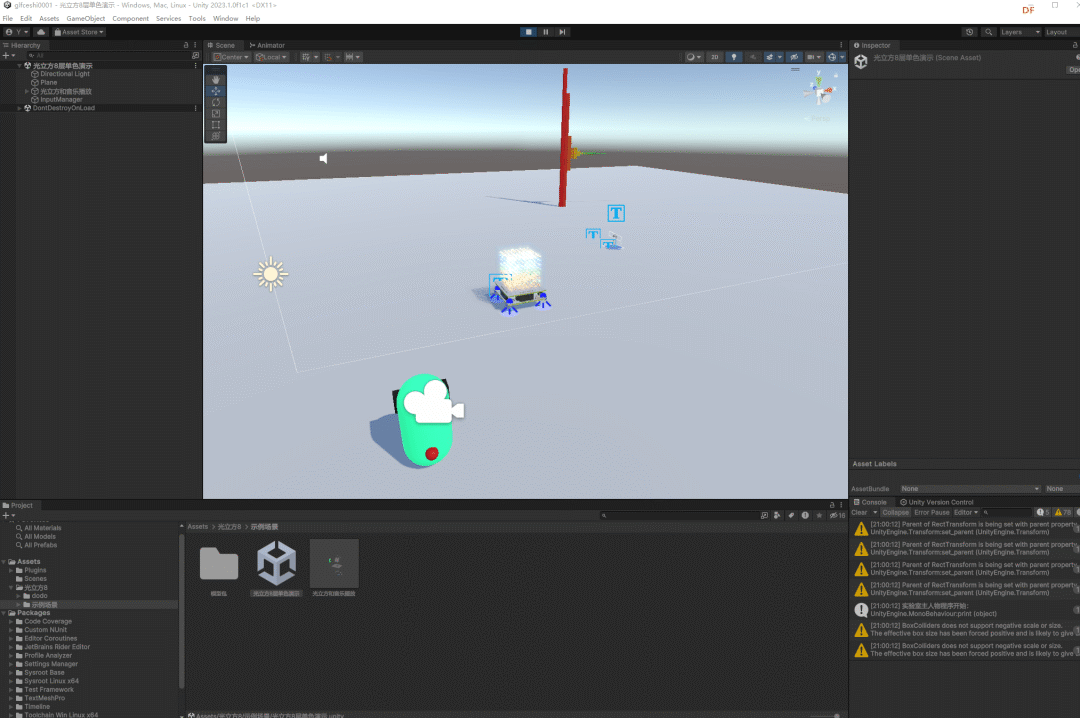
3. The light cube can be controlled using a PC. The PC software is developed using Unity3D for WiFi control, supporting Windows computers and Android phones.

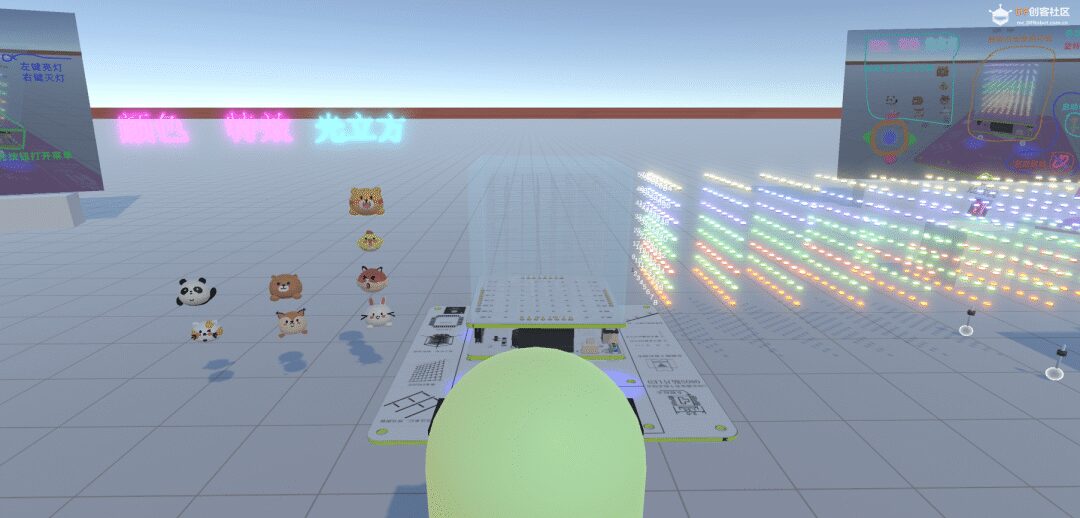
First, open the software and find the light cube (the PC software has tutorials), and finally enter the light cube laboratory. Use WSAD to move the character, you can explore around, and there are light cube operation tutorials inside.
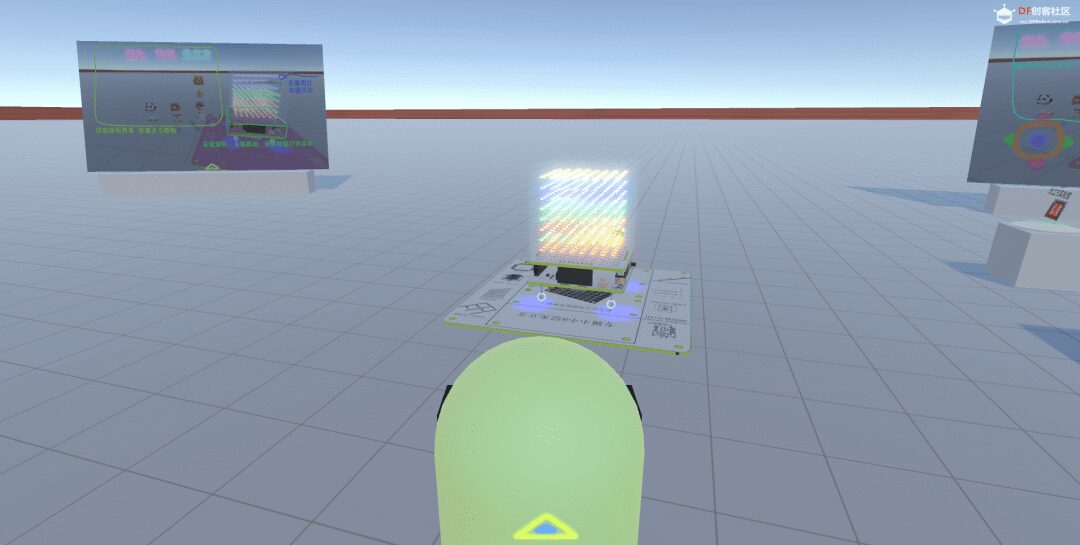
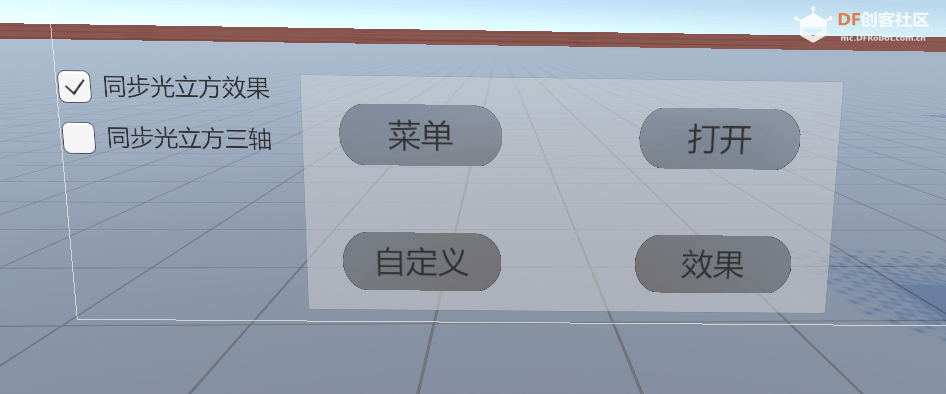
Light Cube Control
Here you can control the light cube object, click on the small head to enlarge or shrink the light cube, switch the arrangement of the lights, hide or reveal the circuit board, acrylic, steel wire, etc.
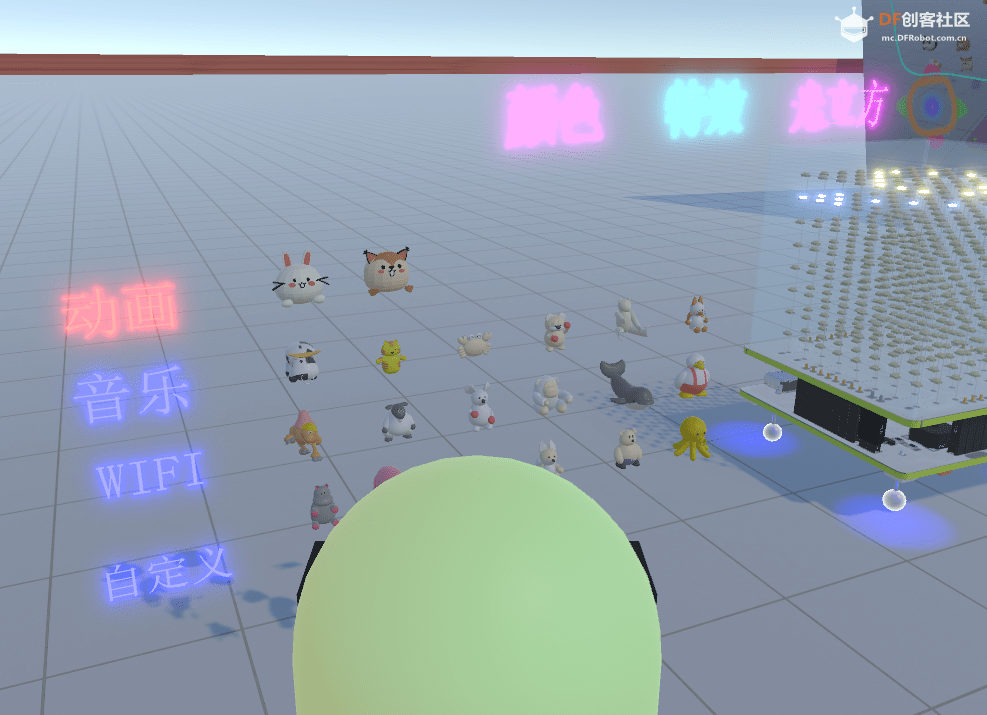
Special Effects Control
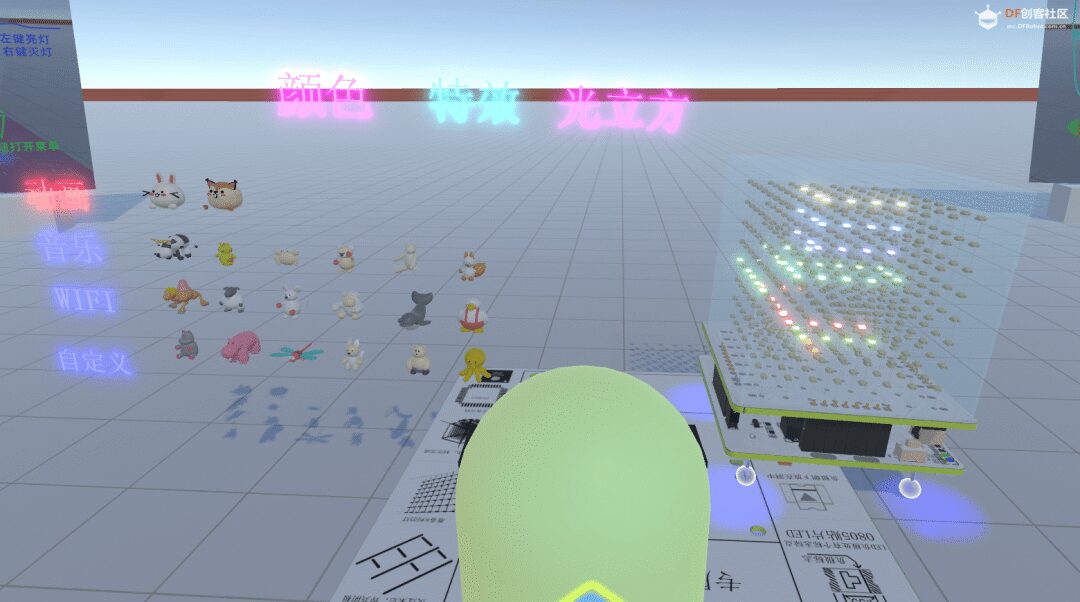
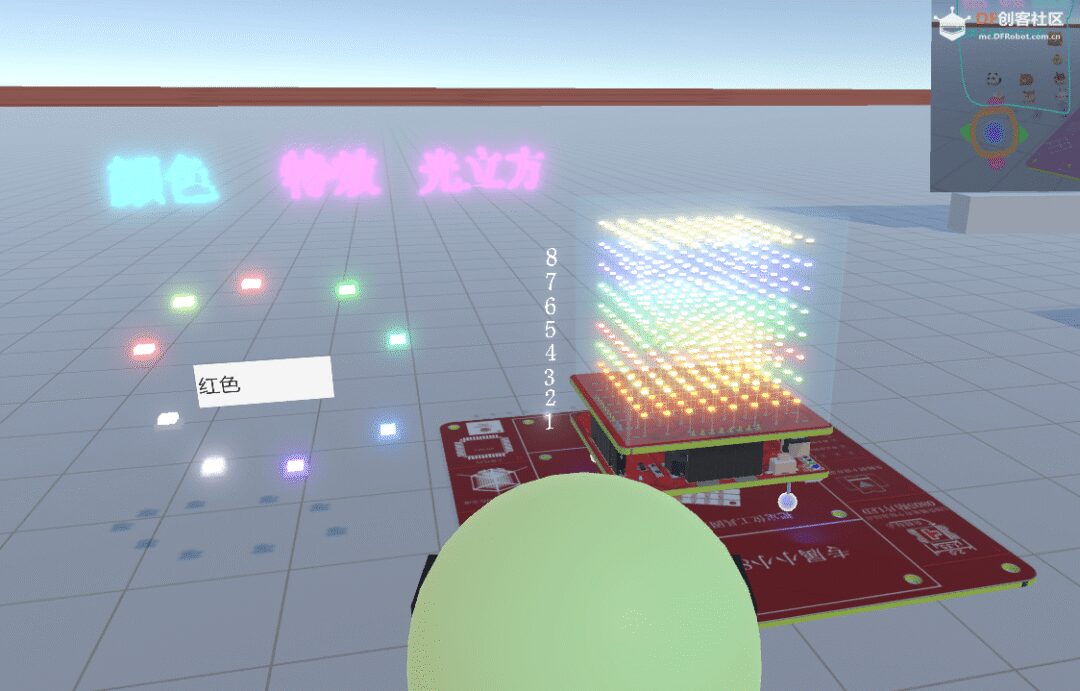
Mainly controls the lighting effects of the light cube, click on the special effects to enter the control interface. Special effects control includes: animation, music, WiFi, custom
Animation
Several demonstration animation buttons are reserved in the animation section. Click on the corresponding animal, and the light cube will display the animation; each animation can be played infinitely.
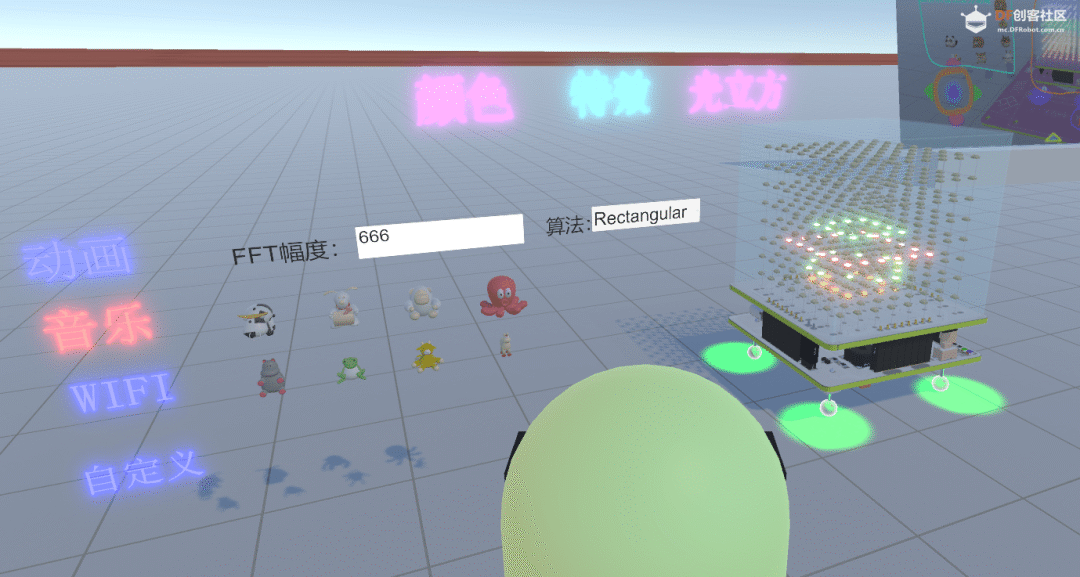
Music
First, find the music player (on the left), select your song to play, then click the music button. This will display the music’s FFT effect, with a cute animal and a music effect; clicking the animal will cause the effect to jump out on the light cube.

WIFI
Here you can connect to the physical light cube; you only need to change the light cube’s IP address, the rest are defaults. (Light cube WiFi settings are modified in the light cube code) After clicking connect, the computer and the light cube can communicate. If the light cube is playing an animation at this time, the physical light cube will also sync with the animation content.
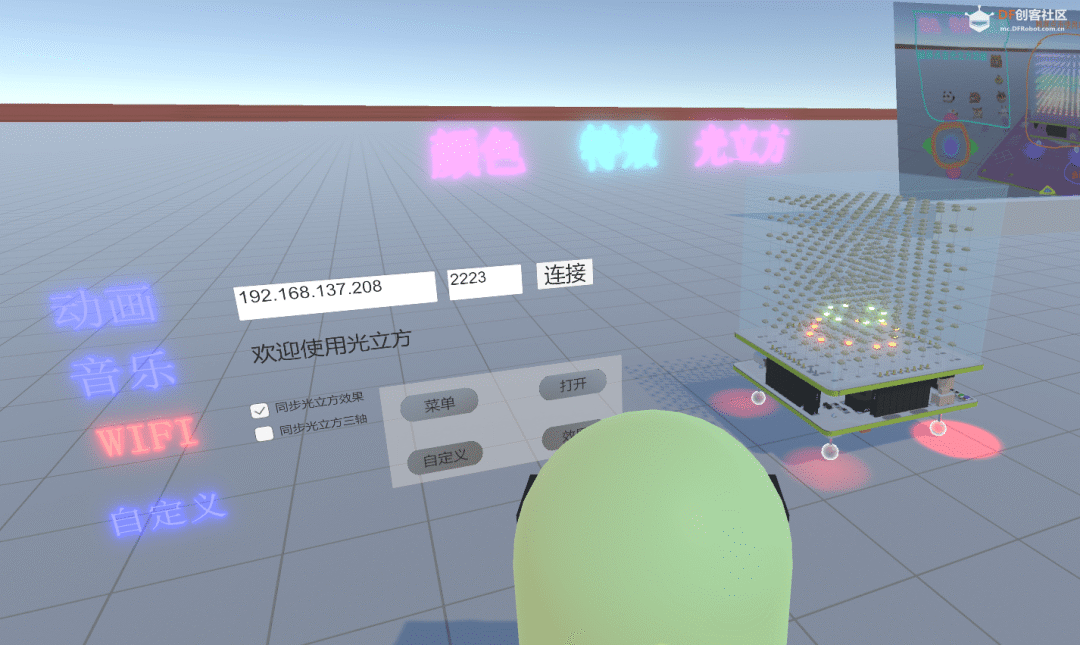
There are also four buttons for WiFi, which correspond to the four touch buttons of the light cube. Button control can be synced to the light cube. Don’t press the three-axis sync, or the light cube will bounce around.
Custom is used to control the light state of the light cube with a mouse; the left mouse button illuminates the light when sliding, and the right mouse button turns it off.

Color can be set for the light cube’s main board and the color of each layer of LEDs in the light cube.
In the light cube laboratory, you can also see the light cube soldering room and the light cube AR room.
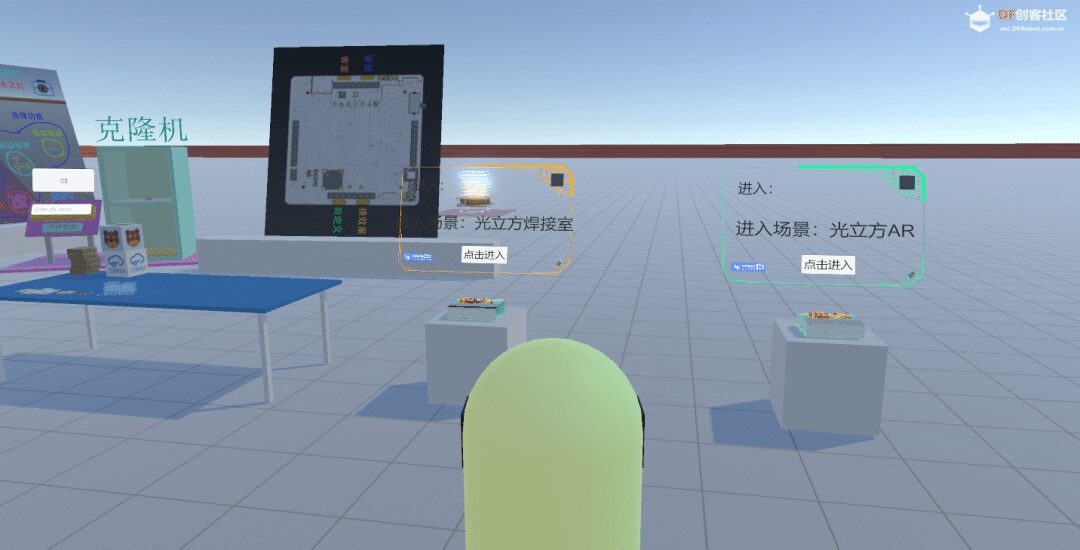
The light cube soldering room is mainly to demonstrate how the light cube is soldered. Here you can also learn how to solder the light cube; the numbers on the table represent the soldering steps. The light cube soldering room has too many items, so it’s a bit laggy.
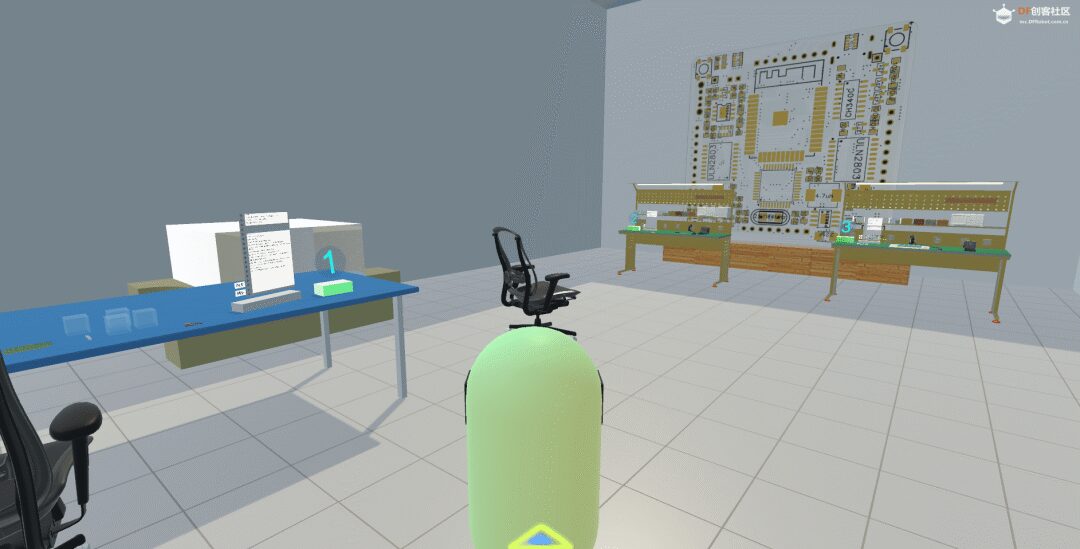
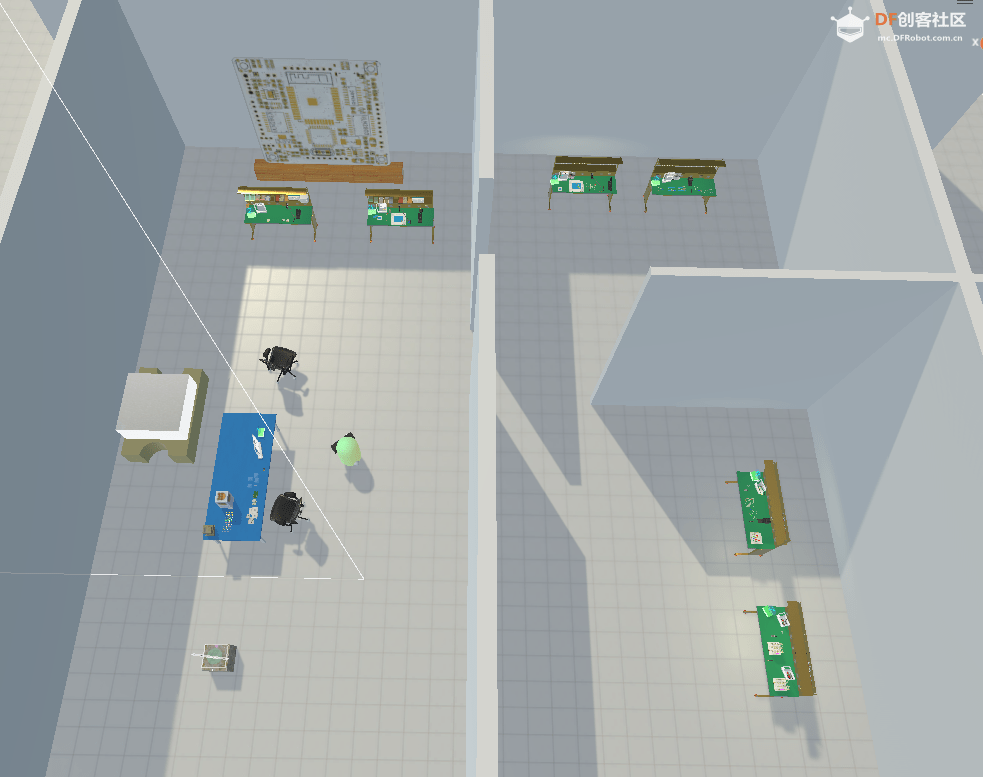
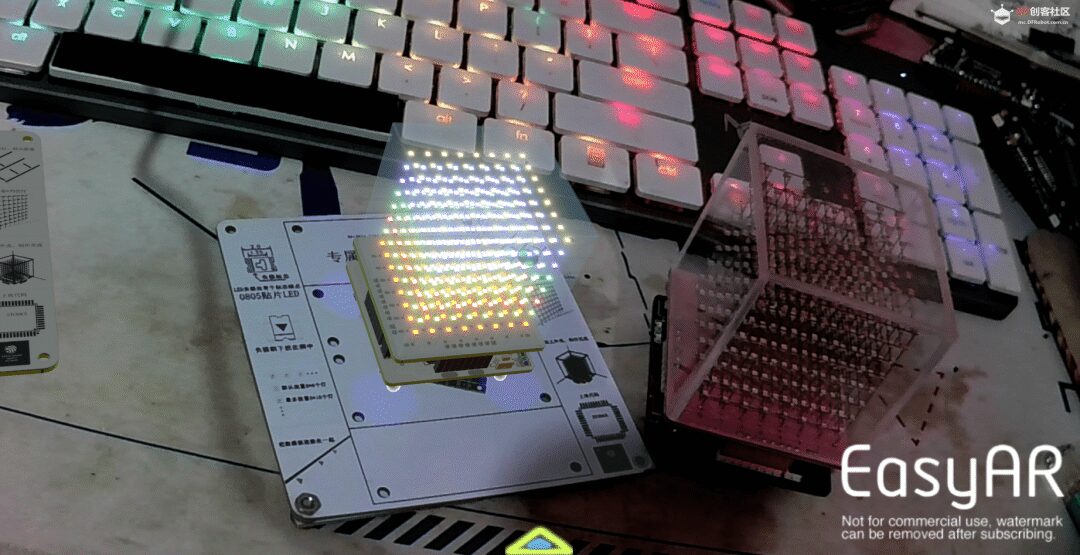
The light cube AR room uses the light cube’s floor for AR recognition, allowing you to achieve a virtual light cube appearing in your computer in real life. The usage of this virtual light cube is the same as that of the PC software.
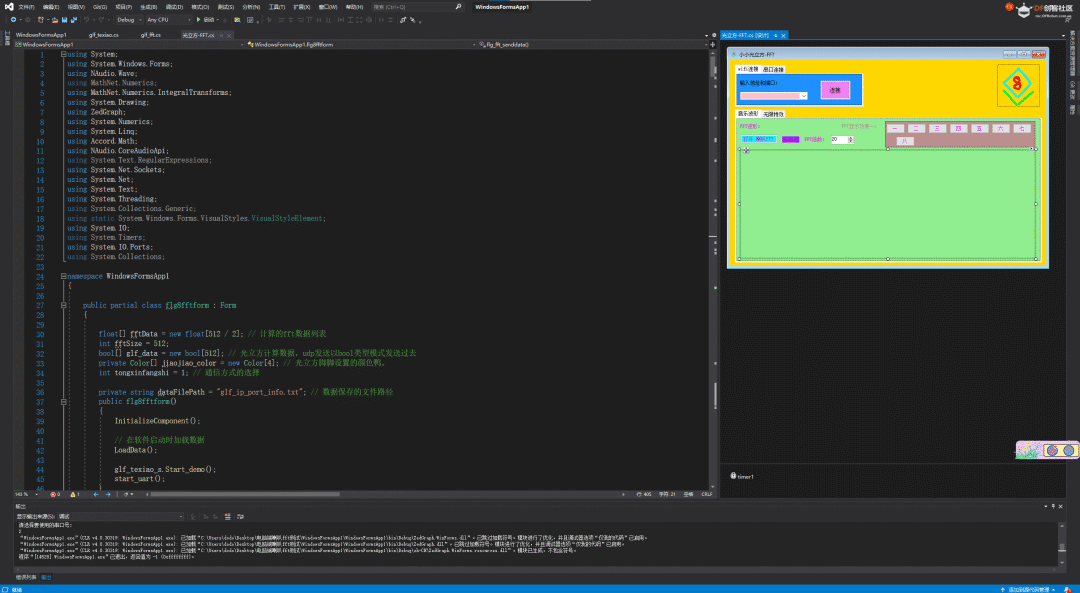
Computer speaker FFT test controls the light cube. The computer music player controls the light cube. These two programs are mainly used to display the FFT effect. If you don’t have high requirements for the software interface, you can use this software. It is small, faster, and more stable.
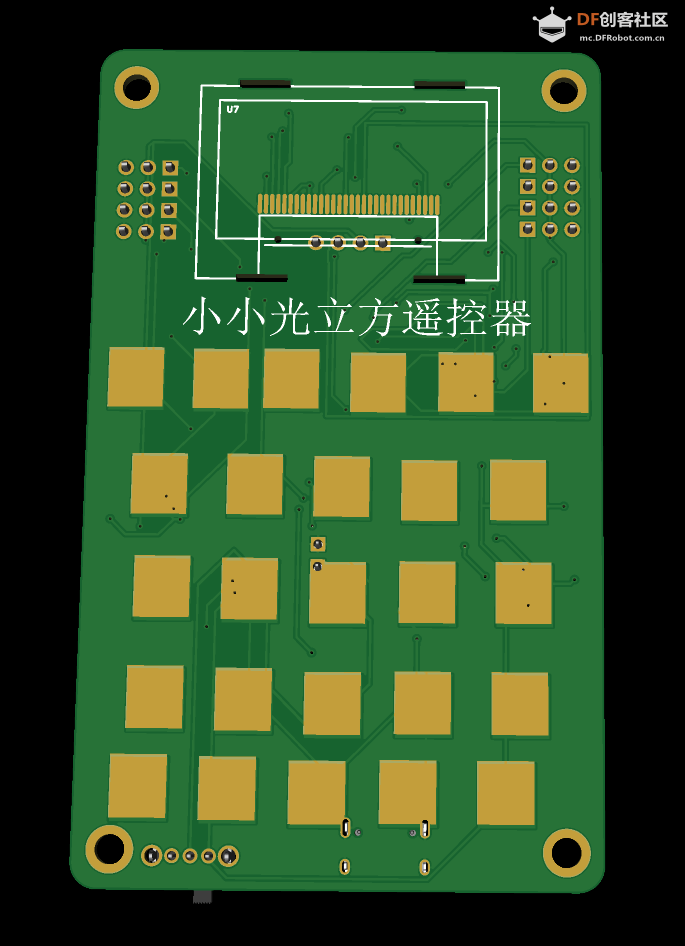
The ESP32 remote control board controls the light cube. The light cube can be controlled using UDP after connecting to WiFi. To control a specific device, you can also use the ESP32 remote control board as a remote for the light cube, extending the wireless buttons of the light cube. Open-source address: <span>https://oshwhub.com/txdodo/xiao-xiao-guang-li-fang-de-yao-kong-qi</span>
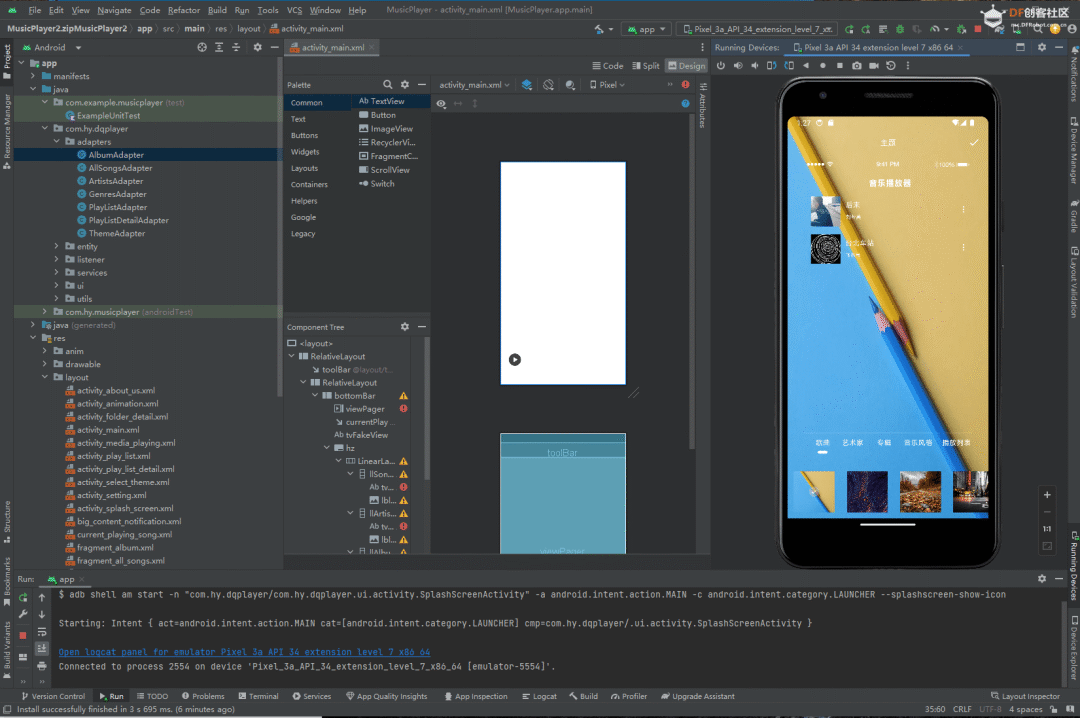
6. Android Studio music player controls the light cube. On the mobile side, you can only use the software’s own music FFT data. This software can be installed on Android phones, can play music from your phone, and can control audio-related functions by connecting to the light cube via WiFi or serial port.
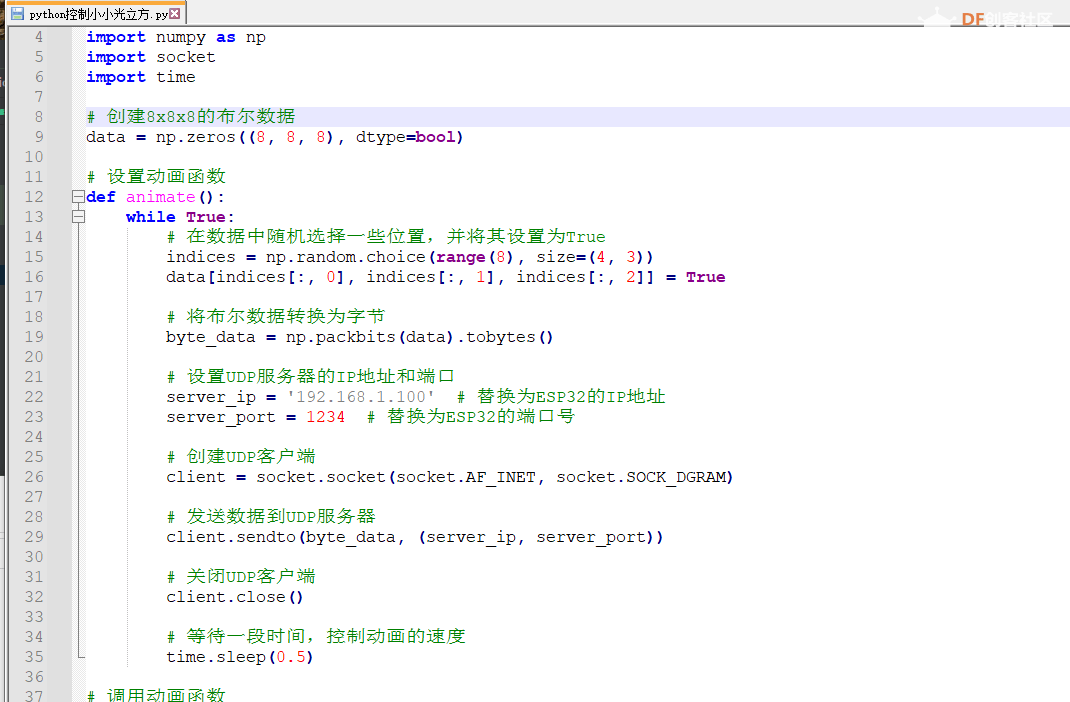
7. Python controls the mini light cube. The mini light cube is like a low-resolution 3D screen. To achieve more intelligent functions, using Python is the most convenient. Use your Python to control the light cube; the code is easier and more concise.
8. The PC code is also open-source. You can find the light cube PC package in the Unity development market. To use the plugin, you need a Unity account. Go to this link to add the plugin to your Assets, and you can import and use it in your Unity. <span>https://assetstore.unity.com/packages/slug/271303</span>
The package includes an example scene and a manual for secondary development of the source code.
Welcome everyone’s replication…
04
Design Diagrams
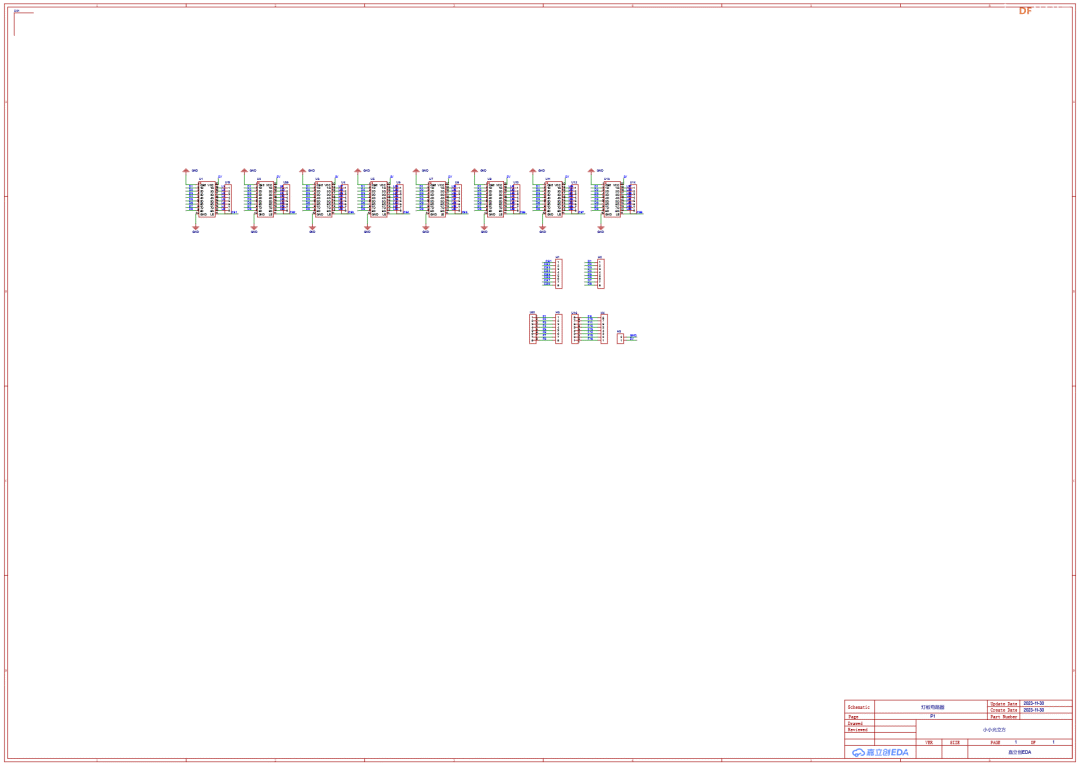
1. Chip main board
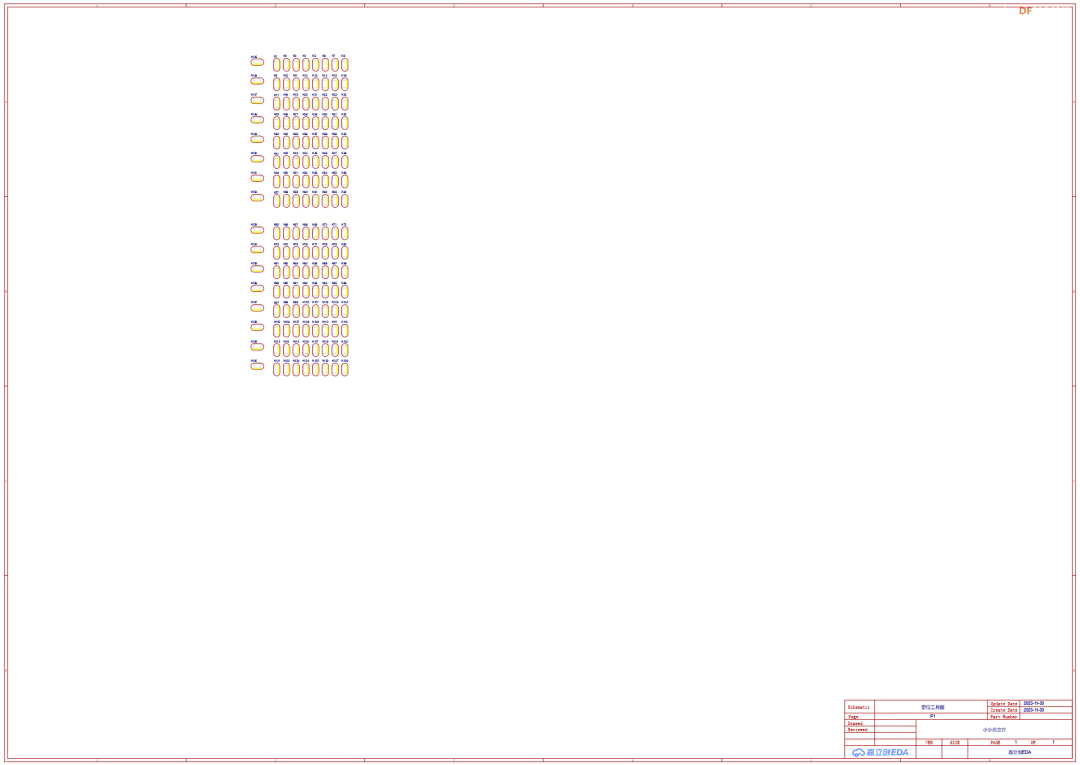
2. Light cube lamp board
3. Light cube positioning tool
4. Optional fixed floor
PCB
Material List

The article was first published at: https://oshwhub.com/txdodo/little-light-cube
Original author: TXdodo
Please indicate the source information when reprinting