Selected from GitHub
Compiled by: Machine Heart
The Raspberry Pi, though small—only the size of a credit card—functions just like a regular computer, capable of connecting to TVs, monitors, keyboards, and mice. It can handle text, spreadsheets, media, and even games. So how can this magical little computer be used for programming? Below is a tutorial on using the Raspberry Pi for bare-metal programming while also learning about interfaces, hardware, and more.
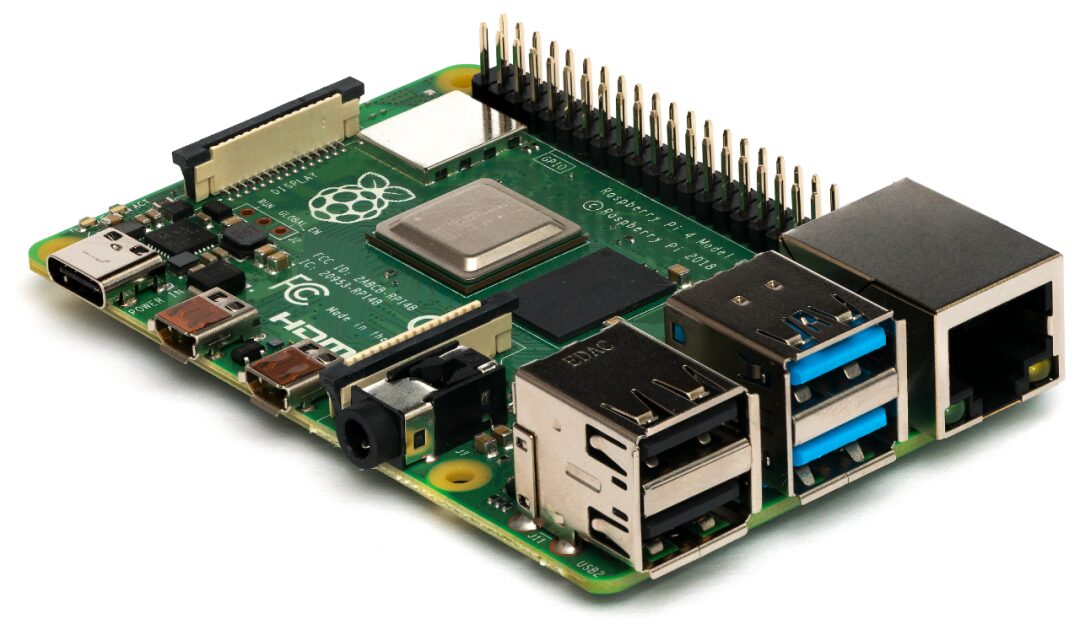
Recently, someone open-sourced a tutorial about the Raspberry Pi on GitHub. Unlike previous Raspberry Pi developments, this tutorial’s core content discusses how to perform bare-metal programming on the Raspberry Pi.
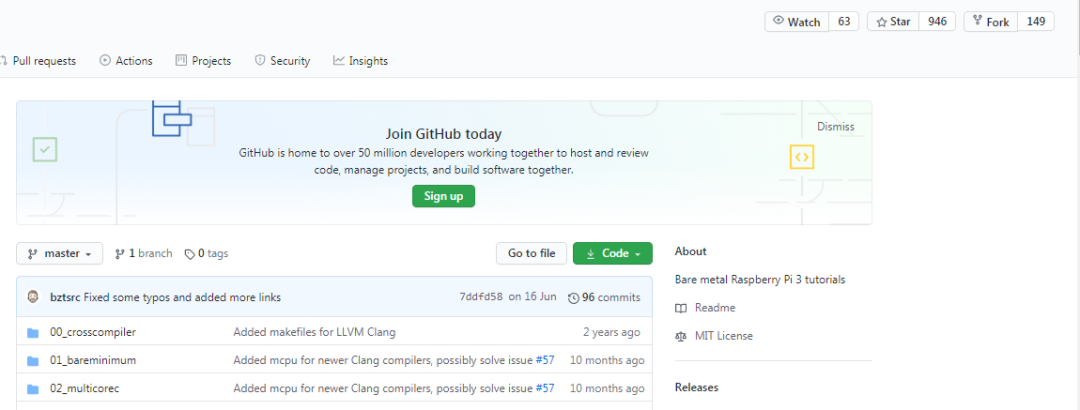
Tutorial link: https://github.com/bztsrc/raspi3-tutorial
Bare-metal programming on Raspberry Pi 3
This series of tutorials is aimed at those who want to compile their own bare-metal applications for the Raspberry Pi, specifically targeting those who are unfamiliar with Raspberry Pi hardware but enjoy OS development in their spare time. In this tutorial, the author provides some examples to accomplish basic operations, such as writing code to a serial console, reading keys from the serial console, setting screen resolution, and drawing to a linear framebuffer. Additionally, the author demonstrates how to obtain the hardware’s serial number, hardware-supported random numbers, and how to read files from the boot partition.
Note: This tutorial does not cover OS writing. Topics such as memory management, virtual file systems, and implementing multitasking will not be introduced. This tutorial will focus on interfacing with hardware rather than OS theory. Furthermore, it assumes you have a certain level of knowledge in GNU/Linux and are familiar with compiling programs and creating disk and file system images.
Regarding why the Raspberry Pi 3 was chosen, the author provides explanations: First, it is both cheap and readily available. Second, it is 64-bit and has a very large address space. Third, it only uses MMIO, making programming easier.
The tutorial uses the C language for development because C allows for direct hardware programming.
Before starting, you will need to use a cross-compiler on a FAT file system (for details, see the 00_crosscompiler directory) and a Micro SD card with firmware files.
Each directory contains a Makefile.gcc and a Makefile.clang. Ensure that the Makefile symbolic links point to the version of the cross-compiler you have chosen.
The author suggests buying a Micro SD card USB adapter (many manufacturers provide such adapters with SD cards), so that you can connect the card to any desktop computer like a USB without needing a special card reader interface (although many laptops now have such interfaces). If you do not like the dd command, you can also choose USBImager, a simple GUI application with a portable executable file available for Windows, MacOSX, and Linux.
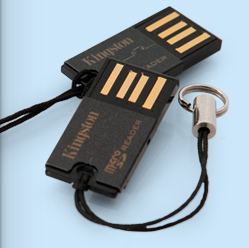
Micro-SD card USB adapter.
Create an MBR partition scheme on the SD card with LBA FAT32 (type 0x0C) and format it, then copy bootcode.bin, start.elf, and fixup.dat into it. Alternatively, you can download a Raspbian image, use the dd command to write it to the SD card, mount it, and delete unnecessary .img files. Regardless of the method you prefer, the key point is that you will create kernel8.img using these tutorials, and it must be copied to the root directory of the SD card, which should not contain other .img files.
It is recommended to use a USB serial debugging cable. Connect it to GPIO pins 14/15, and run minicom on your computer as follows:
minicom -b 115200 -D /dev/ttyUSB0
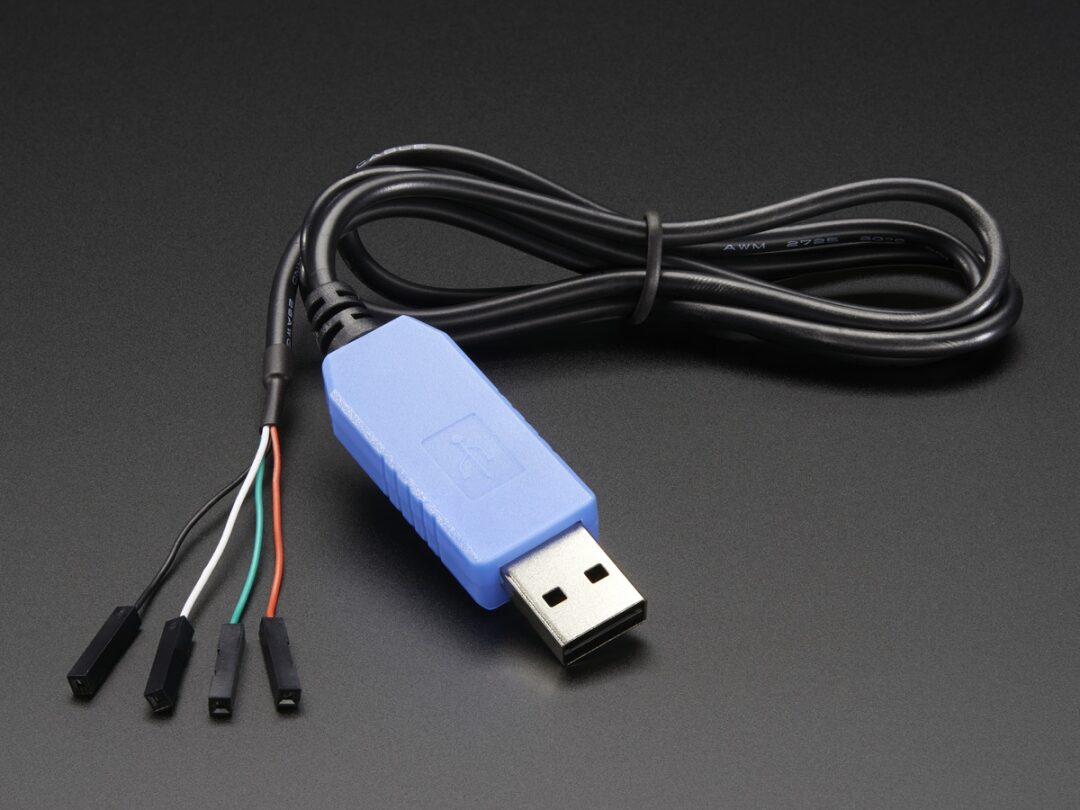
USB serial debugging cable
Unfortunately, the official qemu binary does not yet support Raspberry Pi 3. However, the author has implemented this and will release it soon (update: available in qemu2.12) (https://wiki.qemu.org/ChangeLog/2.12#ARM). In the meantime, you must compile qemu from the latest source code. After compiling, you can do the following:
qemu-system-aarch64 -M raspi3 -kernel kernel8.img -serial stdio
qemu-system-aarch64 -M raspi3 -kernel kernel8.img -drive file=$(yourimagefile),if=sd,format=raw -serial stdio
-
-M raspi3: Tells qemu to emulate Raspberry Pi 3 hardware.
-
-kernel kernel8.img: Informs the name of the kernel file to be used.
-
-drive file=$(yourimagefile),if=sd,format=raw: In the second case, this parameter is for the SD card image, which can also be a standard Raspbian image.
-
-serial stdio
-
-serial null -serial stdio: Redirects the simulated UART0 to the standard input/output of the terminal running qemu, allowing all content sent to the serial line to be displayed, and the VM will receive every key typed in the terminal. This operation only applies to tutorials 05 and above, as UART1 is not redirected by default. To do this, some parameters like -chardev socket,host=localhost,port=1111,id=aux -serial chardev:aux must be added, or simply use two -serial parameters.
Below is a brief introduction to the required hardware resources, the BCM2837 SoC chip, including:
Interestingly, the CPU is not the main processor on the board. When powered on, the first GPU runs. Once initialization is complete, it executes bootcode.bin, which loads and executes start.elf. This is not an ARM executable but is compiled specifically for the GPU. Interestingly, start.elf looks for different ARM executables, all starting with kernel and ending with .img. Since programming the CPU in AArch64 mode requires only kernel8.img, this is the last one to be sought. After loading, the GPU triggers the reset line on the ARM processor, starting execution of code at address 0x80000 (or more accurately, 0).
The RAM (1G Raspberry Pi 3) is shared between the CPU and GPU, meaning one can read what the other writes to memory. To avoid confusion, the mailbox interface needs to be defined clearly. The CPU writes messages to the mailbox and notifies the GPU to read it. The GPU (which knows the message is fully in memory) interprets it and places the response message at the same address. The CPU must poll the memory to know when the GPU is done before it can read the response.
Similarly, all external devices communicate with the CPU in memory. Each device has a dedicated memory address starting from 0x3F000000, but it is not in the actual RAM (called memory-mapped IO). There is currently no mailbox for peripheral devices; instead, each device has its own protocol. The commonality among these devices is that they must read and write their memory in 32-bit units at 4-byte aligned addresses (called words), and each device has control/status and data words. Unfortunately, Broadcom (the manufacturer of the SoC chip) has poor documentation for its products. The best available is the BCM2835 documentation, which is sufficient.
There is also a memory management unit in the CPU that allows the creation of virtual address spaces. This can be programmed via specific CPU registers, and care must be taken when mapping these MMIO addresses to the virtual address space.
Some more interesting MMIO addresses are:
0x3F003000 - System Timer0x3F00B000 - Interrupt controller0x3F00B880 - VideoCore mailbox0x3F100000 - Power management0x3F104000 - Random Number Generator0x3F200000 - General Purpose IO controller0x3F201000 - UART0 (serial port, PL011)0x3F215000 - UART1 (serial port, AUX mini UART)0x3F300000 - External Mass Media Controller (SD card reader)0x3F980000 - Universal Serial Bus controller
For more information, please visit: https://github.com/raspberrypi
How to Choose the Right Type of Database Based on Task Requirements?
In the white paper “Entering the Era of Dedicated Databases” released by AWS, eight types of databases are introduced: relational, key-value, document, in-memory, relational graph, time series, ledger, and domain-wide column, analyzing the advantages, challenges, and main use cases of each type.
Clickto read the original textorscan the QR codeto apply for a free copy of the white paper.

© THE END
For reprints, please contact this public account for authorization
Submissions or inquiries: [email protected]