1. Introduction
Today, I came across a method shared online for creating a DAP-LINK using the AT32F425 microcontroller. I happen to have this microcontroller on hand, so I will test the DAP-LINK creation method shared online. I usually use DAP-LINK as a development tool for ARM microcontrollers, so creating this development tool can also be used for future microcontroller development.
2. Circuit Design
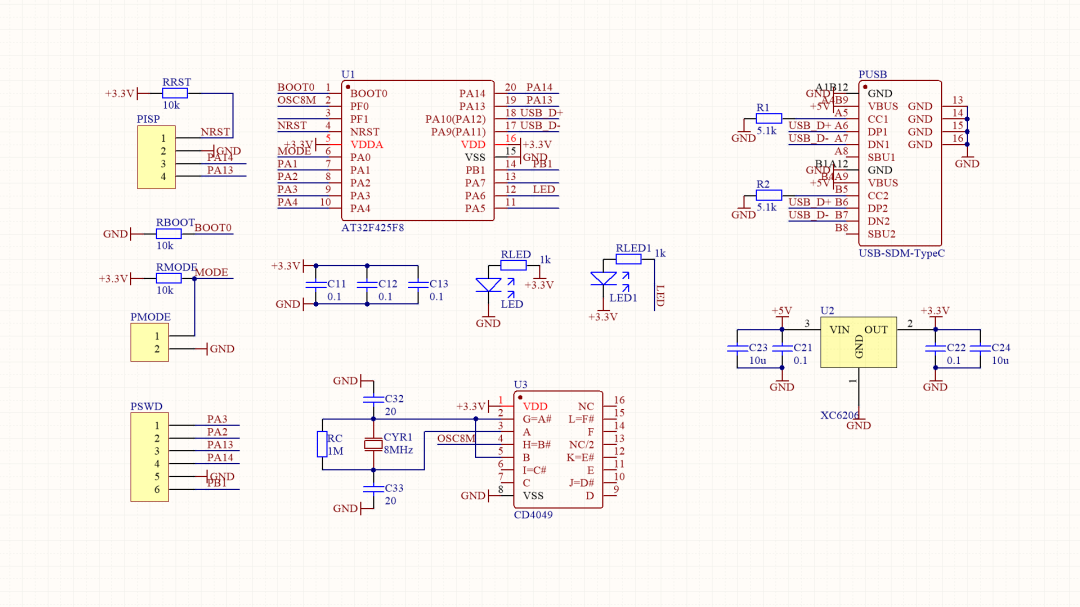
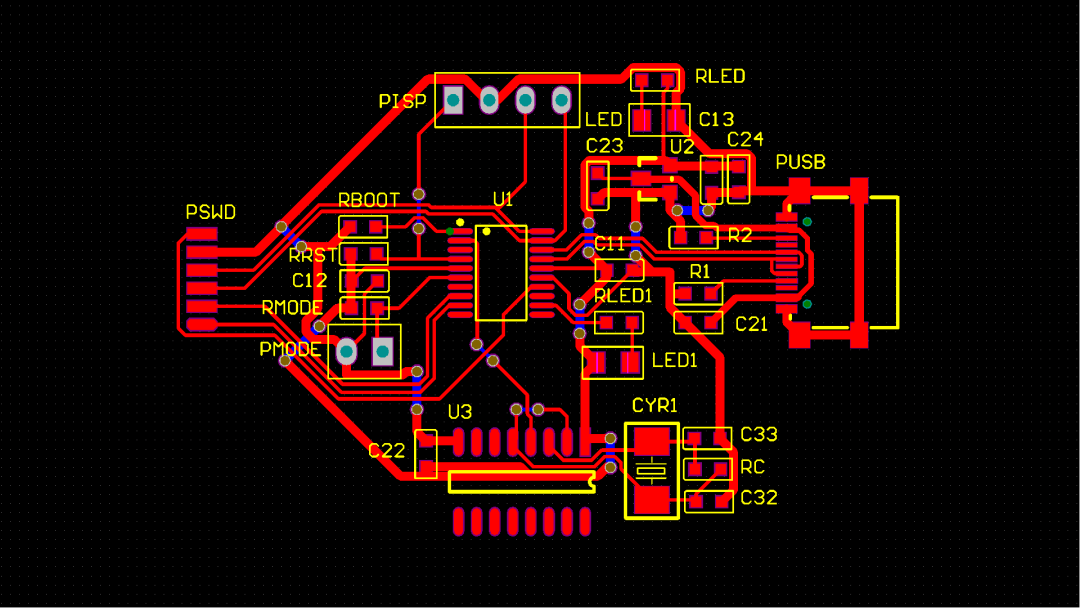
Based on the circuit diagram found online, I redrew the circuit. Since I currently do not have an 8MHz crystal oscillator, I used a CD4049 to build an 8MHz crystal oscillator circuit. The output SWD interface also adopts the standard interface I usually use, including SWD signal lines, UART signal lines, and RST signal lines. Next, I will lay out the test circuit. A single-sided design circuit diagram is used, suitable for one-minute board production.
AD\Test\2024\October\DAPLinkF425.PcbDoc
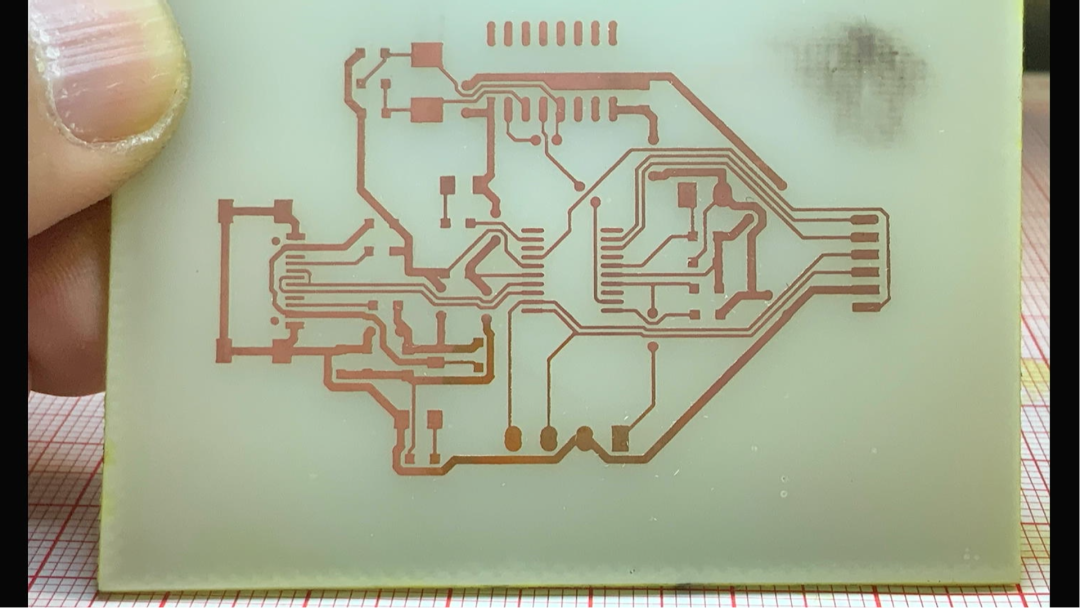
After one minute, I obtained the test circuit board. The circuit board was made perfectly. Next, I will proceed with soldering tests.
3. Soldering Test
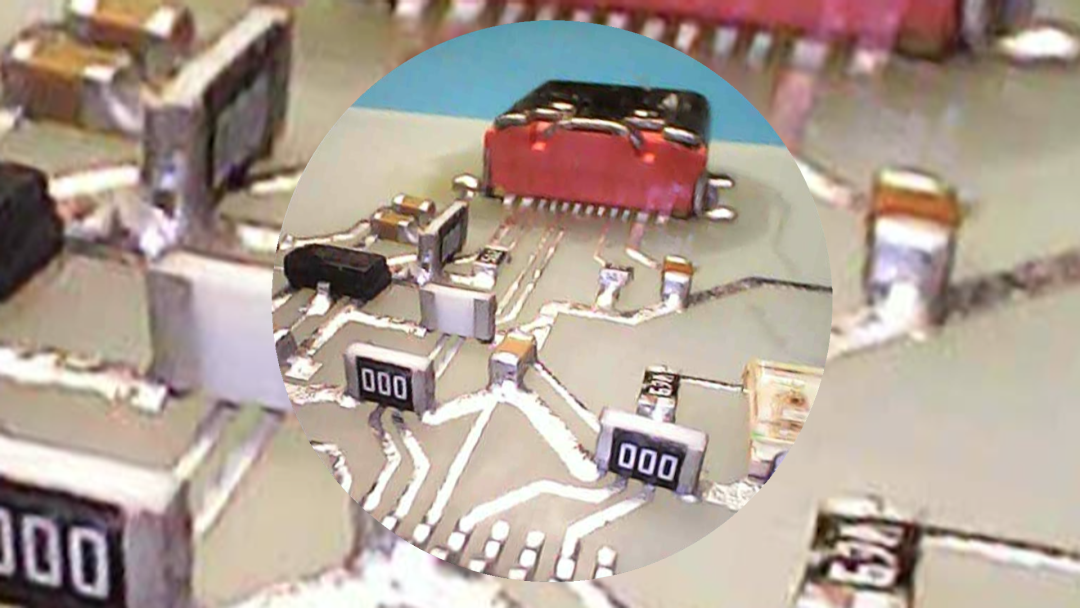
Solder the circuit board and clean it. Since the circuit is relatively complex, it includes 11 jumpers. I used 0-ohm resistors to achieve short circuits. Next, I will conduct circuit testing.
4. Download Software
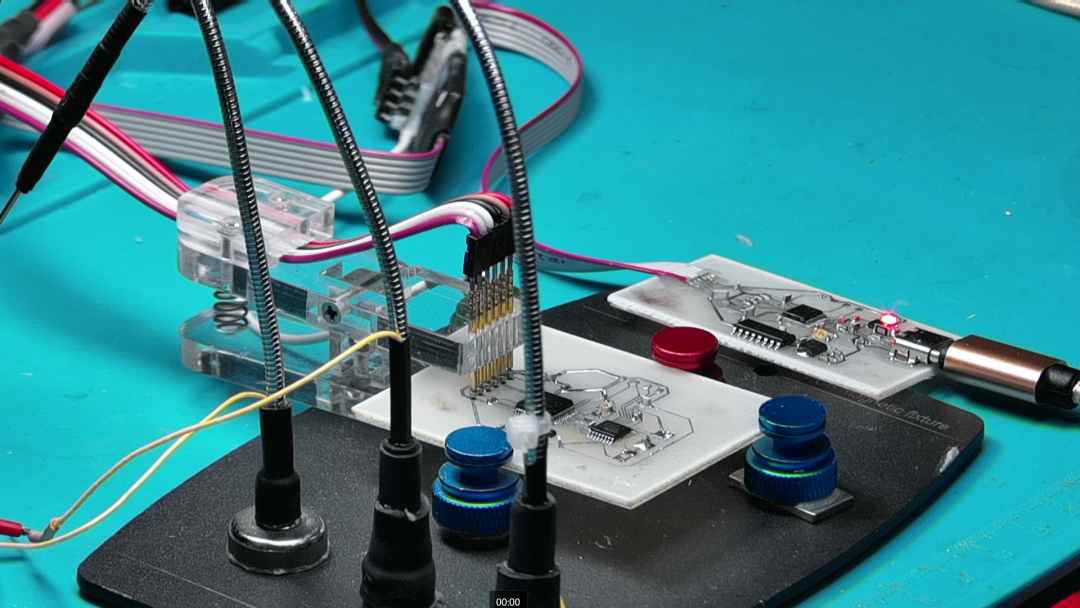
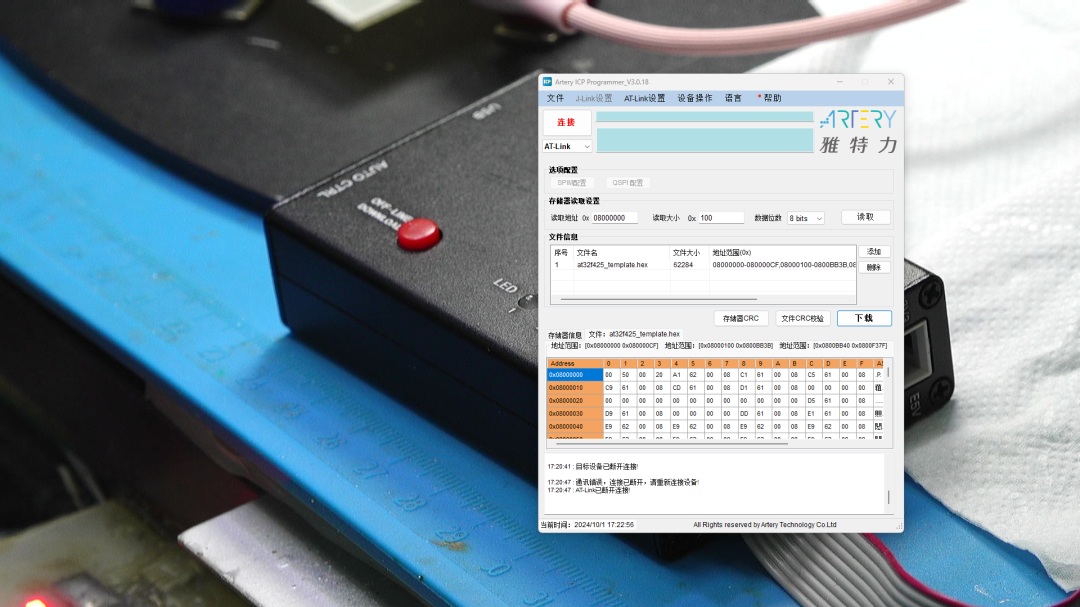
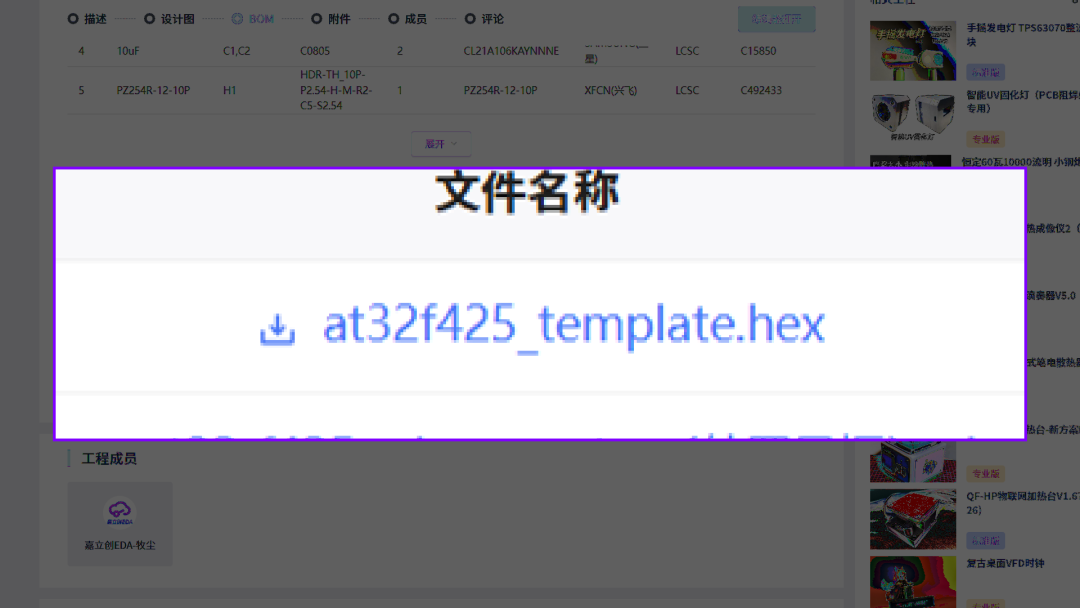
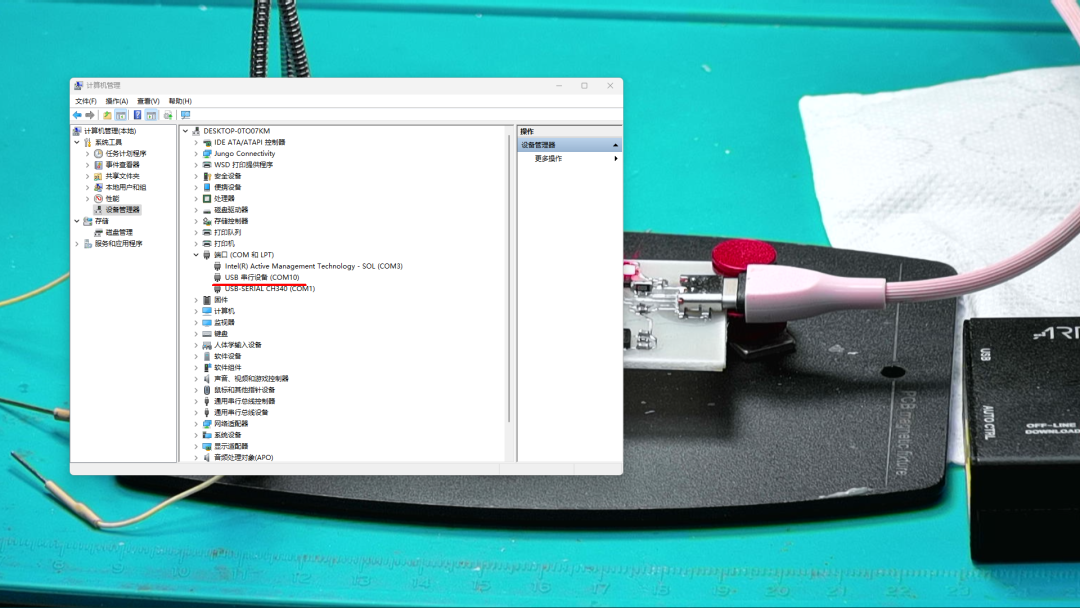
I have an AT-LINK on hand, and I will use it to download the program for the AT32F425 microcontroller in the DAP_LINK I created. I downloaded the ICP programming software from the Yateli website. I also downloaded the standard software from the Jialichuang website. First, I will test this template software. After downloading, I connected the circuit to the computer via Type-C USB. I could hear the computer recognizing a new device. In the system device manager, I found the corresponding virtual serial port in the DAP-LINK, which is COM10.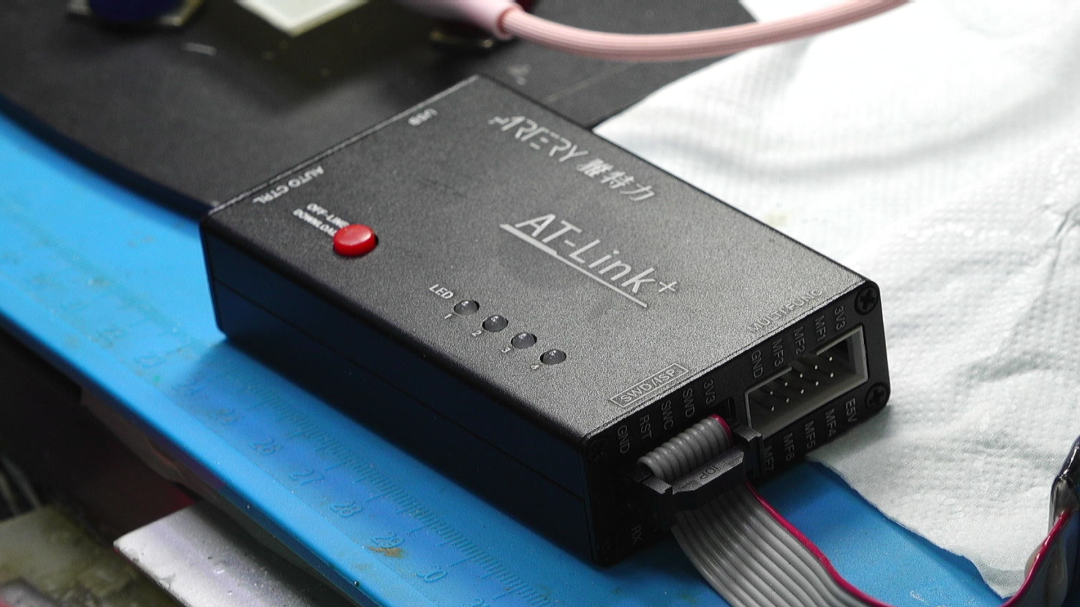
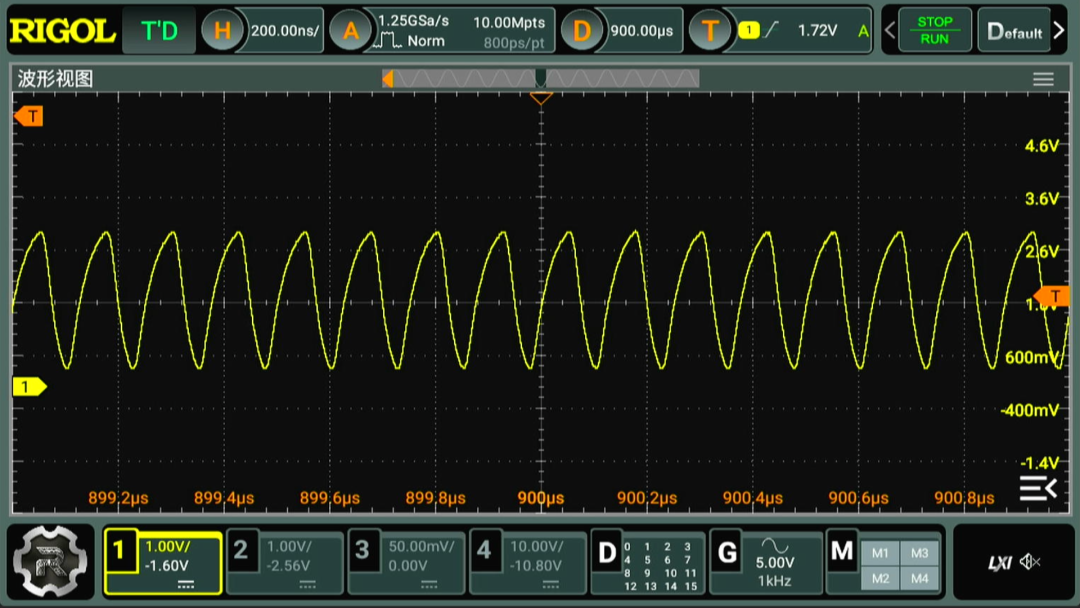
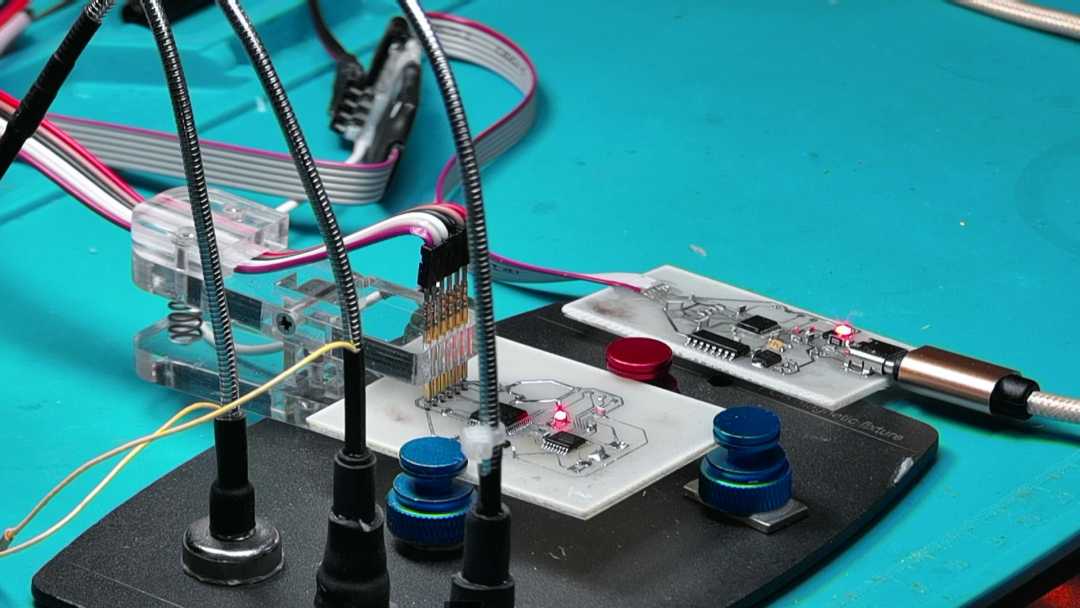
Testing the output of the 8MHz oscillator circuit on the circuit board, I can see that the clock signal is normal. Next, I will measure some other small functions of this circuit.
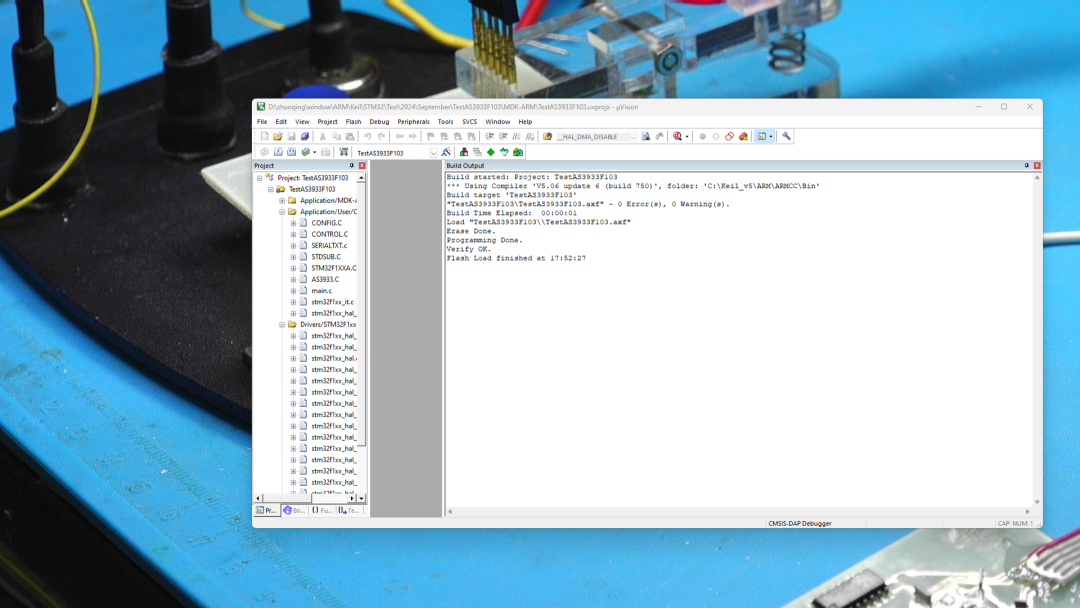
Finally, I will measure the download function of the DAPLINK I created. Using the STM32 microcontroller module I made yesterday, I set the project download DEBUG option in the Keil environment and selected CMSIS-DAP. I can see that the software can be downloaded correctly. After downloading, the microcontroller works normally. The host computer can also obtain serial information through the serial port on the DAP-LINK. After an hour of production, I have proven that this module can run successfully.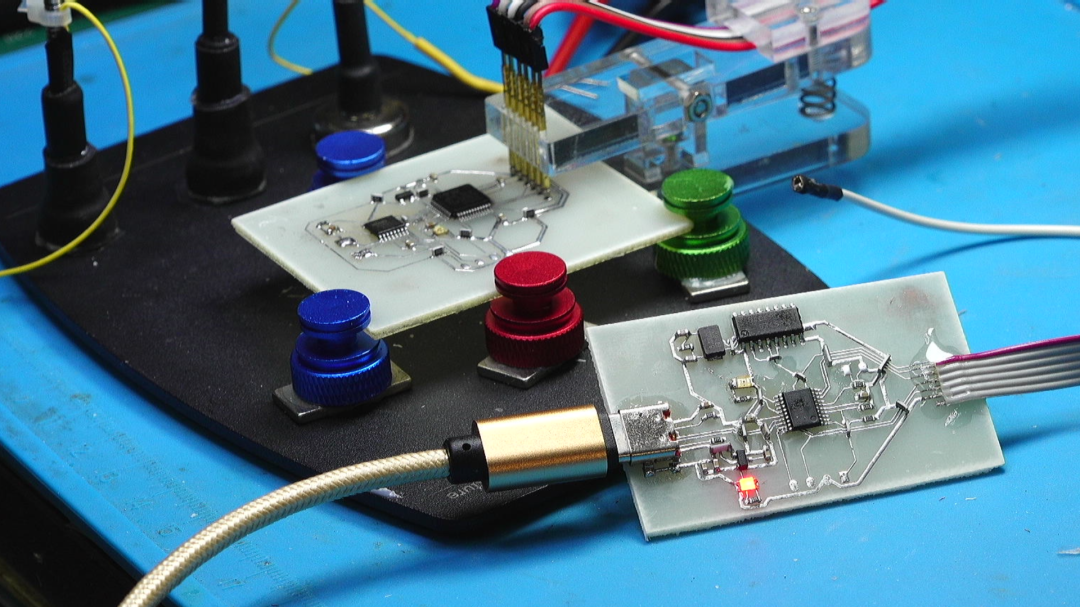
※ Conclusion ※
This article tested the DAP-LINK based on the AT32F425, using a single-sided wiring test circuit. Since I did not have an 8MHz active crystal oscillator on hand, I used an inverter to create an 8MHz oscillator to provide an external clock for the microcontroller. After testing, the DAP-LINK I created works normally. Later, when the 8MHz surface mount crystal oscillator I ordered arrives, I can optimize this circuit.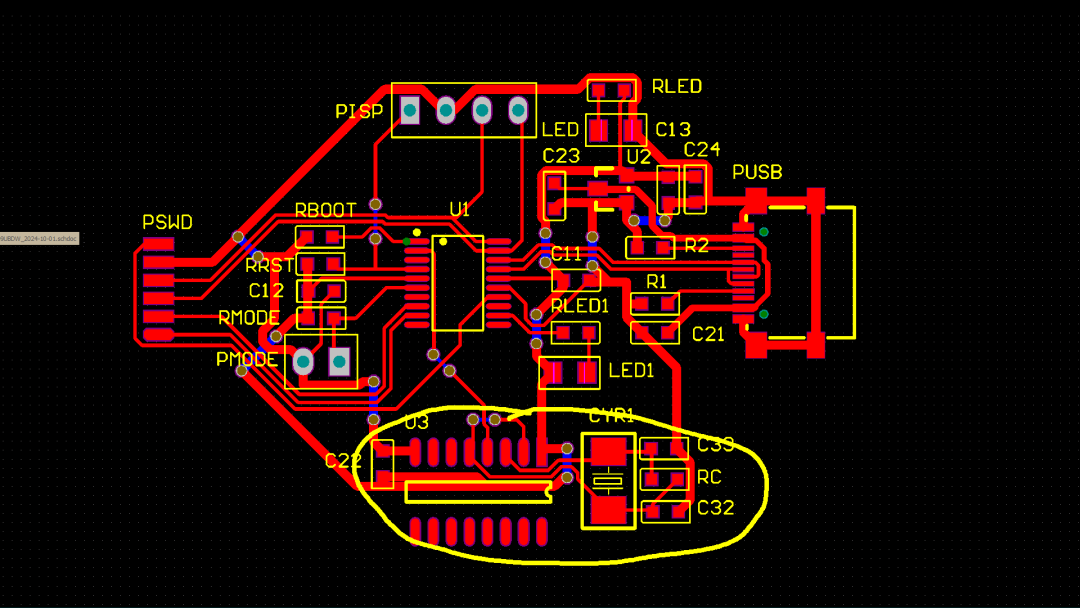
Markdown 4073 words, 92 lines, current line 63, current column 197 HTML 1096 words, 24 paragraphs
Publishing a blog post can earn significant traffic coupons.
References[1]
Using Free PCB to Create a DAPLink Debugger! Open Source: https://mp.weixin.qq.com/s/Xr5Bw7qrUdOxytqxgvXerg
[2]
DAPLINK Downloader: https://oshwhub.com/course-examples/daplink-xia-zai-qi
[3]
Fan Hua Cloud/AT32F425_DAP: https://gitee.com/fhcloud/at32-f425_-dap
[4]
??AT32F425?DAPLink???: https://oshwhub.com/fanhuacloud/at32f425_dev