MAKER:RiksEddy/译:趣无尽
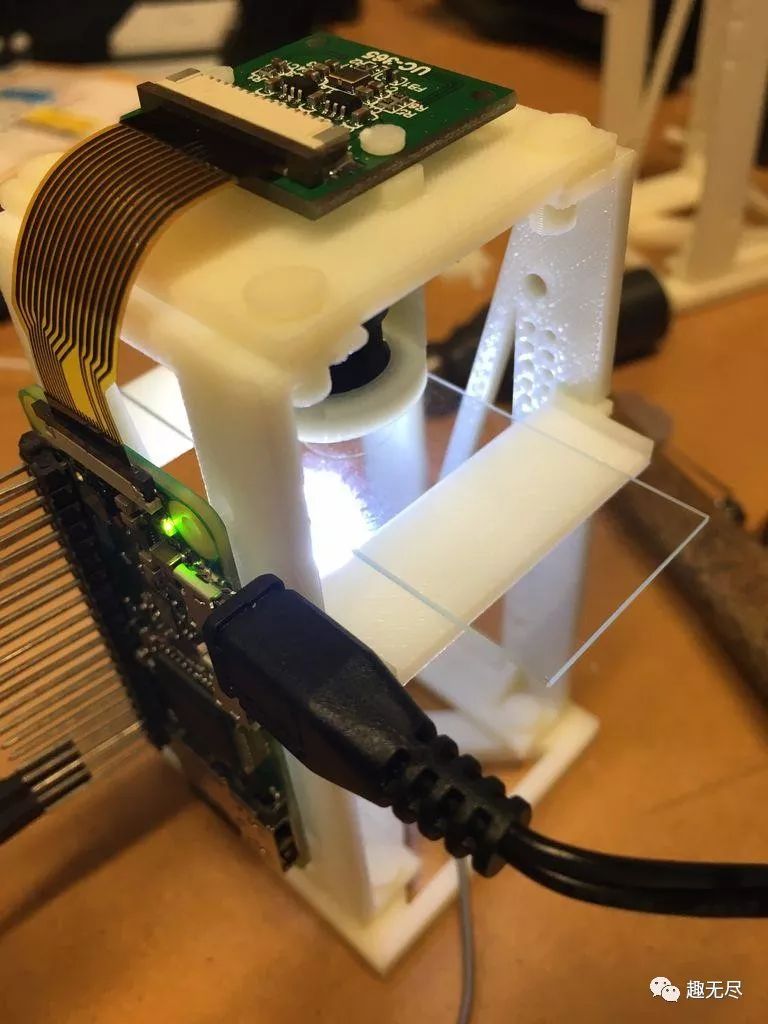
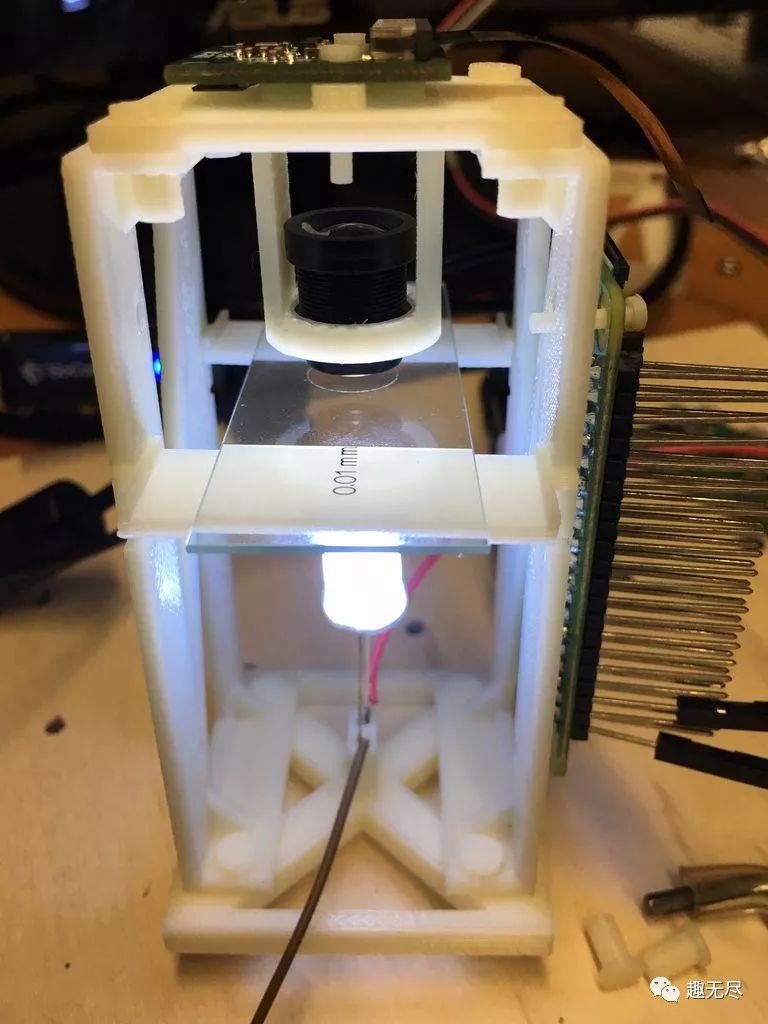
I know there are many Maker friends interested in biology here. This issue I want to recommend a practical equipment project, an interactive microscope assembled with Raspberry Pi, a camera, a CCTV lens, and a set of 3D printed brackets.
Low cost and powerful, it’s time to replace the traditional elementary school experimental microscopes with it! Here are two test videos to experience the actual effect:
Material List
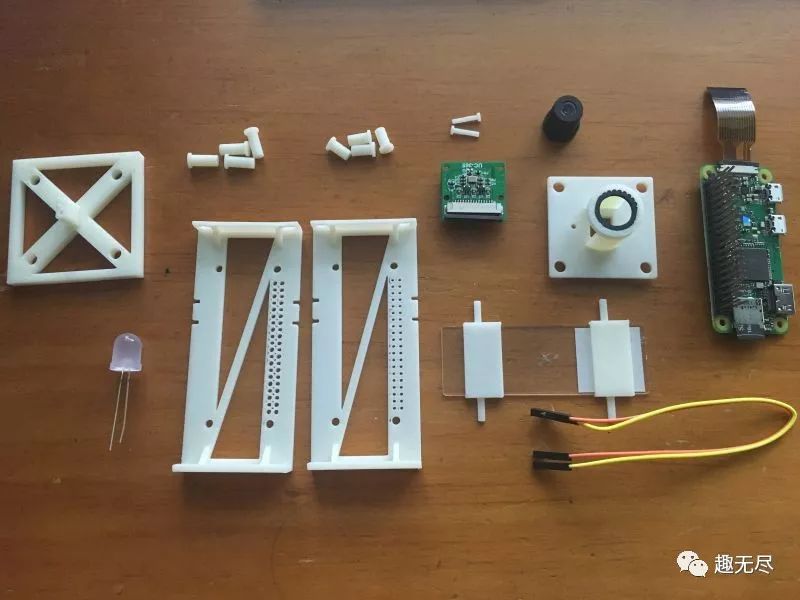
Raspberry Pi Zero W ×1Raspberry Pi Camera ×1Slide ×1Cover Slip ×1CCTV Lens ×1CCTV Lens Locking Ring ×1GPIO Header ×1SD Card 8G ×1Jumper Wires ×SeveralScissors ×1Forceps ×1100 Ohm Resistors ×SeveralLED ×1Micro USB Cable ×1Soldering Kit ×13D Components ×1Transparent Tape ×1
3D Printing
 Download the STL_FIles.zip file from the project library and unzip it.https://make.quwj.com/project/1463D print it yourself or find a vendor on Taobao to print the components. It is recommended to use ABS or PLA materials.
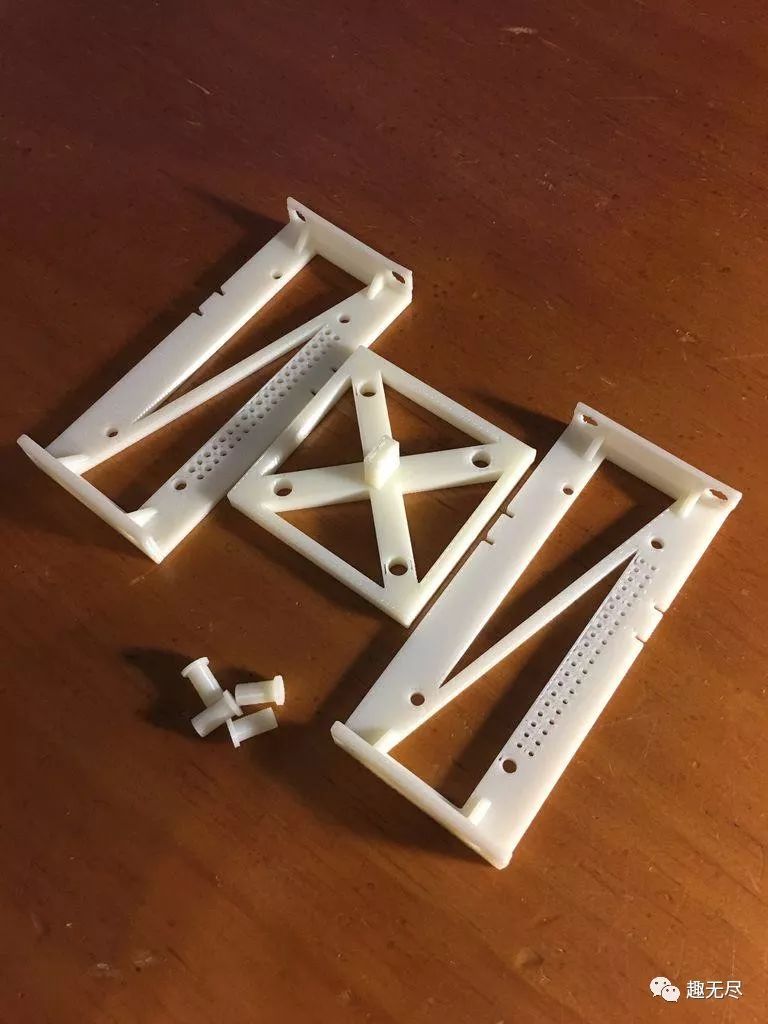
The 3D printed parts are:Bottom ×1Fixed screws for bottom and top ×8Large side tray ×2Camera fixing screws ×2Camera and lens socket ×1Lens rotation component ×1Small side tray ×2Structural body ×2
Download the STL_FIles.zip file from the project library and unzip it.https://make.quwj.com/project/1463D print it yourself or find a vendor on Taobao to print the components. It is recommended to use ABS or PLA materials.
The 3D printed parts are:Bottom ×1Fixed screws for bottom and top ×8Large side tray ×2Camera fixing screws ×2Camera and lens socket ×1Lens rotation component ×1Small side tray ×2Structural body ×2
Software Installation
1. Power the Raspberry Pi Zero W using a Micro-USB cable.
2. Log in to the Raspberry Pi remotely via SSH using your computer:For Windows Putty:Step 1: Enter<span> [HOSTNAME].local </span> as the hostname, click the SSH button, and then click Open.Step 2: Enter your login username and password when prompted.For Mac Terminal:Step 1: In the terminal SSH, enter this command<span> [USERNAME]@[HOSTNAME].local</span>. Step 2: Enter the password when prompted.Note: The following steps may take about 10 hours to complete, please be patient.
3. Enter the following commands in the CLI on SSH to set up OpenCV:Note: If the CLI prompts “Do you want to continue?”, please enter y.
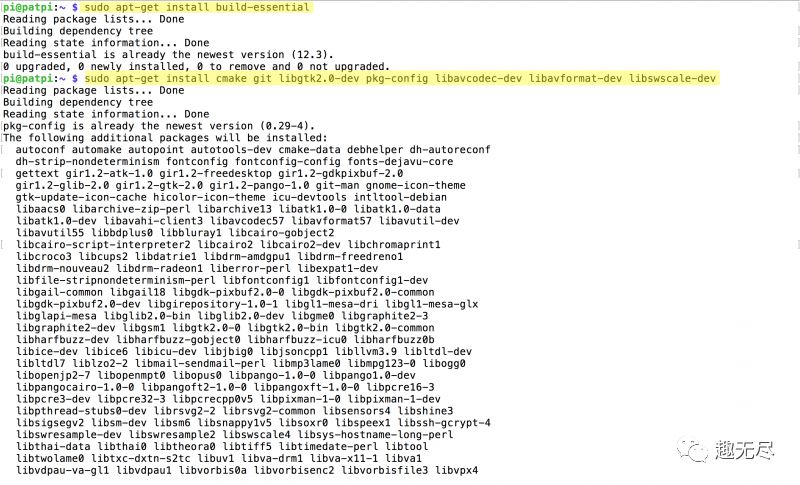
sudo apt-get install build-essential
sudo apt-get install cmake git libgtk2.0-dev vim pkg-config libavcodec-dev libavformat-dev libswscale-dev
sudo apt-get install python-dev python-numpy python-pip libtbb2 libtbb-dev libjpeg-dev libpng-dev libtiff-dev libjasper-dev libdc1394-22-dev
As shown, I created a parent directory including the cloned opencv directory, but I eventually did not adopt it, which can simplify things.
git clone https://github.com/opencv/opencv.git
cd opencv/
mkdir build
cd build/
cmake -D CMAKE_BUILD_TYPE=RELEASE -D CMAKE_INSTALL_PREFIX=/usr/local -D INSTALL_PYTHON_EXAMPLES=ON ..
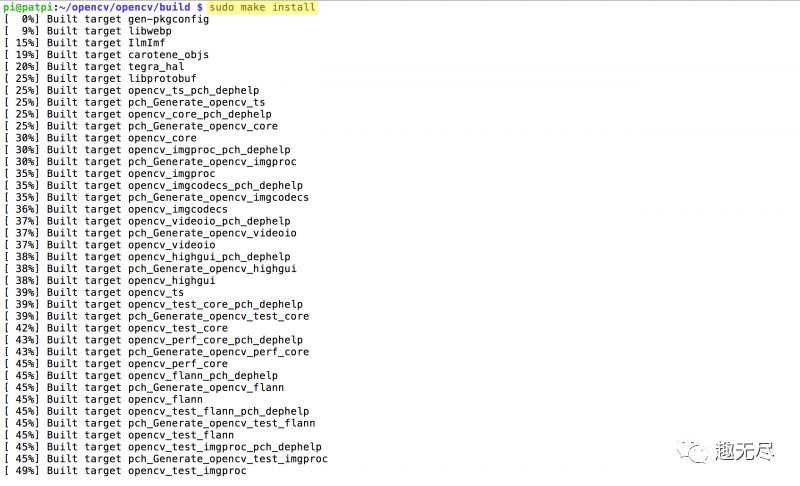
make
sudo make install
cd
4. Download and unzip the picroscope.zip file on your computer.The source files can be downloaded from the project library.https://make.quwj.com/project/146
Then, upload the folder to the Raspberry Pi Zero W:For Windows WinSCP.Step 1: Enter[HOSTNAME].local as the hostname, enter your login username and password when prompted, choose SFTP as the file protocol, and then click login.Step 2: Find the program file in the computer drive and drag the file from left to right, which is the main directory of Raspberry Pi Zero W.
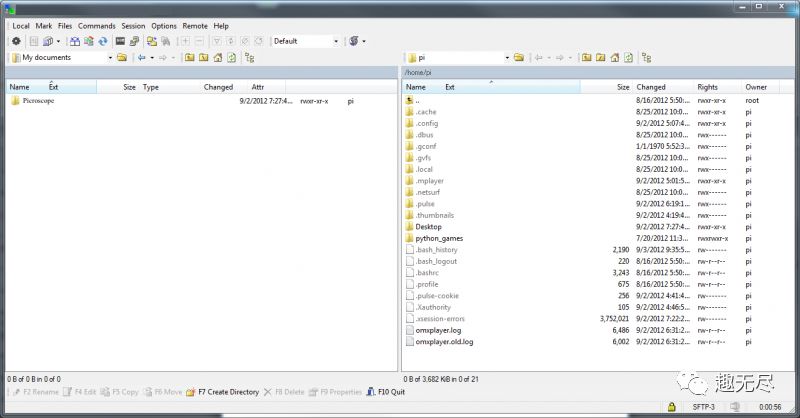
Step 1: Click the plus sign in the terminal to create a new tab or session.Step 2: Enter the command <span>sftp [USERNAME]@[HOSTNAME].local</span>.Step 3: Enter the password when prompted.Step 4: Find the path of the folder on your computer and enter the command<span> pwd</span> in the SSH tab of the terminal to find the main directory path of Raspberry Pi Zero W. Copy the path for later use.Step 5: Enter the command<span> put -r [PATH2FOLDER-Laptop] [PATH2HOME-PiZeroW]</span>
5. Enter the following command to check if OpenCV is valid and can be used in Python.
cd
python
import cv2
| If an error is displayed, please use the internet to troubleshoot. If other methods do not work, please post a question. |
If there are no problems, OpenCV can be used normally. You can enter the following command to exit the Python CLI.
exit()
Enter the following command to shut down the Raspberry Pi.
sudo shutdown now
| Disconnect the USB cable. |
Assemble the 3D Components
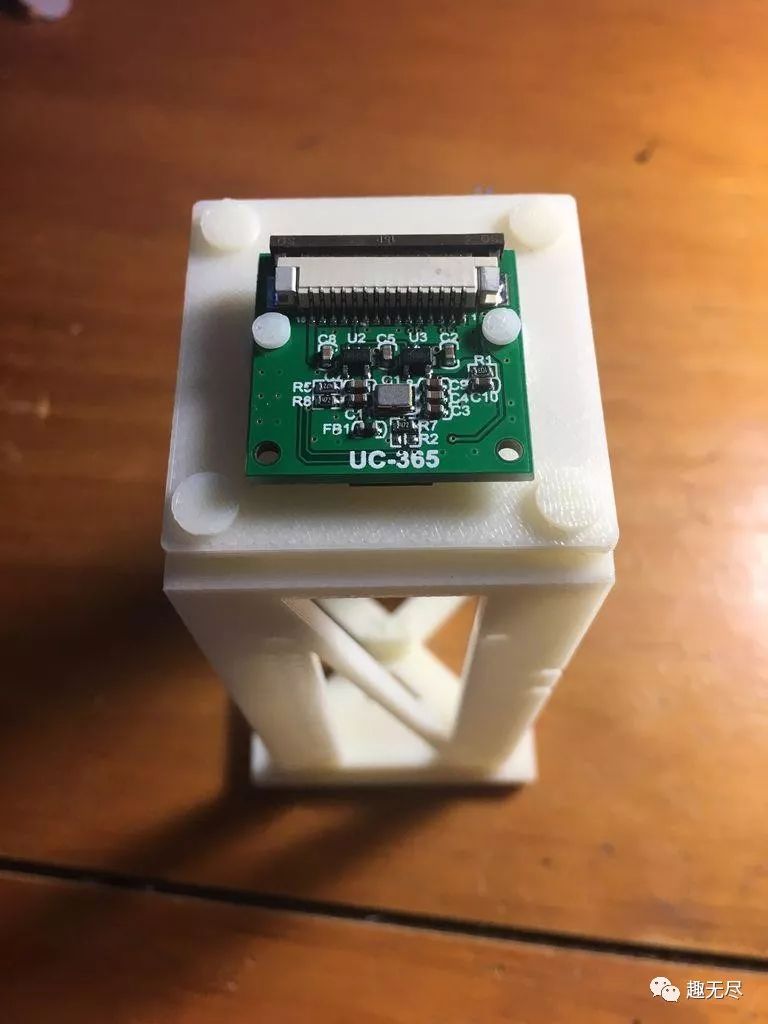
After the 3D printed components are completed, assemble them at this step.1. Lens Part
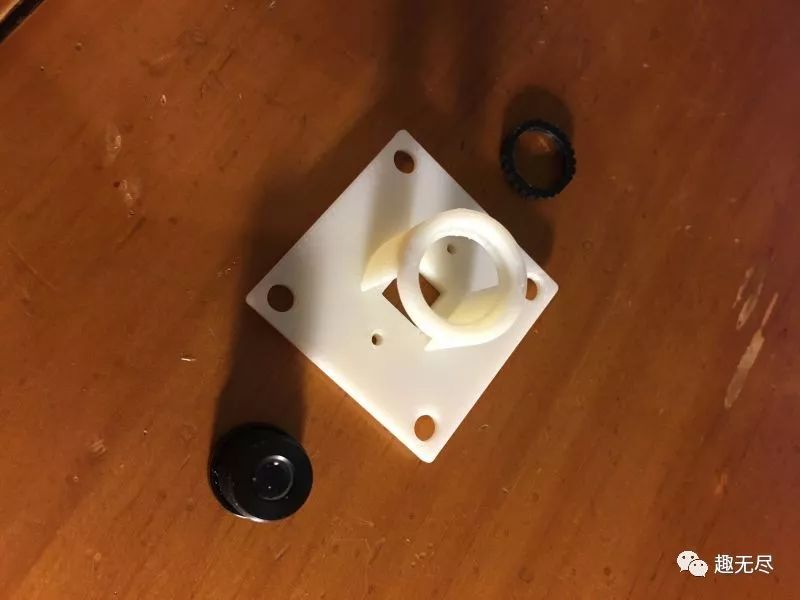
Camera and CCTV lens bracket (camera + lens bracket), lens and locking ring.
Adjust the direction of the lens so that the smaller lens faces upwards.
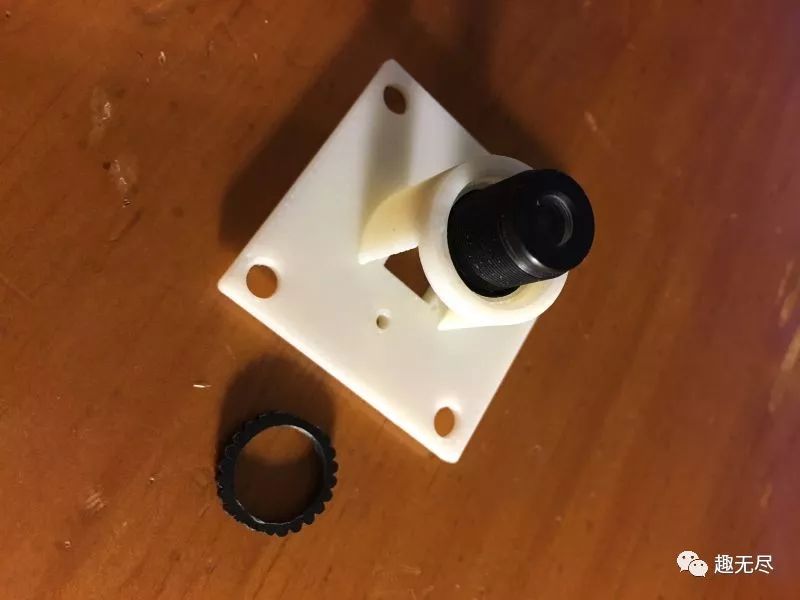
Carefully pass the lens through the round hole in the lens bracket.
Place the locking ring on top of the lens.
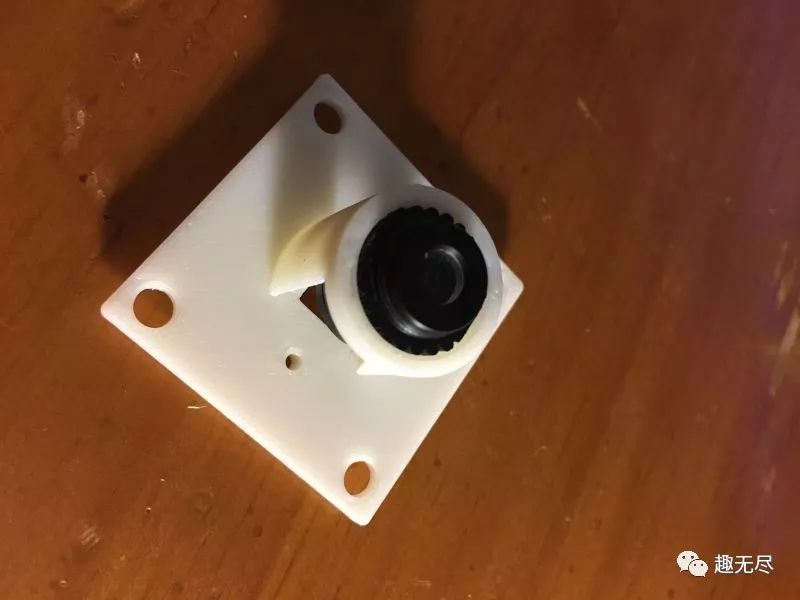
Secure the locking ring to the lens and carefully pull the lens down until the locking ring is secured to the top of the lens bracket.
Base, two structural bodies, and four fixing parts.
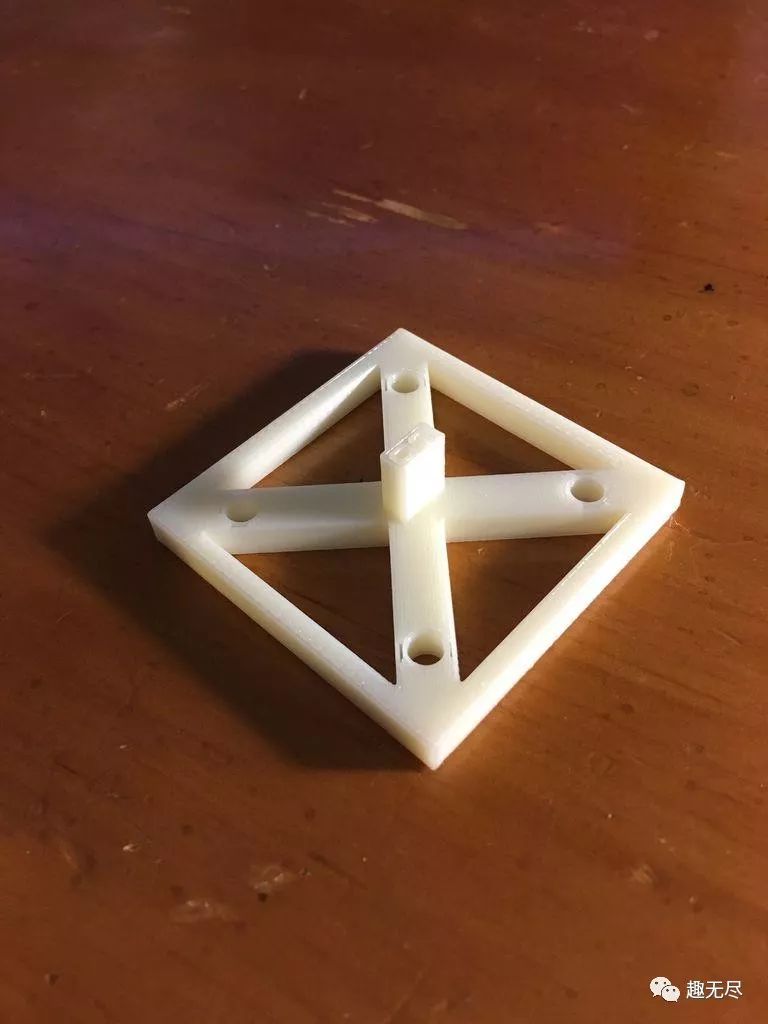
Start assembling from the base.

Fix the structural body, install the thicker side of the support on the base and secure it in place.
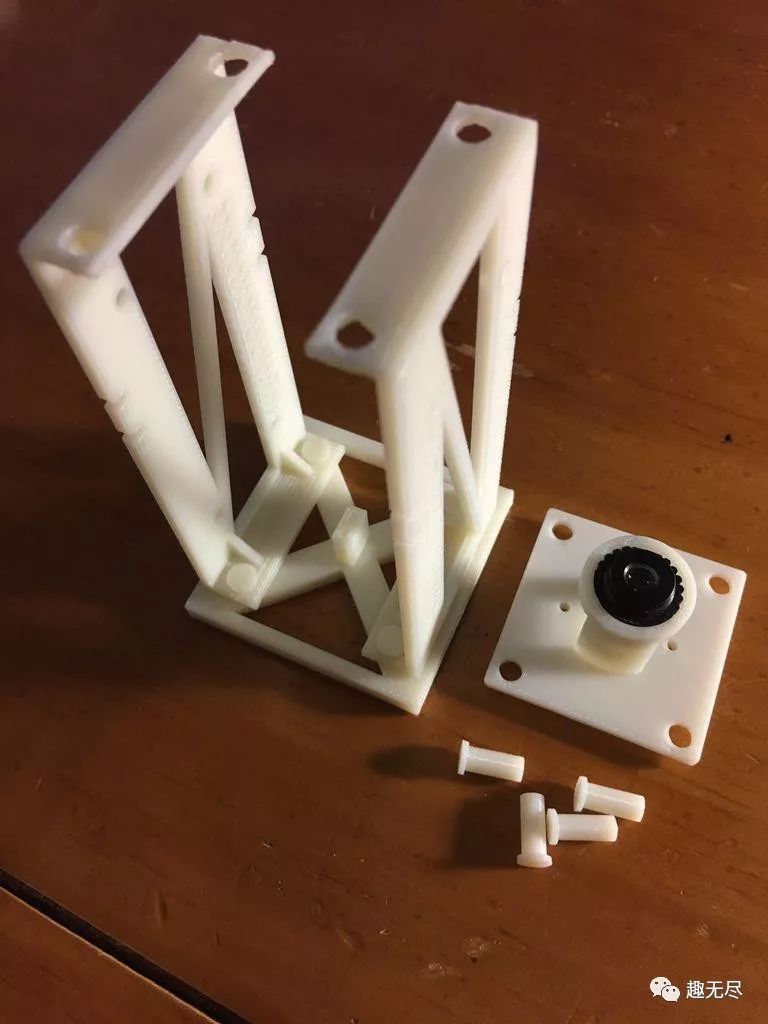
Lens, the other four fixing parts, camera + lens bracket. Secure the camera + lens bracket to the top of the structural body, facing the lens downwards and secure it in place.
Install the Camera
1. Optical adjustment of the camera.
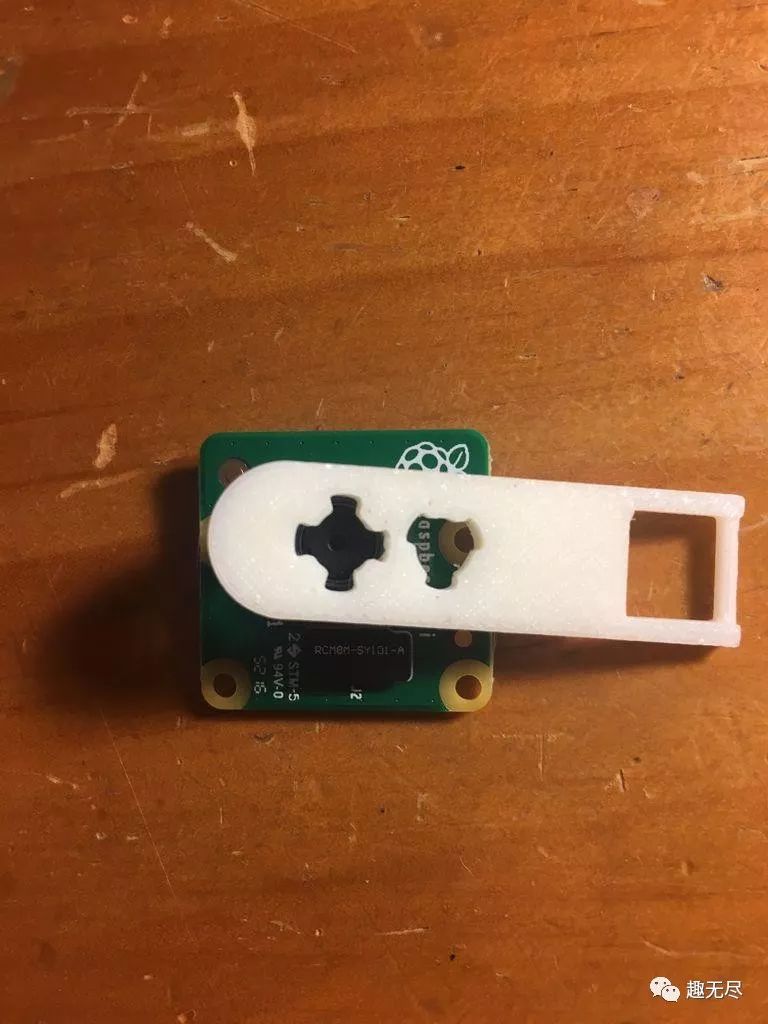
Use the 3D printed lens remover to remove the lens from the camera.
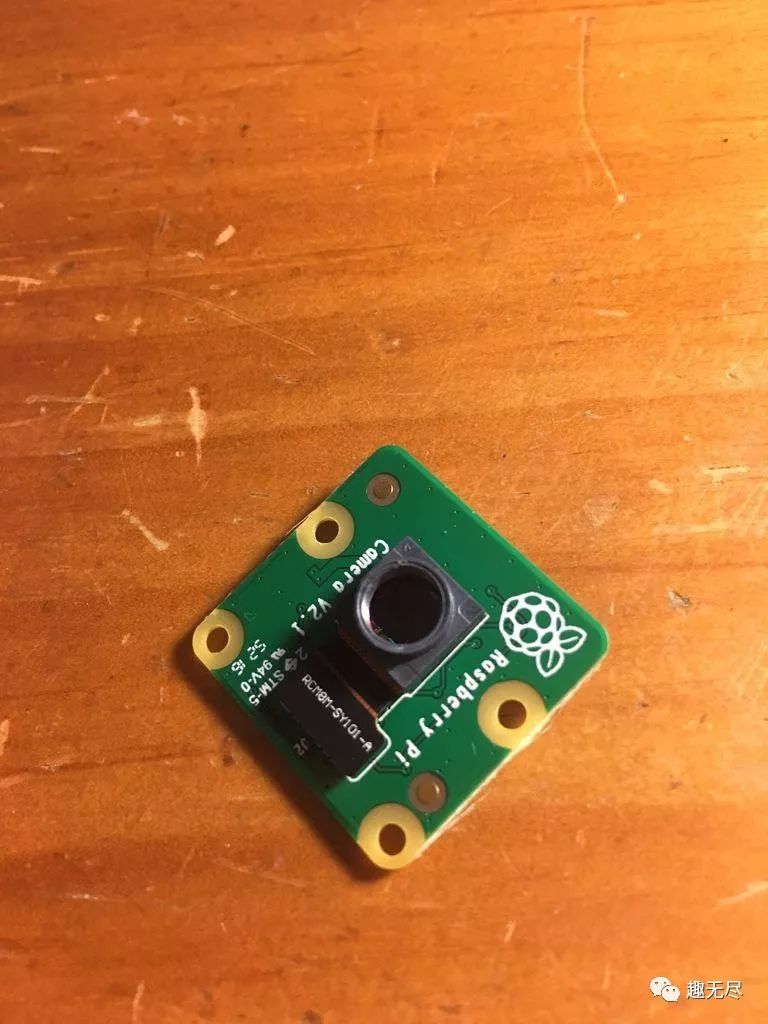
Carefully remove the hot mirror glass filter from the camera, keep the lens and glass filter dry and tidy.2. Connect the camera to the Raspberry Pi Zero W.
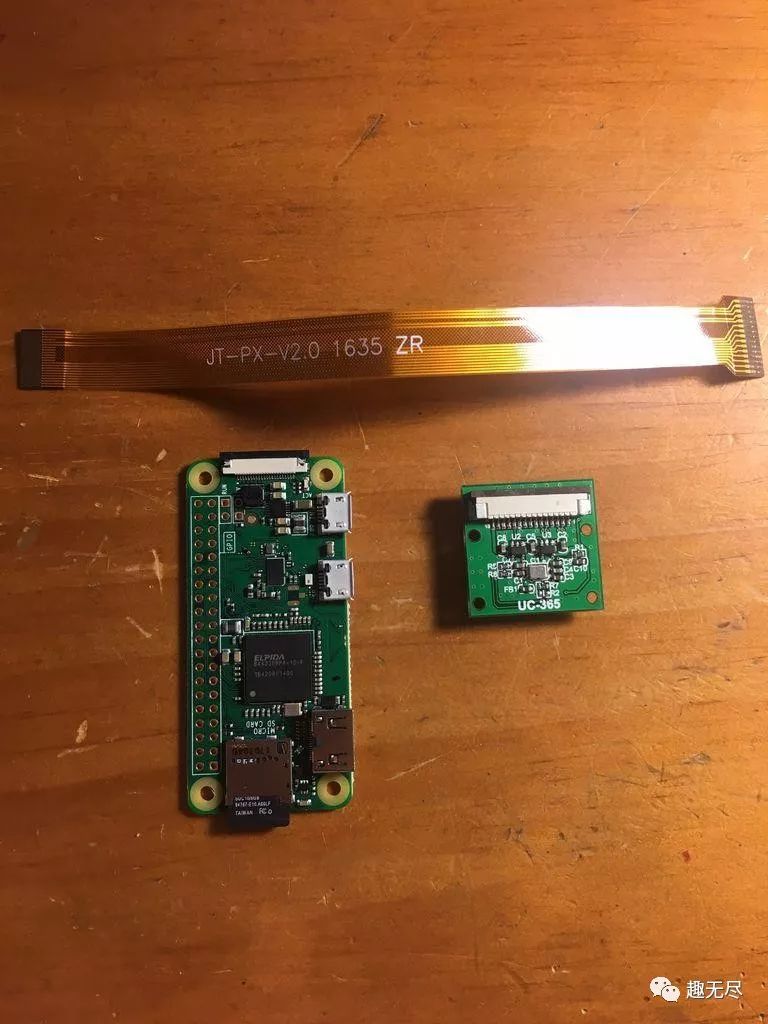
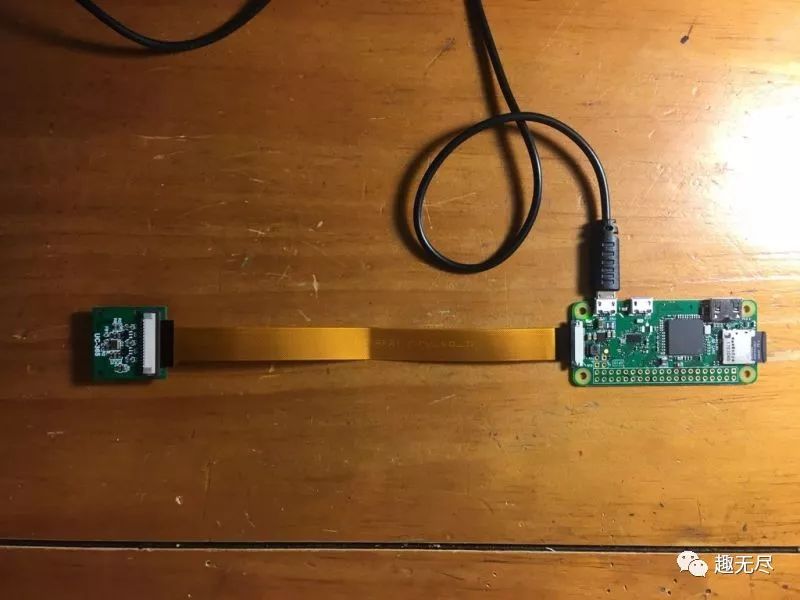
Camera, Raspberry Pi Zero W, and CSI cable.
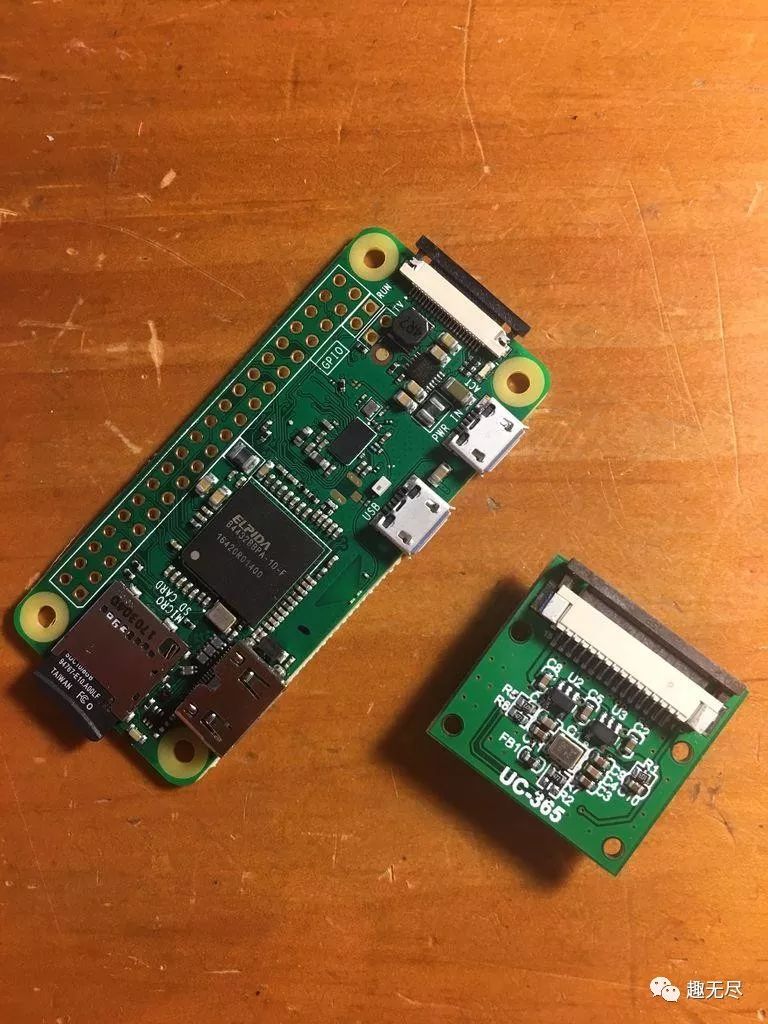
Open the CSI port of the camera and the CSI port of the Raspberry Pi.
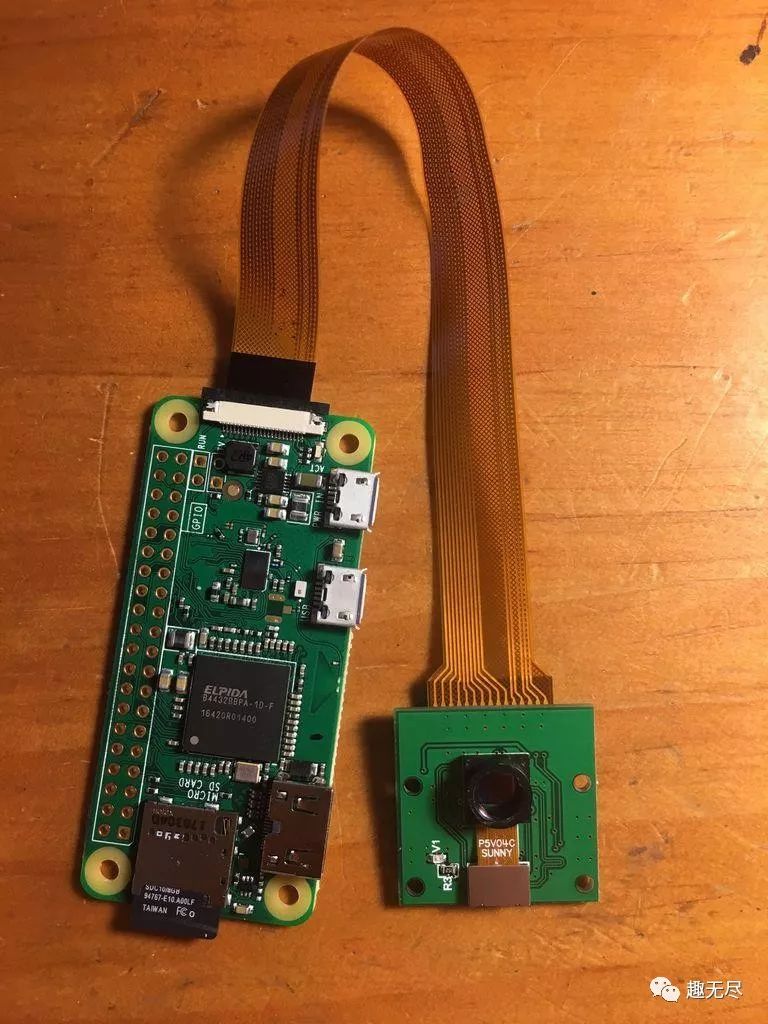
Connect the two ends of the CSI cable to the CSI ports according to the size of the CSI ports.Finally, close the CSI port.
Configure the Camera on Raspberry Pi
1. Power the Raspberry Pi using a Micro-USB cable, and log in to the Raspberry Pi via SSH (refer to the previous steps).2. Enable the camera interface on the Raspberry Pi with the following command:In the CLI, enter sudo raspi-configSelect “Interfacing Options”Select “Camera”When prompted to enable the camera, select “Yes”When asked to reboot the Raspberry Pi, select “Yes”3. Log in to the Raspberry Pi again via SSH.4. Run the command to download the Python interface for the camera and simple server.
sudo pip install picamera
sudo pip install Flask
5. Run the following command to test if the camera is working properly.
cd picroscope
python LiveStream.py
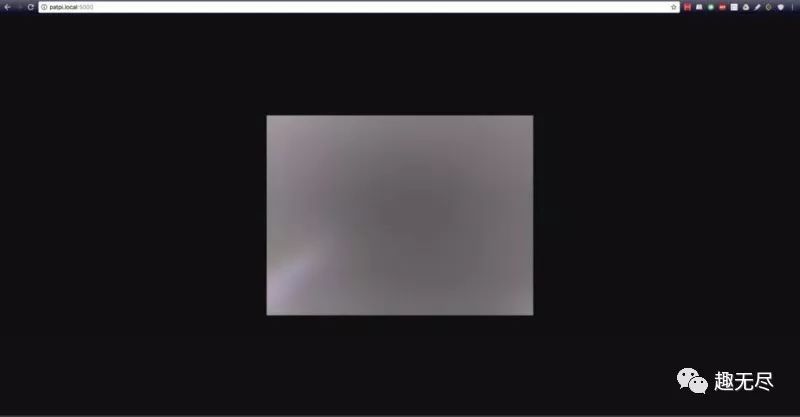
Step 1: Open the browser and enter the URL:[HOSTNAME].local:5000
Step 2: You should be able to see the camera live streaming. Don’t worry if the image is blurry without the lens.
6. Shut down the Raspberry Pi and disconnect the Micro-USB and CSI cables.
Install Hardware
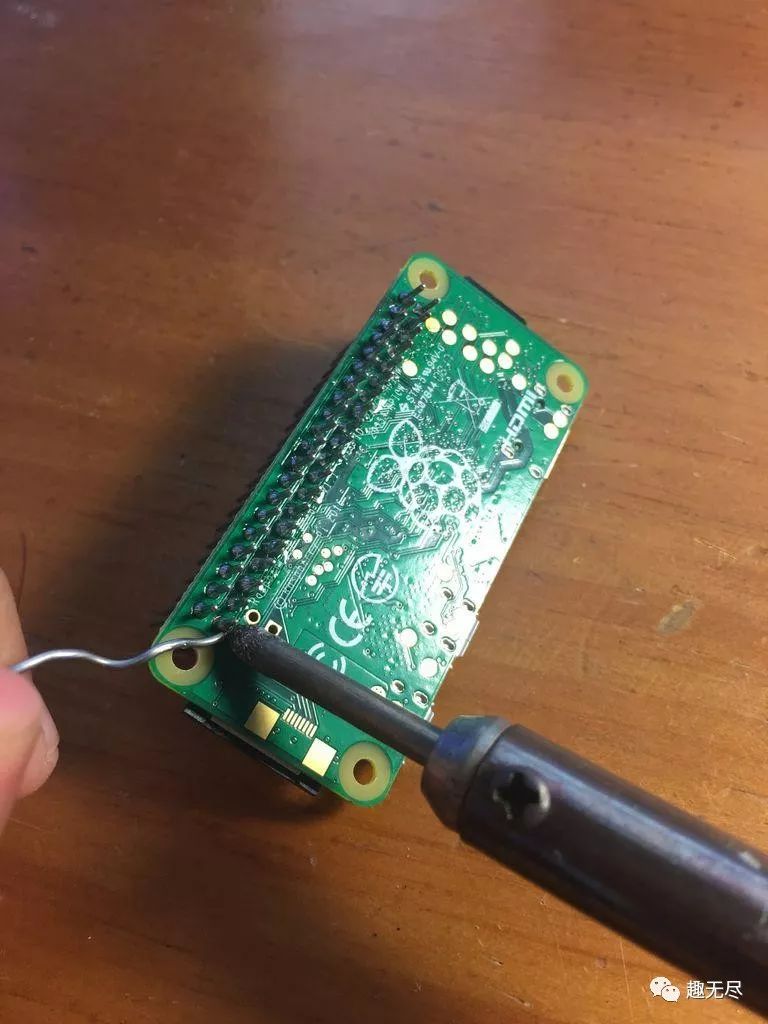
1. Solder the header pins to the Raspberry Pi. You will need the Raspberry Pi, soldering kit, and GPIO header.Pass the shorter header pins through the front of the Raspberry Pi.Be careful to solder the forty pins.
2. Install the LED lighting. You will need two female-to-female jumper wires, a Raspberry Pi, a 100 Ohm resistor, and an LED.
Remove the jumper connector and strip one end of the jumper wire.
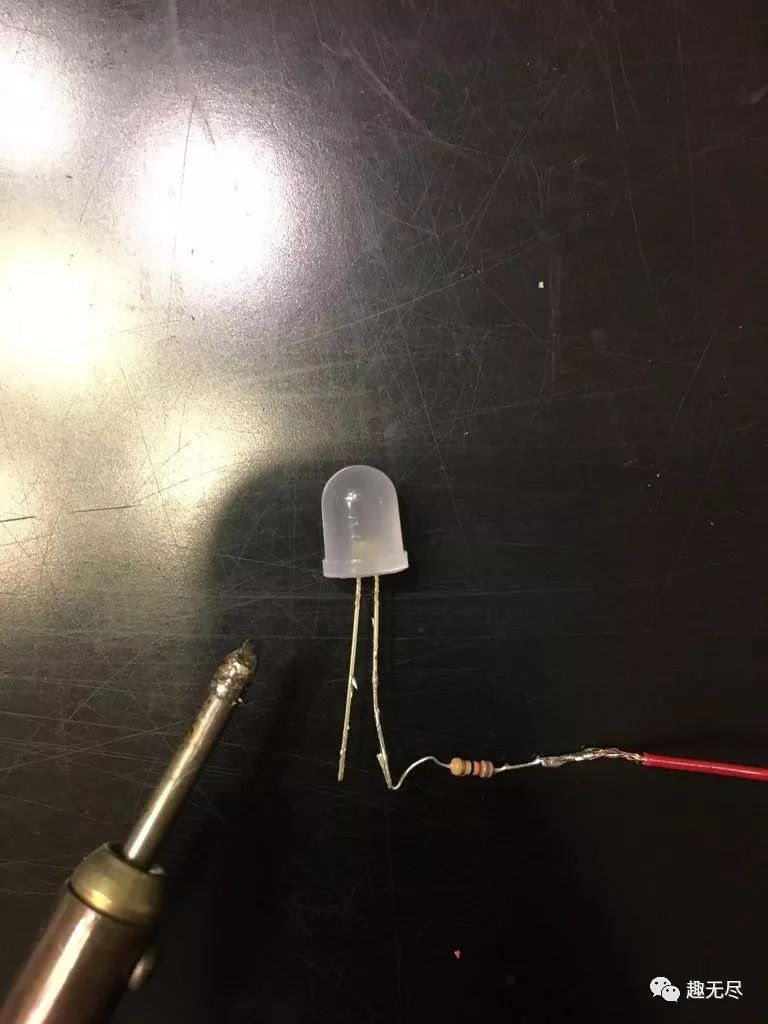
Solder the short end of the LED to the jumper wire.
Solder the resistor to the long end of the LED and solder the other end of the resistor to the stripped wire.
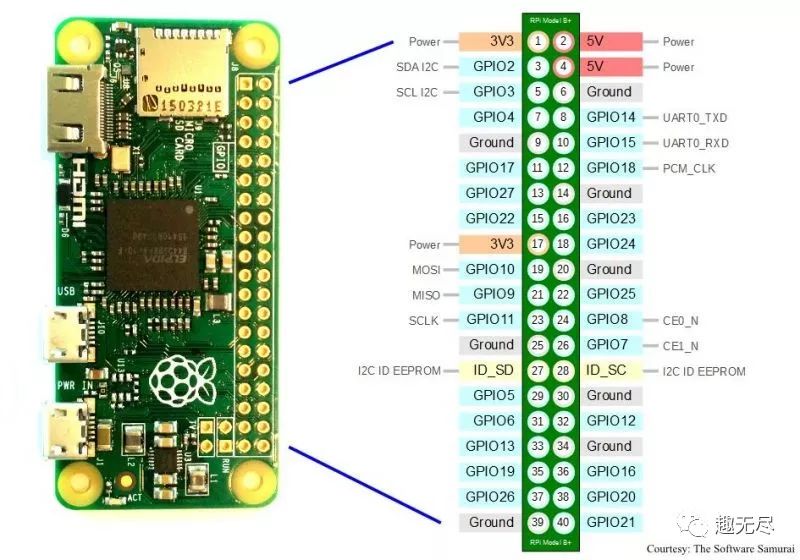
As shown, connect the jumper wire connected to the short end of the LED to pin 6 of the Raspberry Pi.

Power the Raspberry Pi using a Micro-USB cable.Connect another jumper wire to pin 2 of the Raspberry Pi, at this point, the LED should light up.Disconnect the jumper wire connecting the Raspberry Pi and Micro-USB.
3. Final installation. You will need the assembled 3D printed components, camera, CSI cable, camera fixing firmware, etc.Place the camera on top of the bracket and secure it in place.
Install the Raspberry Pi in place.
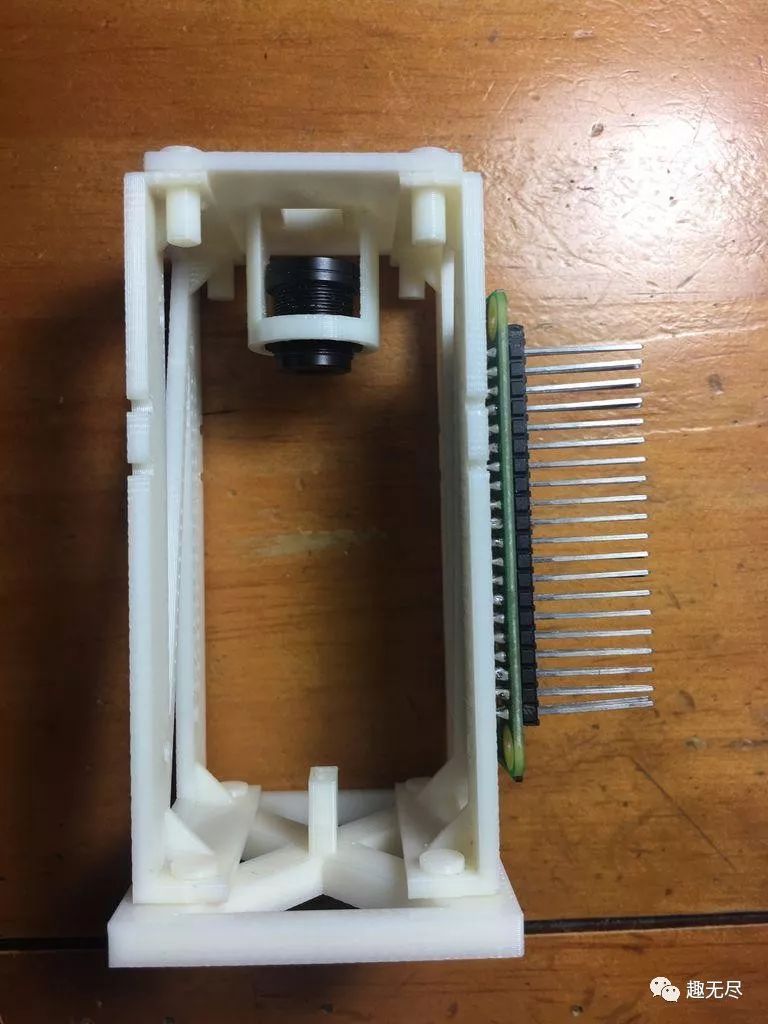
Connect the CSI cable to the camera and the Raspberry Pi.

Insert the small or large sliding tray into the gaps on the side.
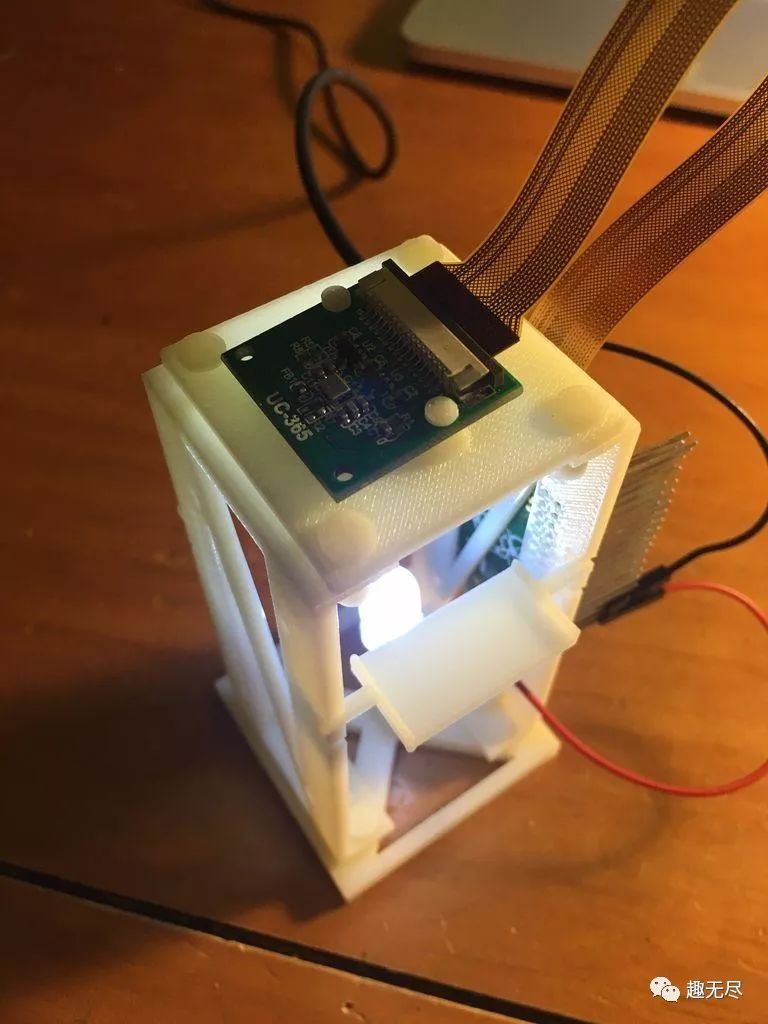
Finally, connect the jumper wire and LED to the Raspberry Pi. Place the LED on the base’s header.
Testing
1. Power the Raspberry Pi using a Micro-USB cable. Log in to the Raspberry Pi via SSH.
2. Place a very small object, such as a hair, on the microscope slide.3. Place a piece of tape on the object and secure it to the slide (this helps with focus).4. Slide the microscope slide across the tray.5. Run the following command to test if the simple microscope is working properly.
cd picroscope
python LiveStream.py
| Carefully rotate the lens clockwise or counterclockwise to adjust the focus. |
Now you can see the image of the hair.
Isn’t it an interesting piece of equipment? You can use this microscope to study other things.
The project file library address:
http://make.quwj.com/project/146
via instructables.com/id/Picroscope-a-Low-Cost-Interactive-Microscope/
Links in this article can be clicked to read the original text at the end of the article

More exciting content
Build a percussion band with Raspberry Pi
Biometric lock made with ESP8266
3D printed ultra-simple automatic fish feeder
Raspberry Pi + matrix to make a Bitcoin tracker
Elegantly add a power button to the Raspberry Pi
Raspberry Pi + hat = wearable video recorder
Arduino made water quantity smart monitoring device