Hello everyone, I am the Mixed Bag Master.
Previously, we shared useful information about using udhcpd in embedded Linux devices to enable wireless AP/access points.
udhcpd is a lightweight implementation of the DHCP (Dynamic Host Configuration Protocol, 动态主机配置协议) server. It is typically used in resource-constrained embedded systems or small network environments.
It stands for Universal DHCP Daemon, designed to provide basic DHCP services to devices with minimal resource usage and simple configuration.
In this article, we will share knowledge related to DHCP.
1. What is DHCP?
In simple terms, DHCP is like a “concierge” in the network world.
In a complex network environment, such as a smart home system, there are many devices that need to connect to the network. Each device must have a unique IP address to connect properly, just like every house needs a unique address for data to be delivered accurately.
The responsibility of DHCP is to automatically assign IP addresses to these devices, while also providing critical network configuration information such as subnet mask, default gateway, and DNS server addresses, allowing devices to connect to the network quickly and accurately without manual intervention. This reduces human error and can flexibly respond to changes such as device movement and network expansion.
2. The DHCP Workflow
The DHCP workflow can be divided into four key stages: Discover, Offer, Request, and Ack.
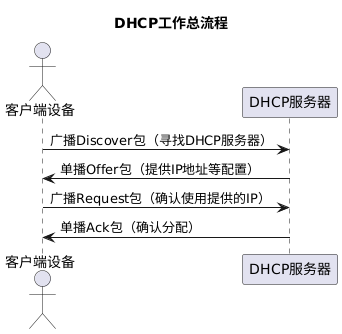
Assuming a large number of embedded devices are deployed for production monitoring and equipment control. Now, a new batch of smart sensors has arrived and needs to connect to the factory’s local area network. There is a DHCP server in the factory network responsible for assigning network configurations to all devices.
1. Discover Stage
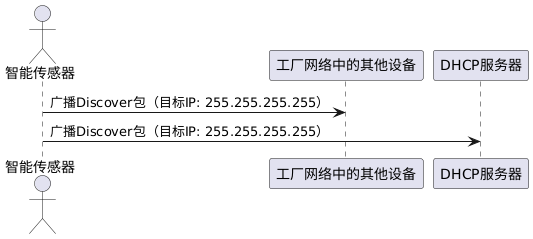
When the new smart sensor first connects to the factory network, it knows nothing about the network environment and does not know where the DHCP server is.
Therefore, the sensor will send a special broadcast packet on the network, which is like shouting: “Is there a DHCP server? I need to connect to the internet, please assign me network configuration!”
The destination IP address of the broadcast packet is 255.255.255.255, which means all devices in the network can receive it, but only the DHCP server will respond.
2. Offer Stage
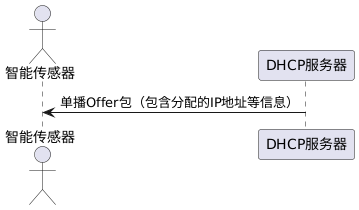
After the DHCP server in the factory network receives the sensor’s Discover packet, it will select an unassigned IP address from the pre-defined IP address pool and send an Offer packet to the sensor.
This Offer packet is like the DHCP server responding: “I have an IP address for you, along with the corresponding network configuration information.”
The Offer packet contains not only the assigned IP address but also the subnet mask, default gateway, DNS server address, etc. Meanwhile, the DHCP server will mark this IP address as pre-allocated for that sensor in its internal records.
3. Request Stage
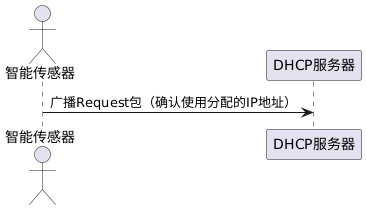
The smart sensor may receive Offer packets from multiple DHCP servers (although this is uncommon in a factory’s single network environment, it can happen in complex networks).
No matter how many it receives, the sensor will only choose one Offer packet and send a Request packet to the corresponding DHCP server, meaning: “I want the IP address you provided!” This Request packet is also a broadcast packet, intended to notify other DHCP servers in the network that it has selected an IP address, and they can reclaim the addresses they offered.
4. Ack Stage
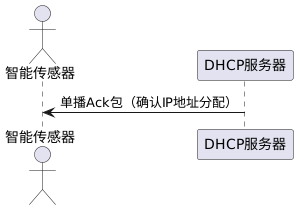
After the DHCP server receives the sensor’s Request packet, it will send an Ack packet back to the sensor, responding: “Okay, this IP address is yours, and the configuration information is confirmed.” The Ack packet again contains the complete network configuration information, confirming that the sensor can use that IP address. At this point, the sensor successfully obtains the IP address and other configurations, can connect to the factory network, and start data collection and transmission.
3. Using DHCP in Embedded Development
In Linux-based embedded development, using DHCP can greatly simplify the network configuration process for devices. We can implement DHCP functionality through udhcpd.
The configuration file for udhcpd can refer to the udhcpd.conf under the udhcpd source code:
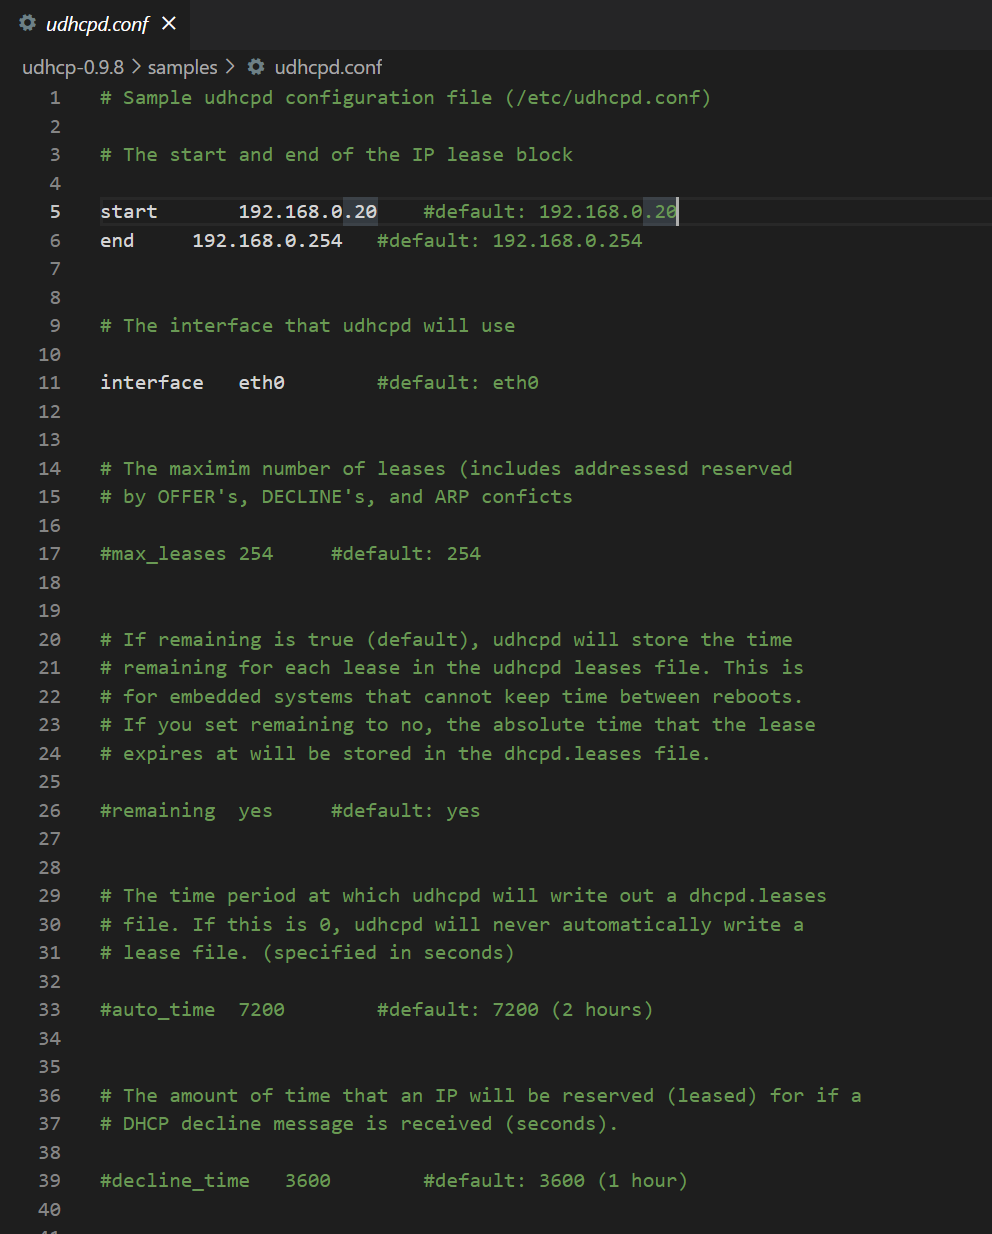
We only keep the following content:
# The start and end of the IP lease block
start           192.168.3.2
end             192.168.3.254

# The interface that udhcpd will use
interface       wlan0

opt     dns     114.114.114.114
option  subnet  255.255.255.0
opt     router  192.168.3.1
option  domain  local
option  lease   864000     # 10 days of seconds
This file mainly configures:
- The range of assignable IP addresses: 192.168.3.2~192.168.3.254
- Network interface: wlan0
- Gateway address: 192.168.3.1

END
Author:ZhengNL
Source:Embedded Mixed BagCopyright belongs to the original author. If there is any infringement, please contact for deletion..▍Recommended ReadingHow much does a genuine Keil cost?Microcontrollers can output PWM like thisSharing a debugging tool for embedded development!→ Follow for more updates ←