1. Introduction
This article shares the setup of the bare-metal development environment for the IMX6ULL.
2. Install SDK
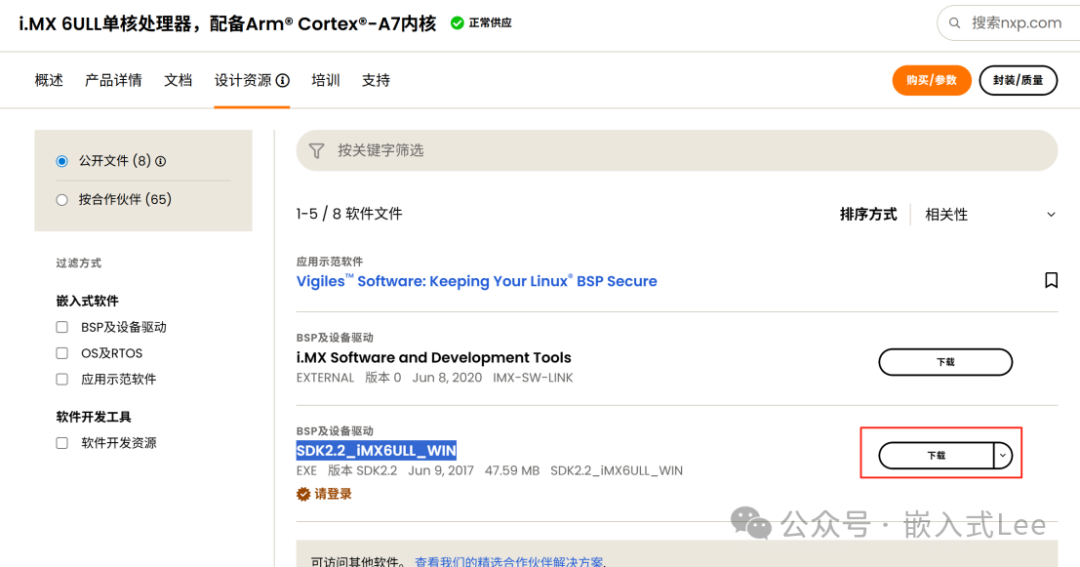
Download from https://www.nxp.com.cn/products/i.MX6ULL.
SDK2.2_iMX6ULL_WIN, you need to log in first.
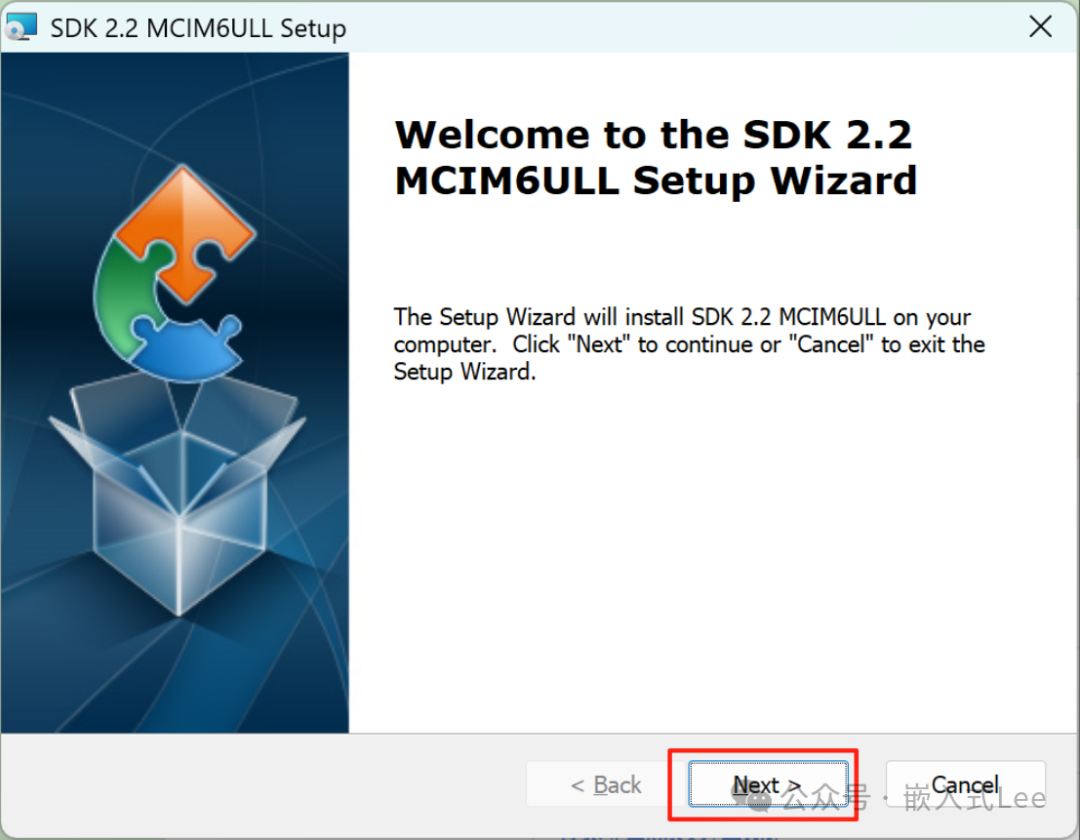
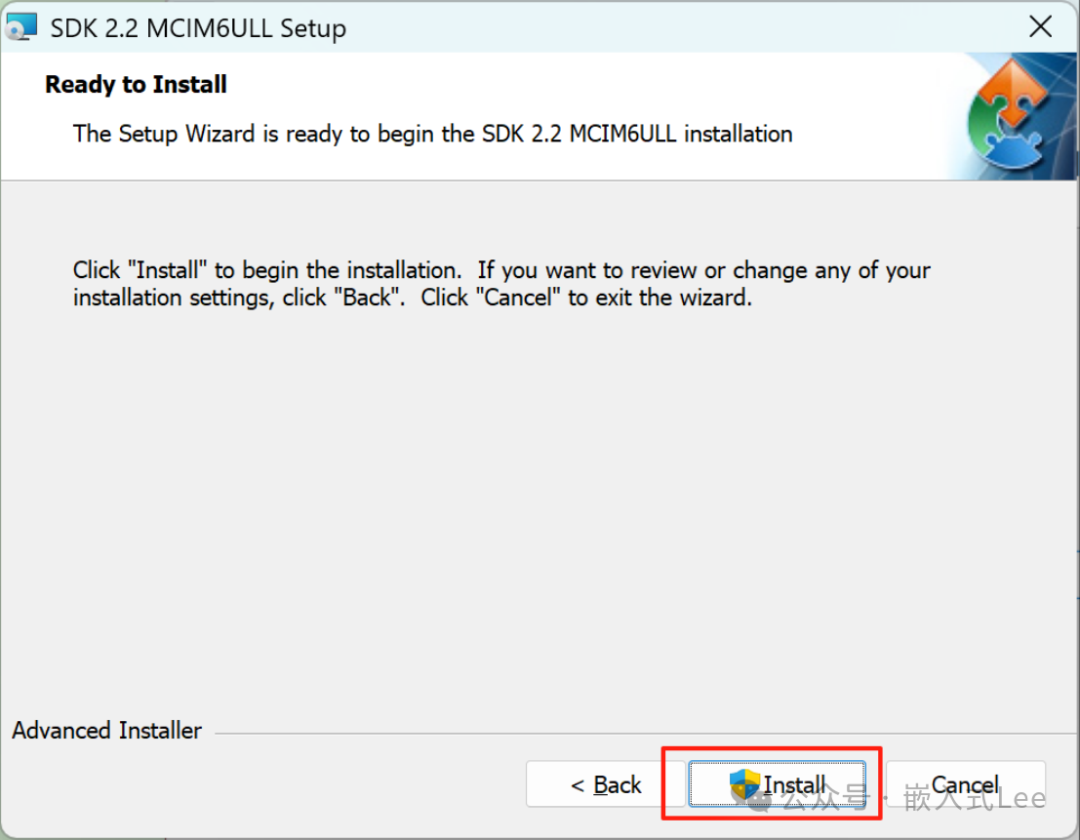
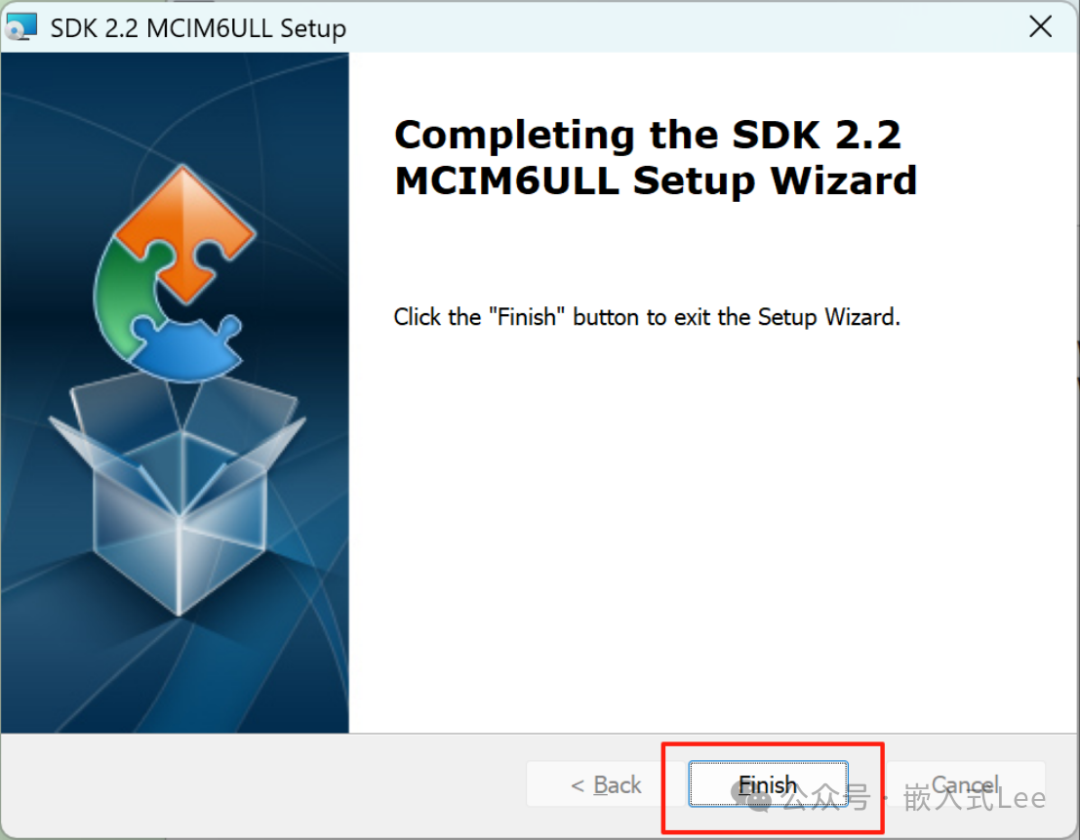
Open SDK_2.2_MCIM6ULL_RFP_Win.exe, and follow the installation prompts.
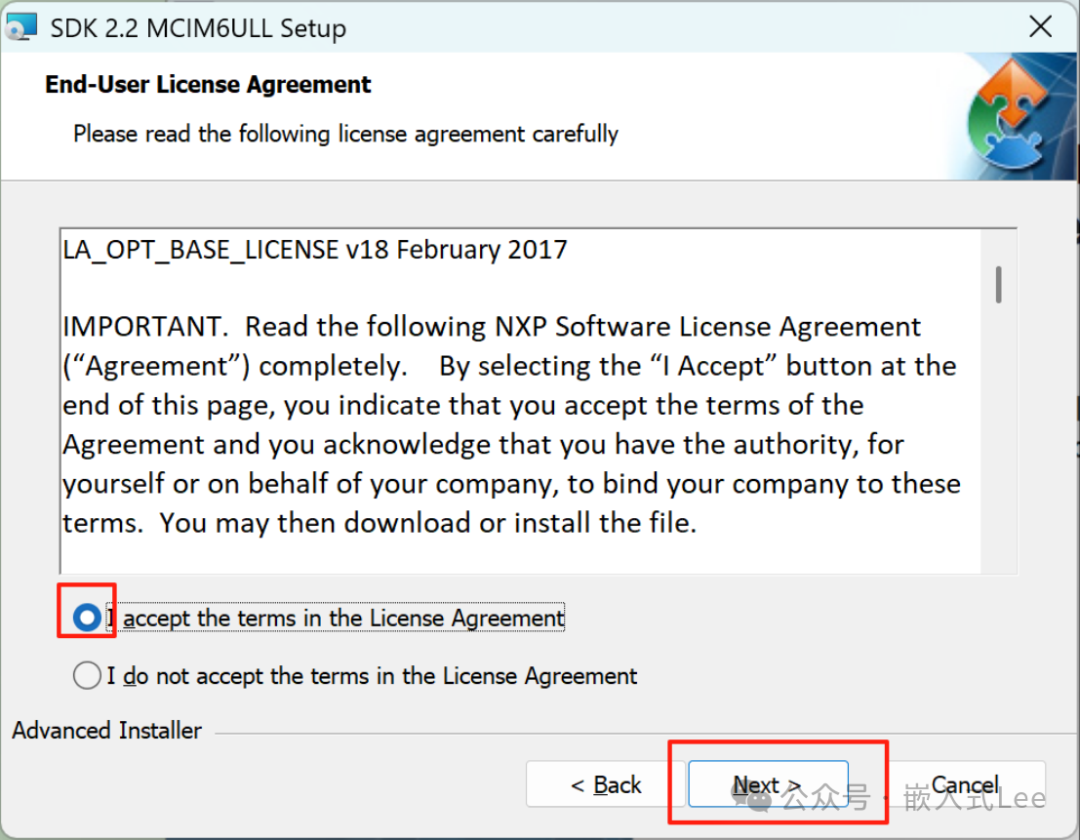
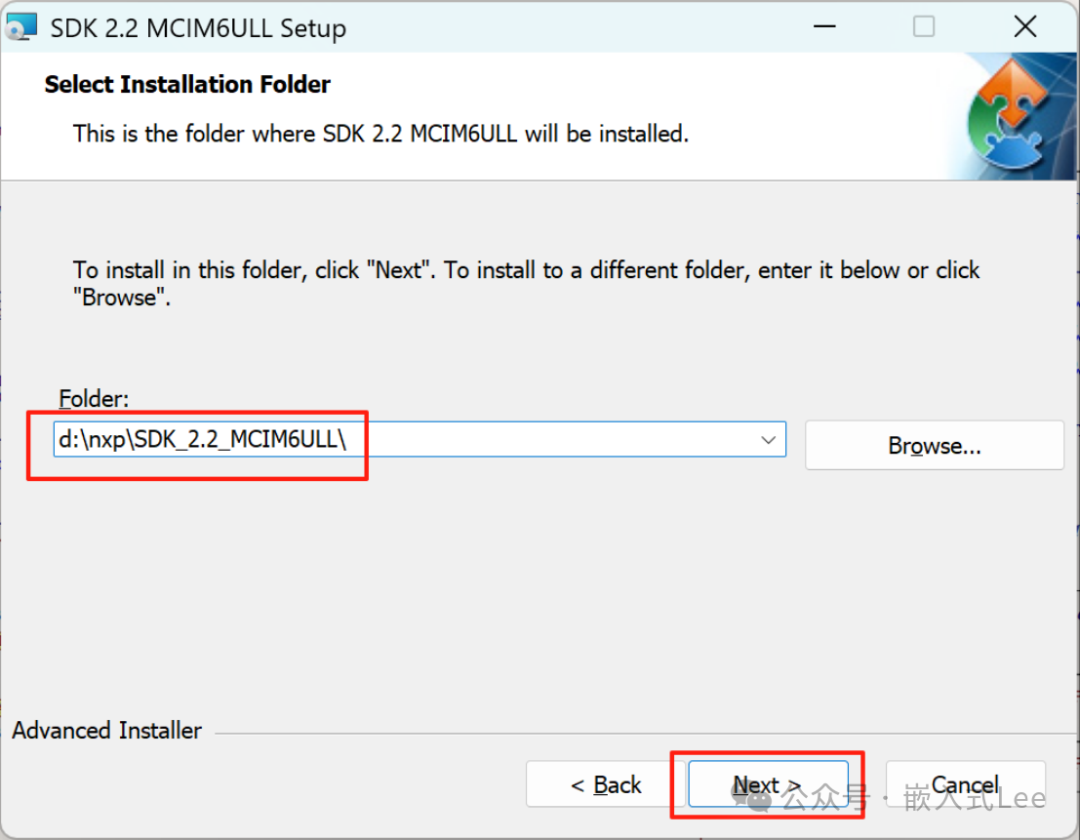
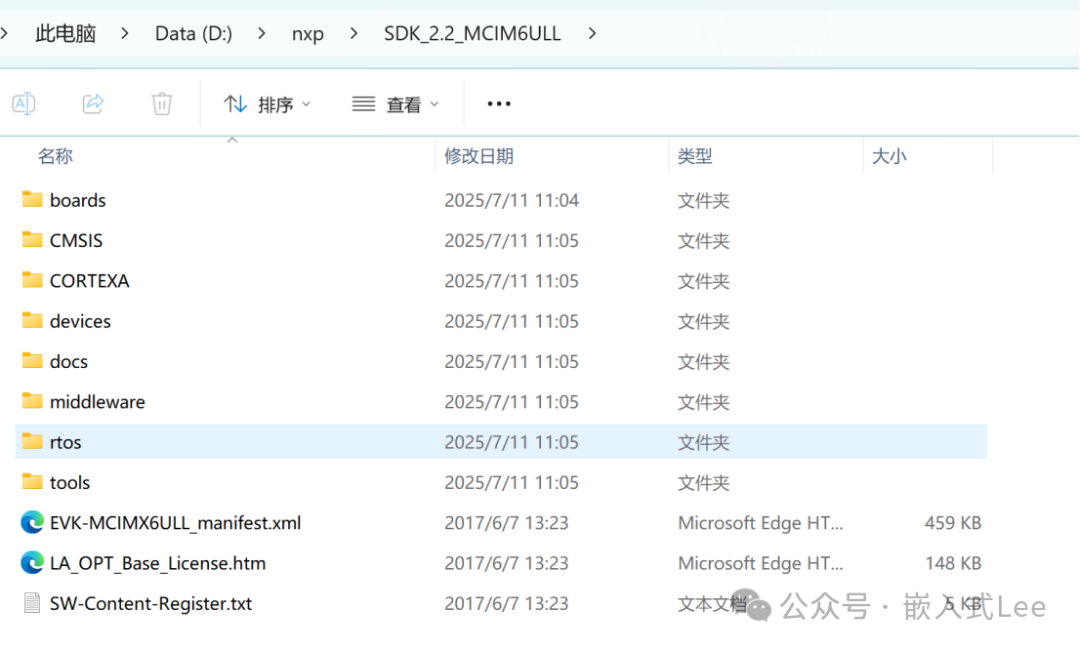
The content after installation is as follows:
3. Install IAR
Use IAR7.8 version. Higher versions may not be compatible with the SDK.
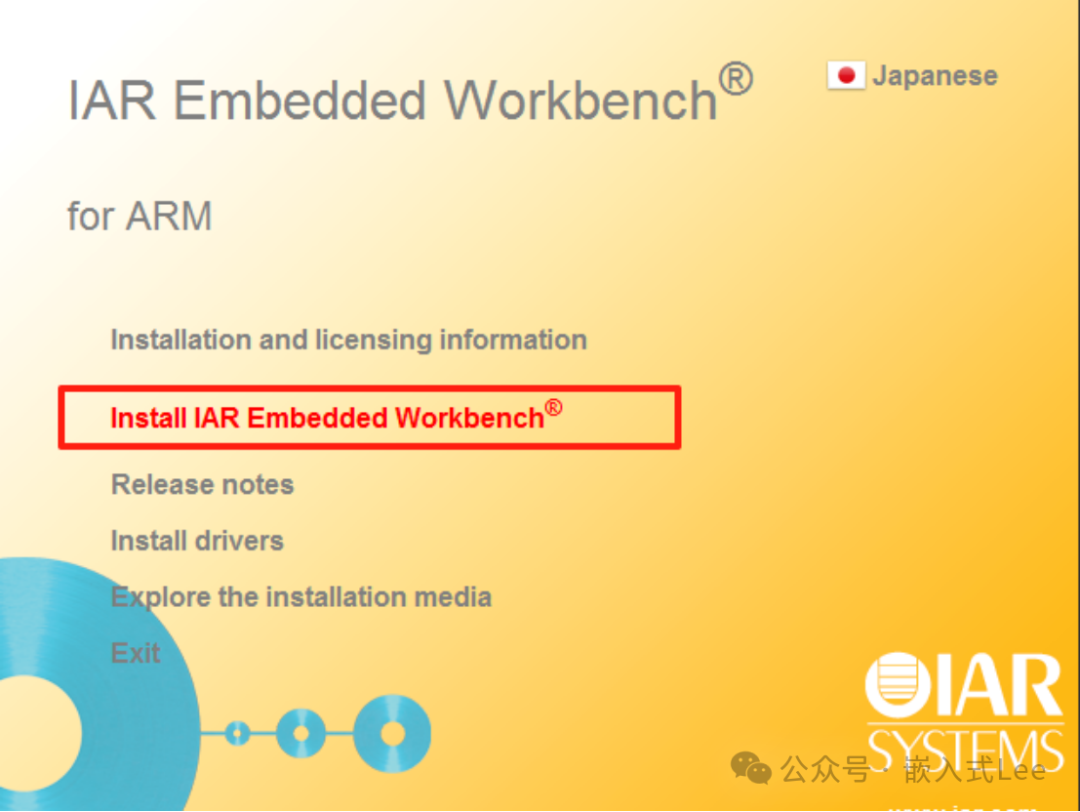
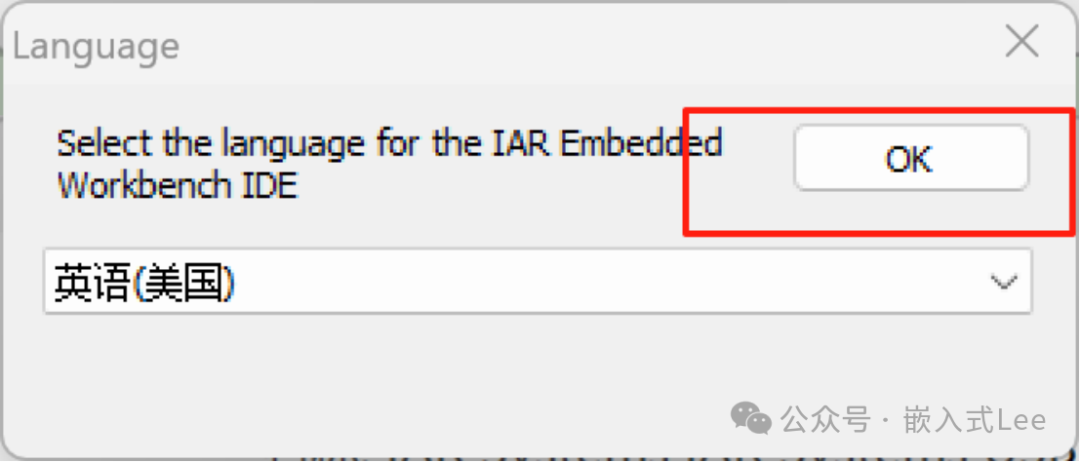
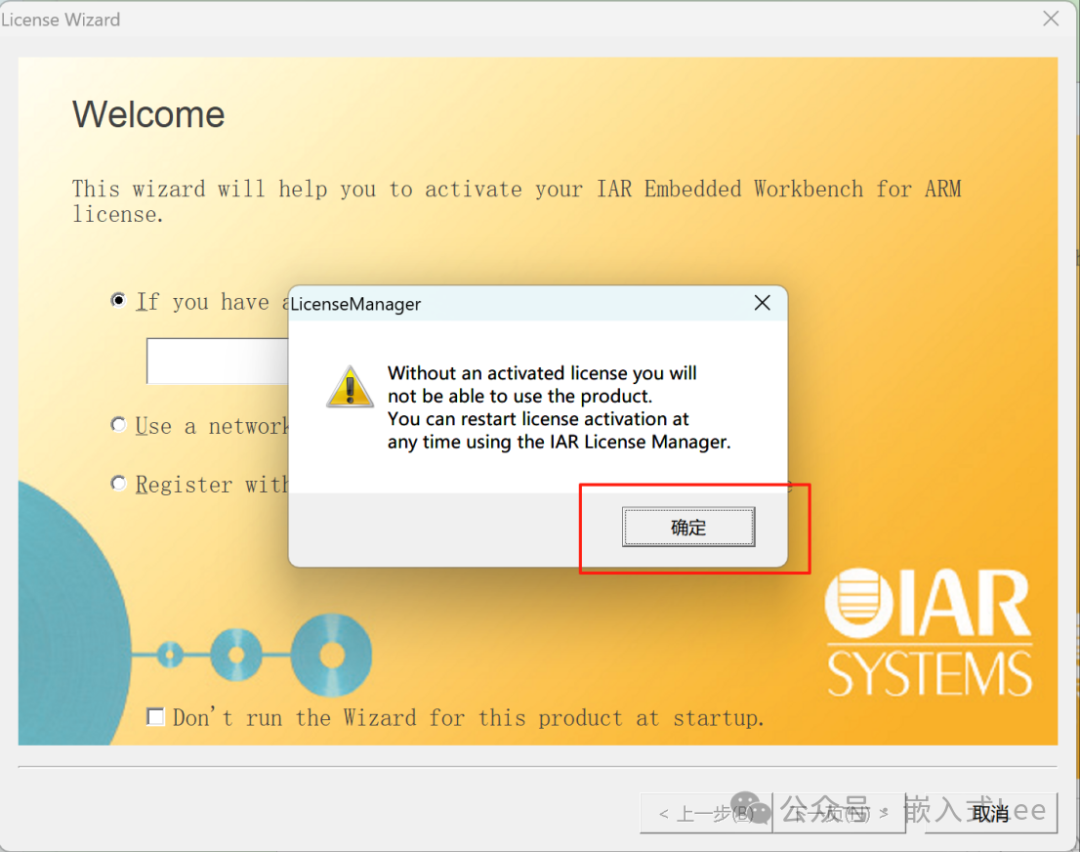
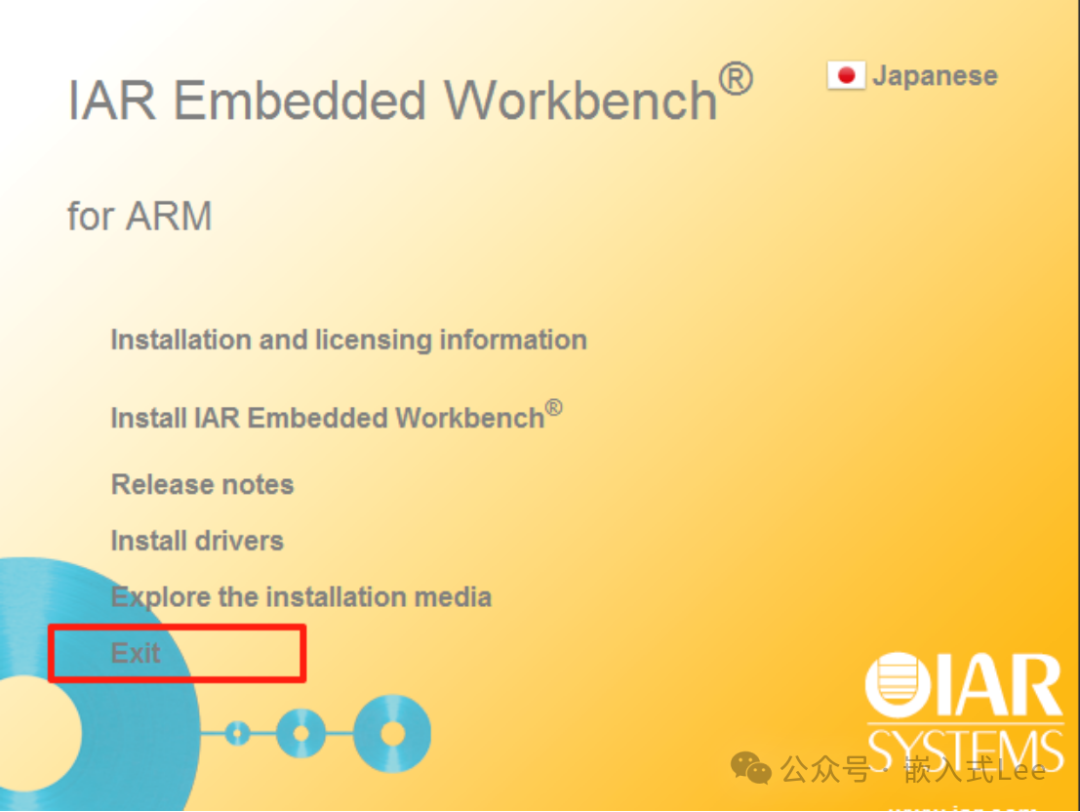
Double-click EWARM-CD-7804-12495.exe and follow the installation prompts.

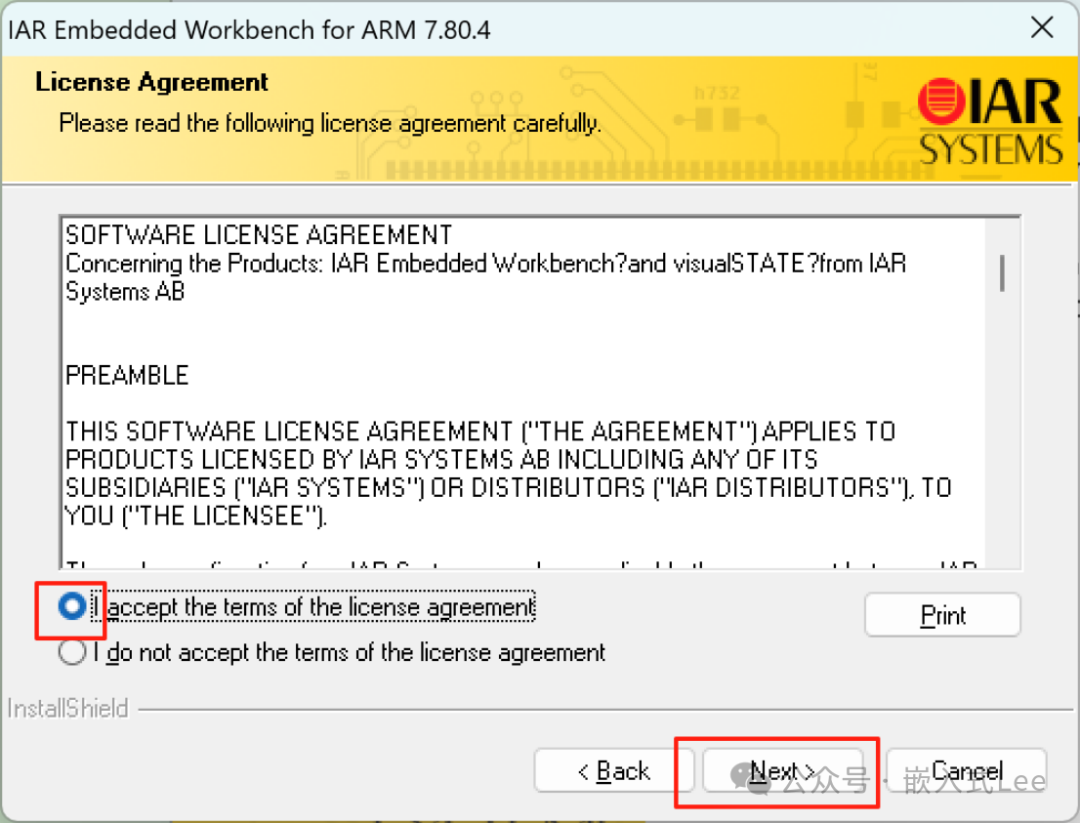
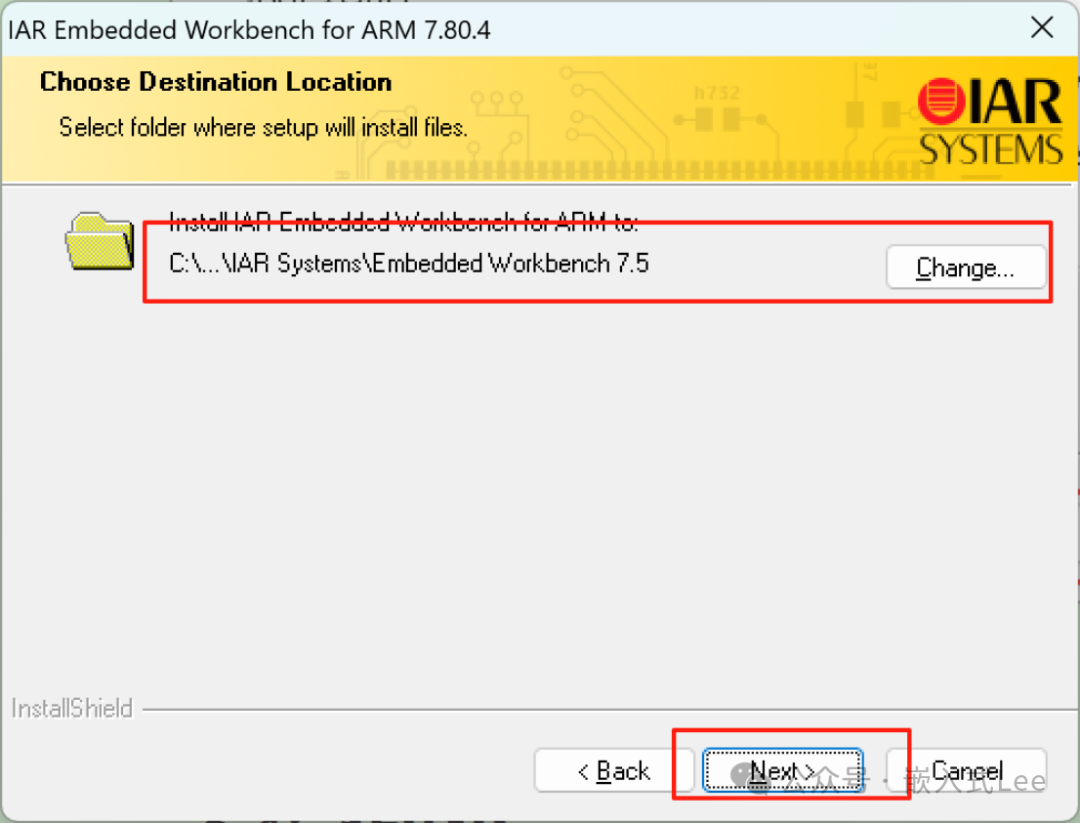
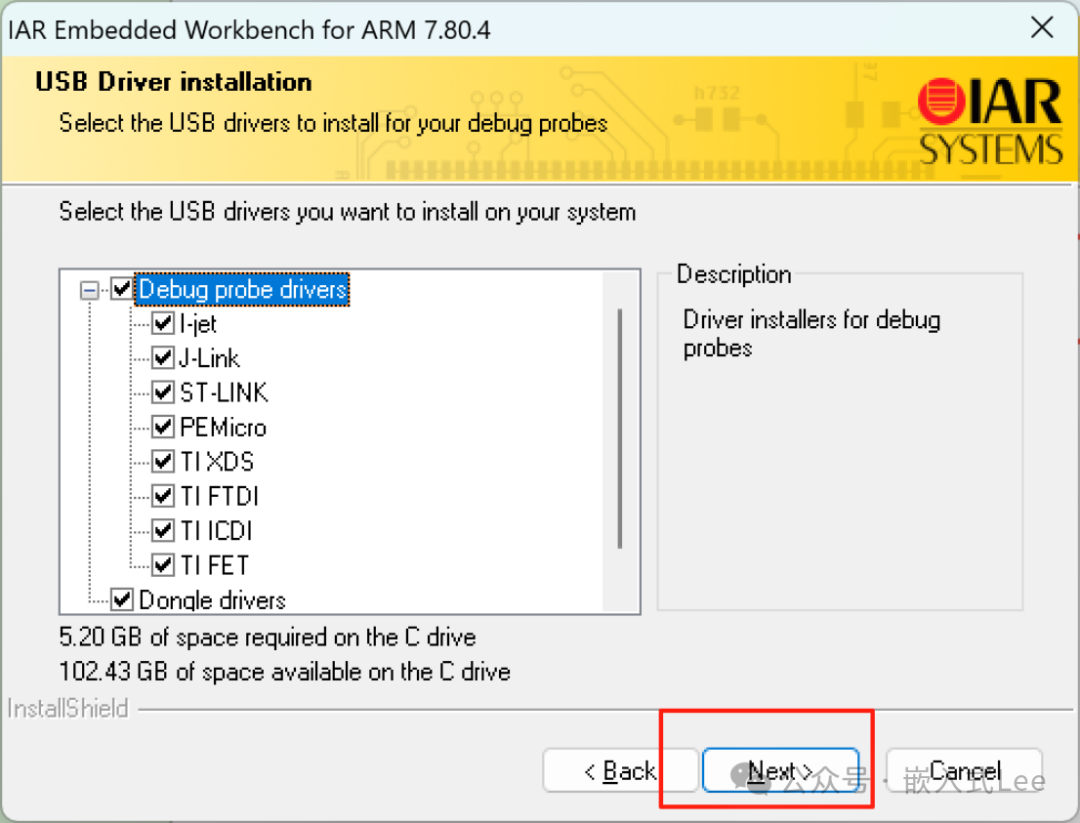
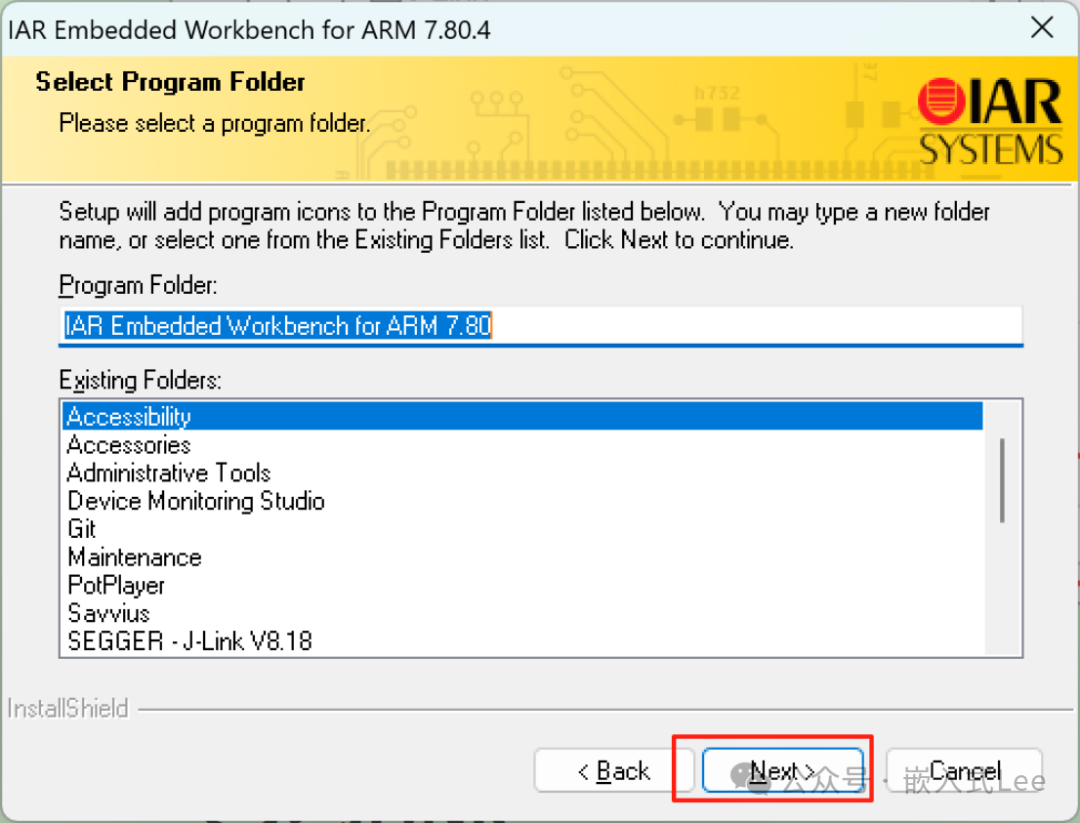
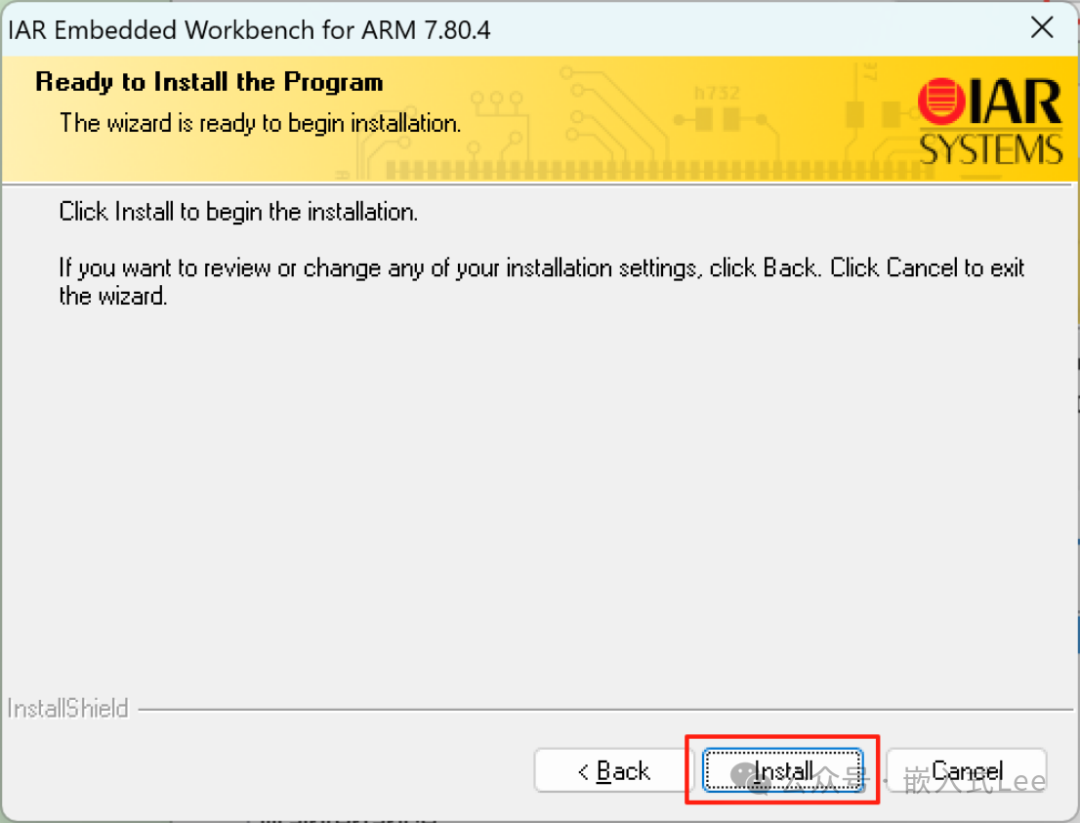
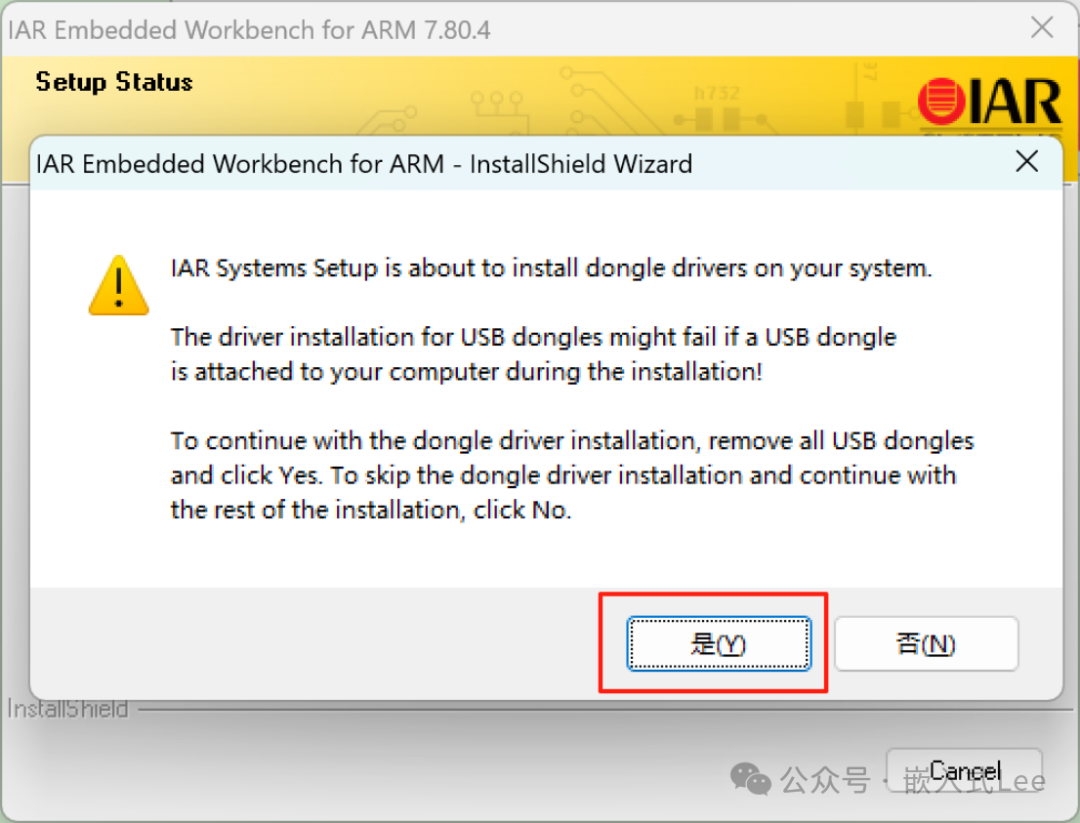
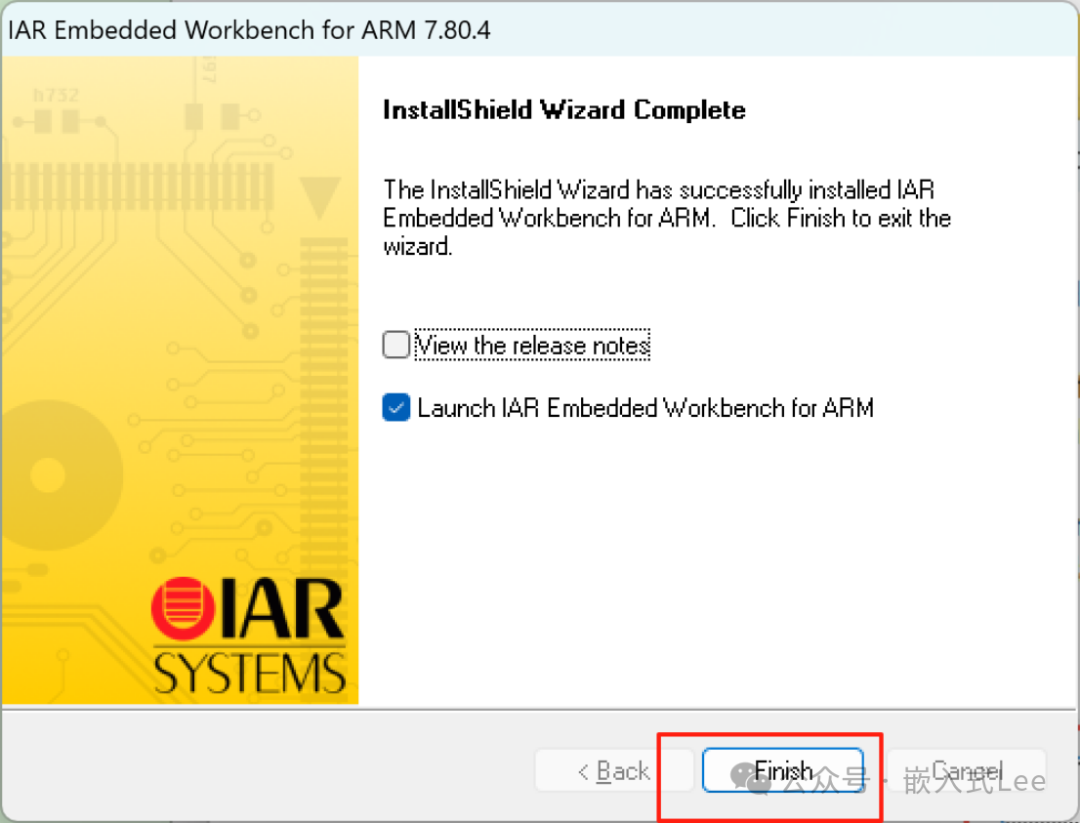
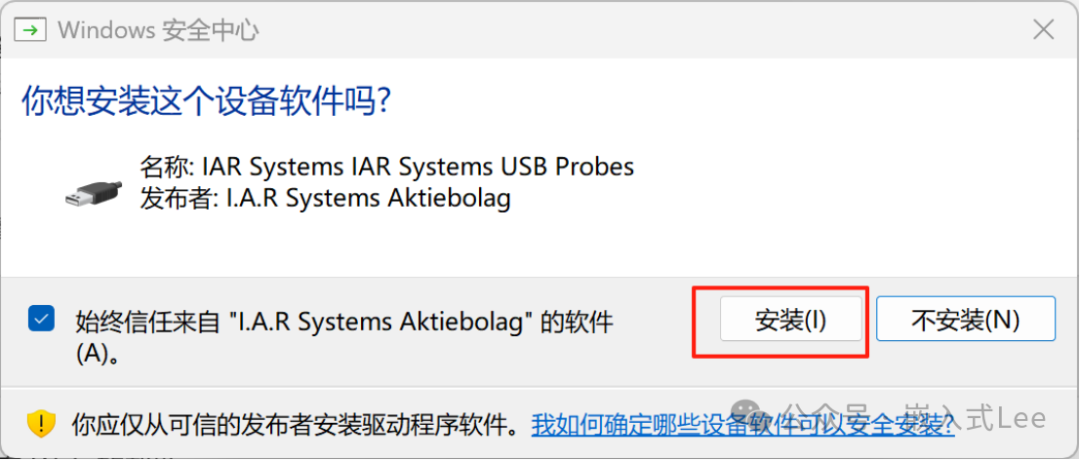
Install all the drivers that pop up as prompted.

3.1 Activation
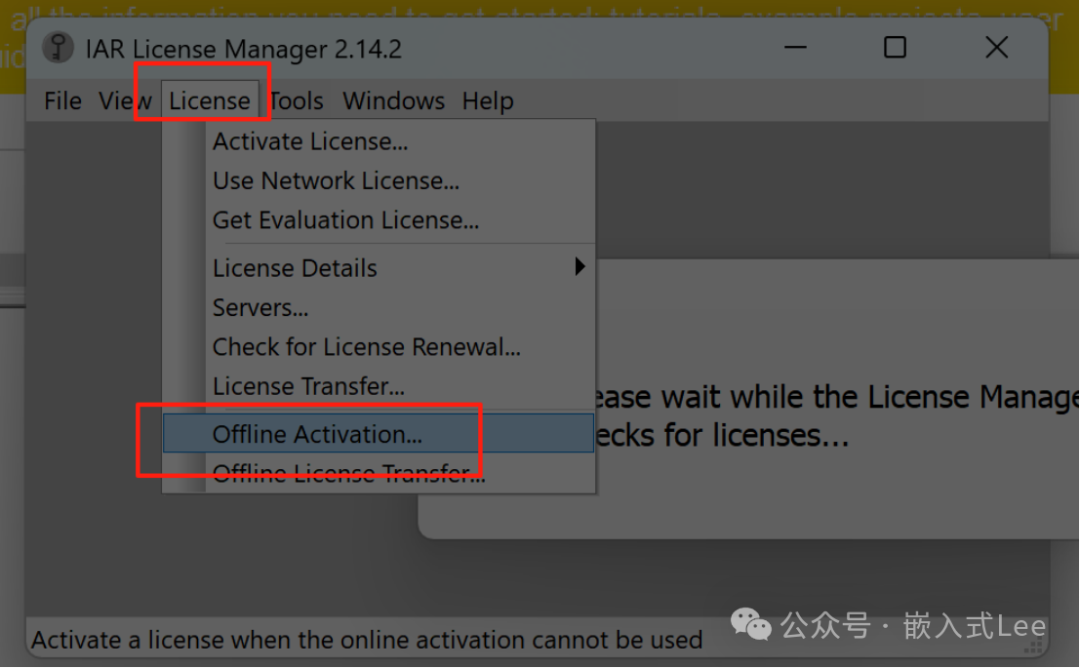
Run IAR as administrator.
Open the Help menu and select License Manager

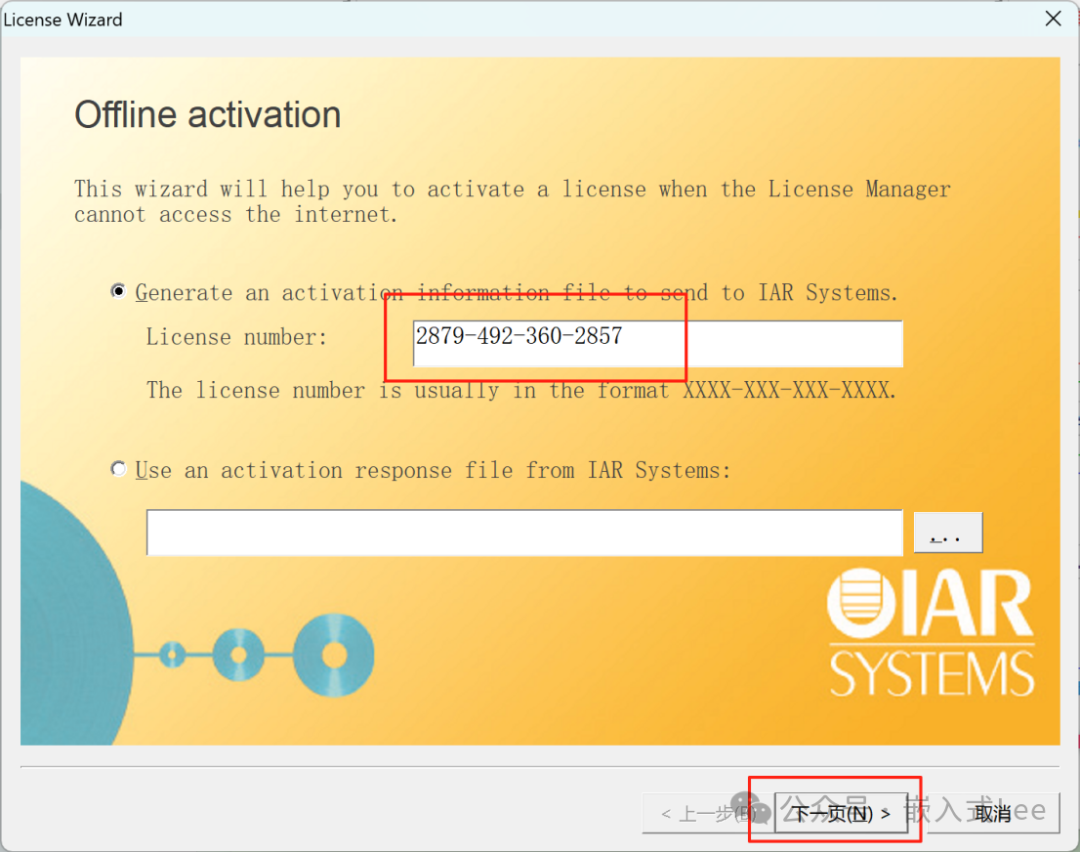
Select offline activation.
Disable security software.
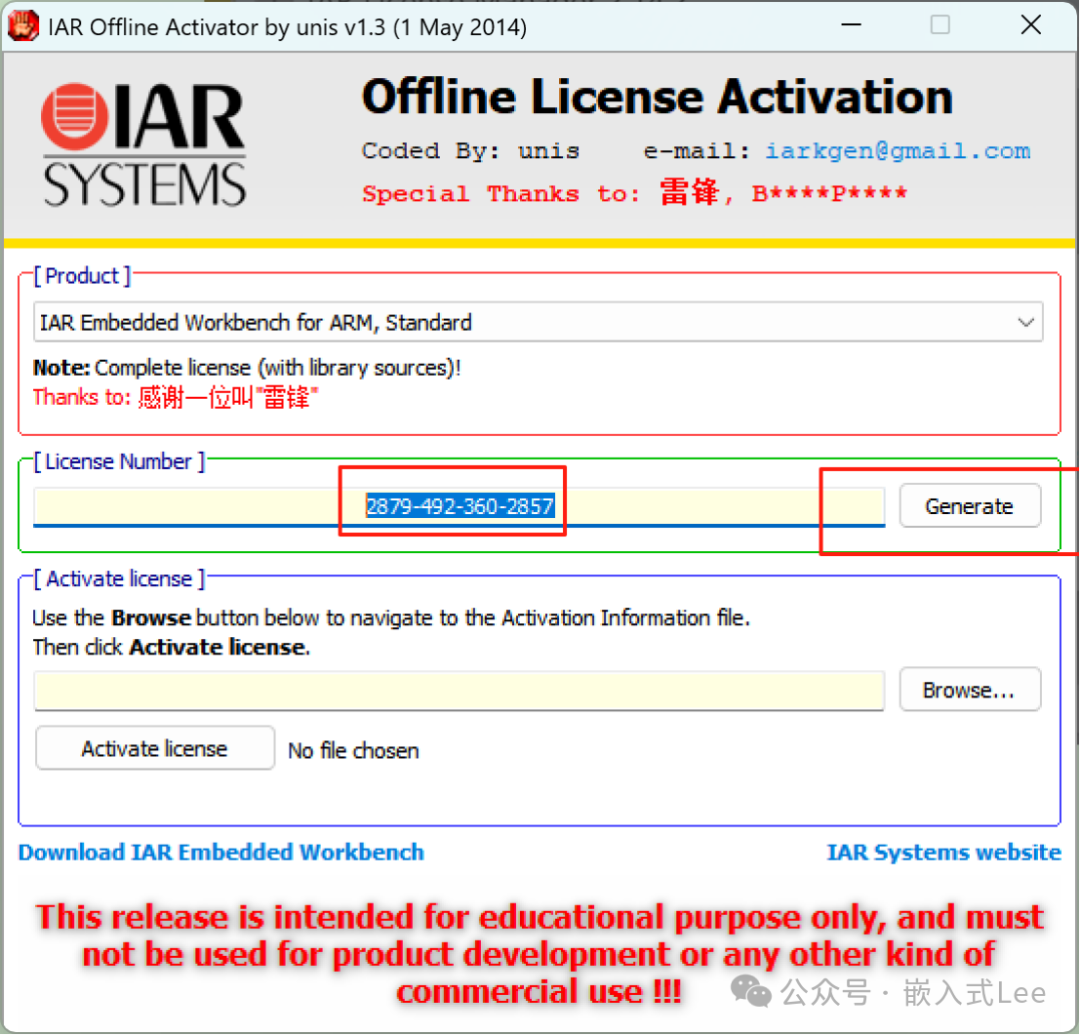
Run IARkg_Unis.exe
Generate the key and copy it.
Paste it into the License management here.
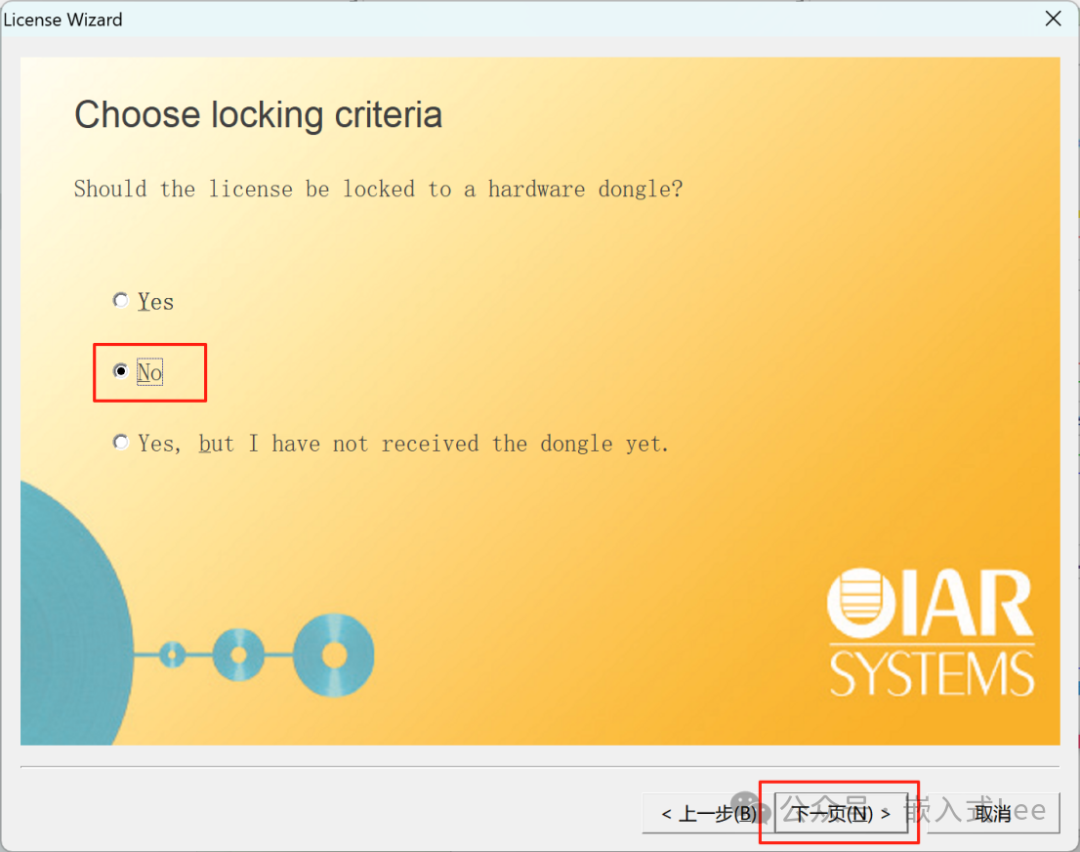
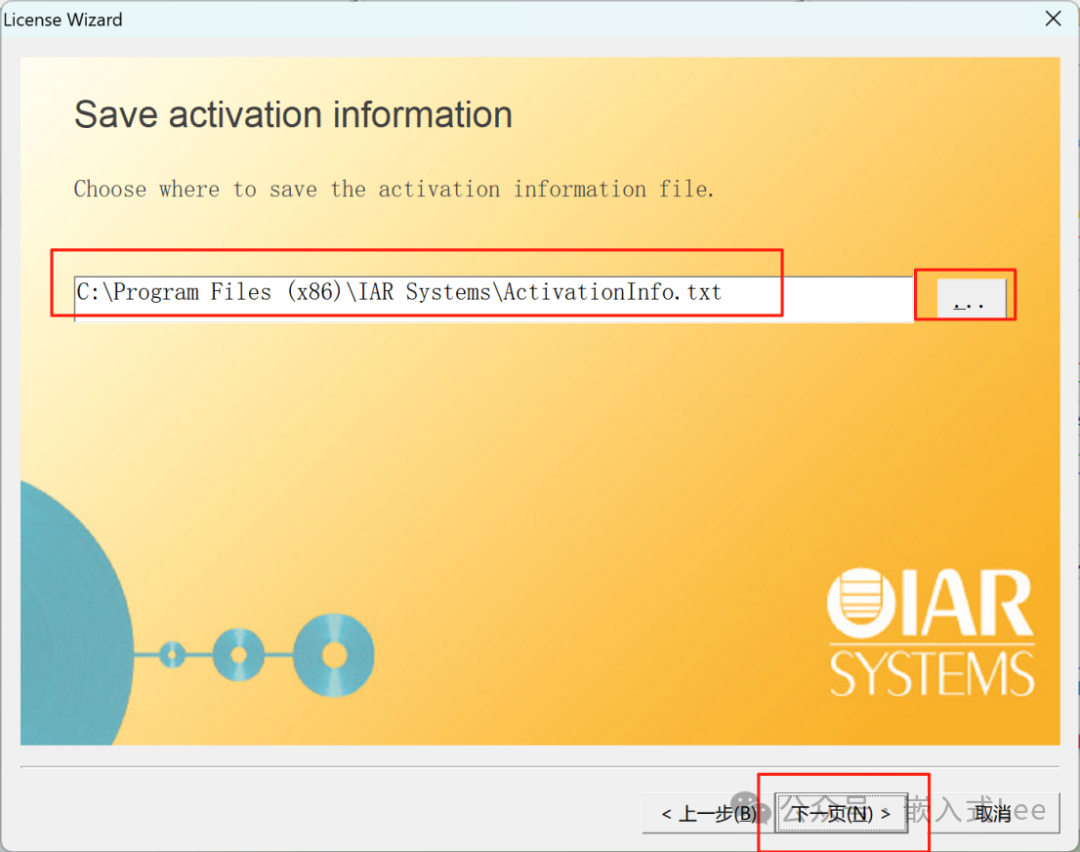
Select the location to save.
Return to the key generator and select the file you just saved.
Click activate.
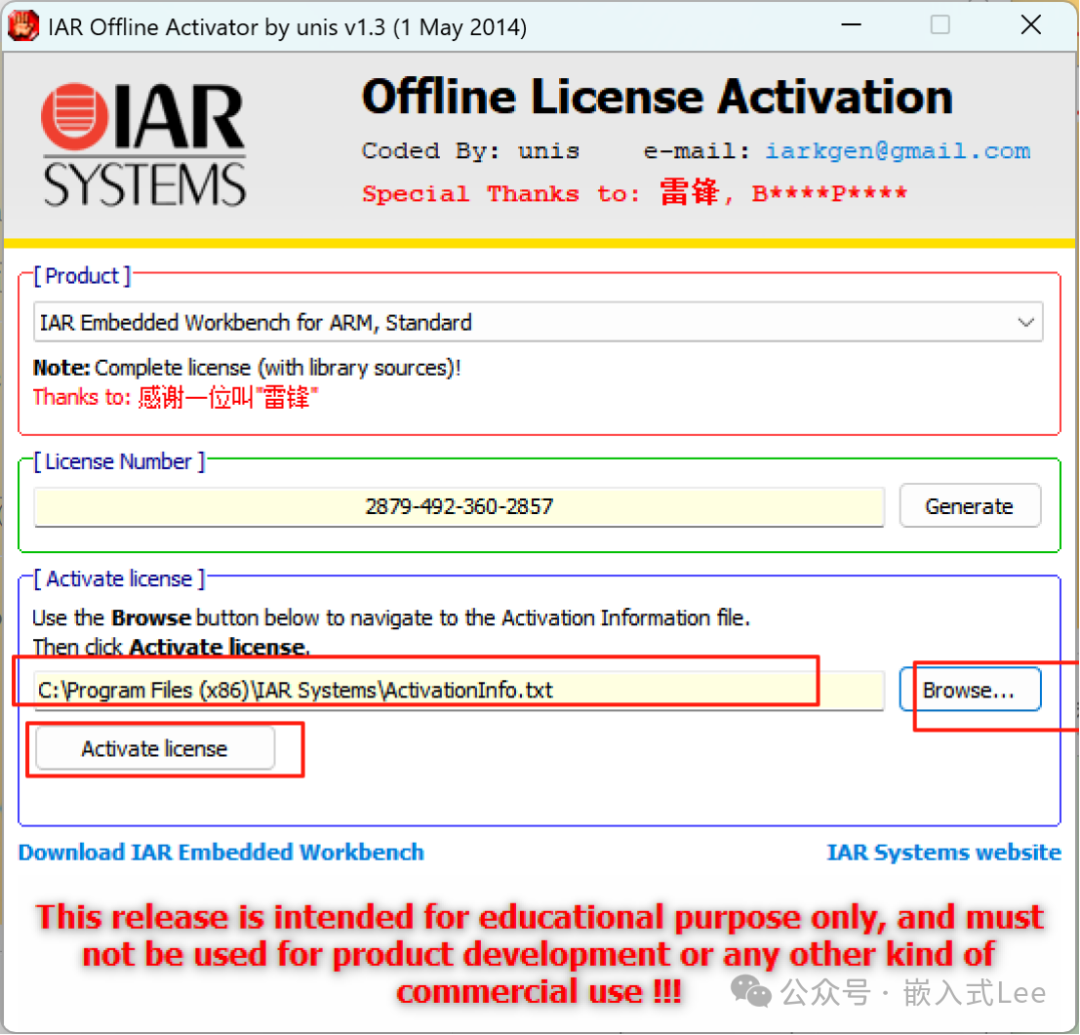
Generate the license file and save it.

Return to IAR and select the license file you just created.
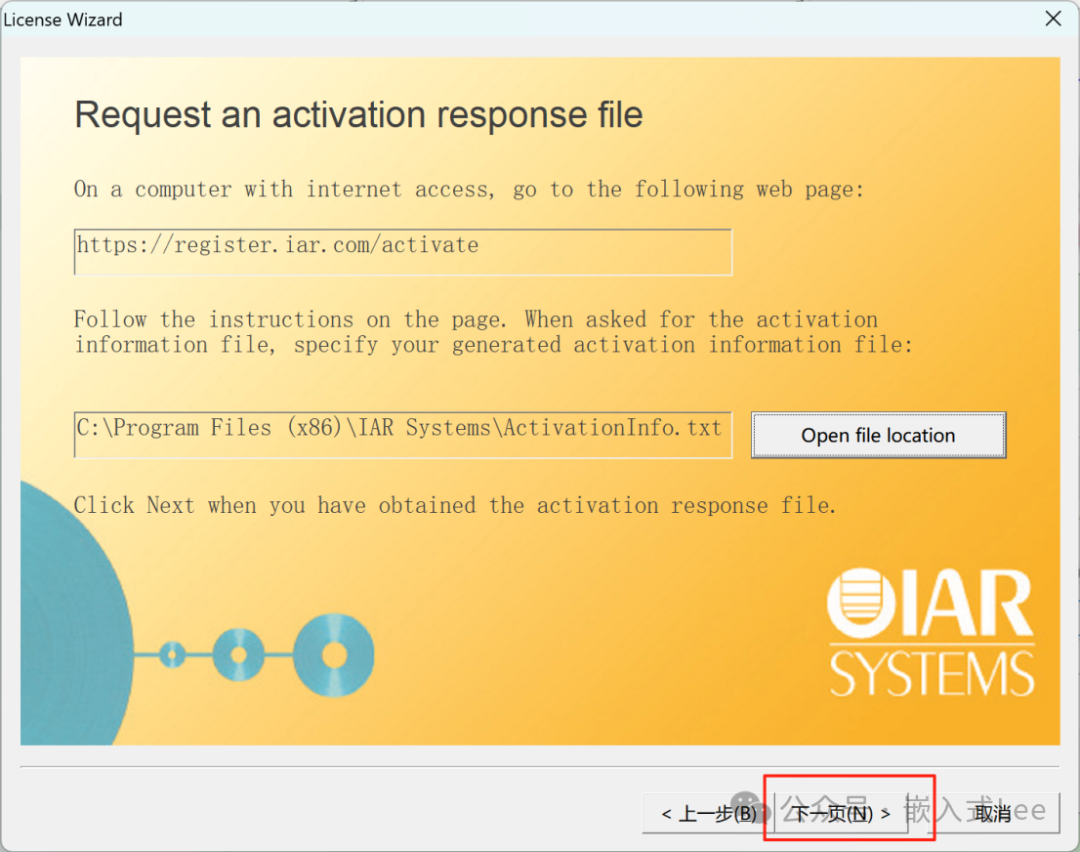
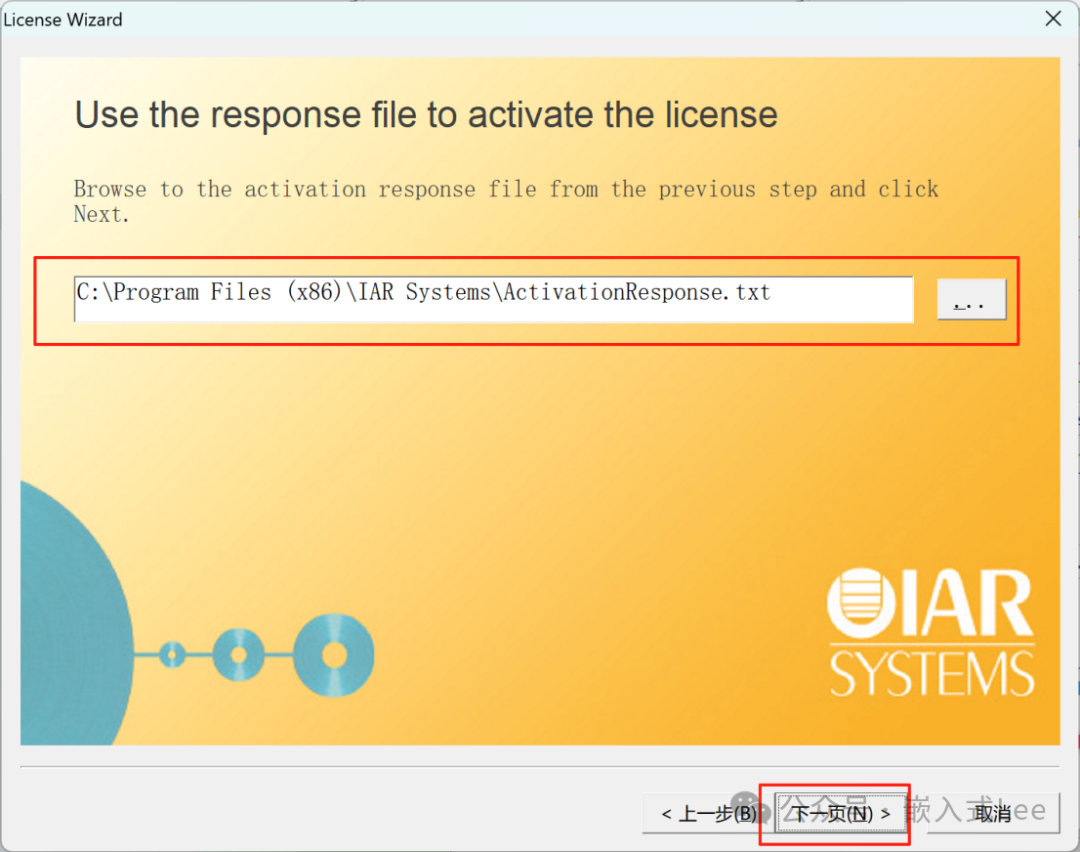
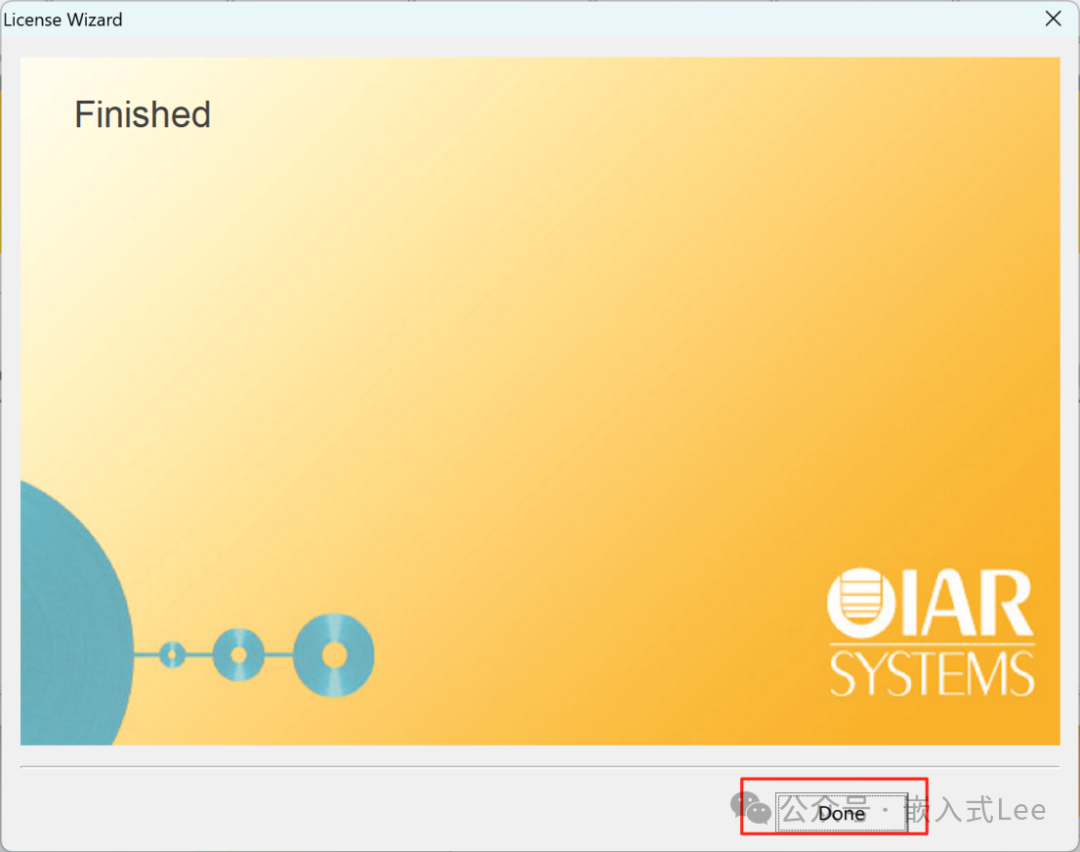
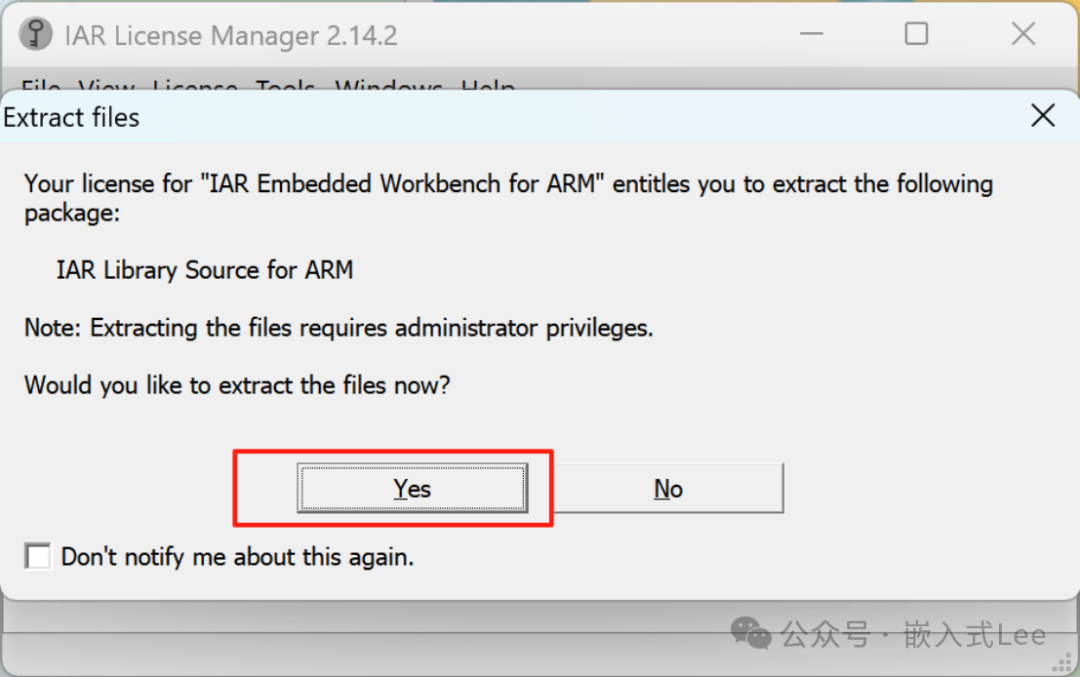
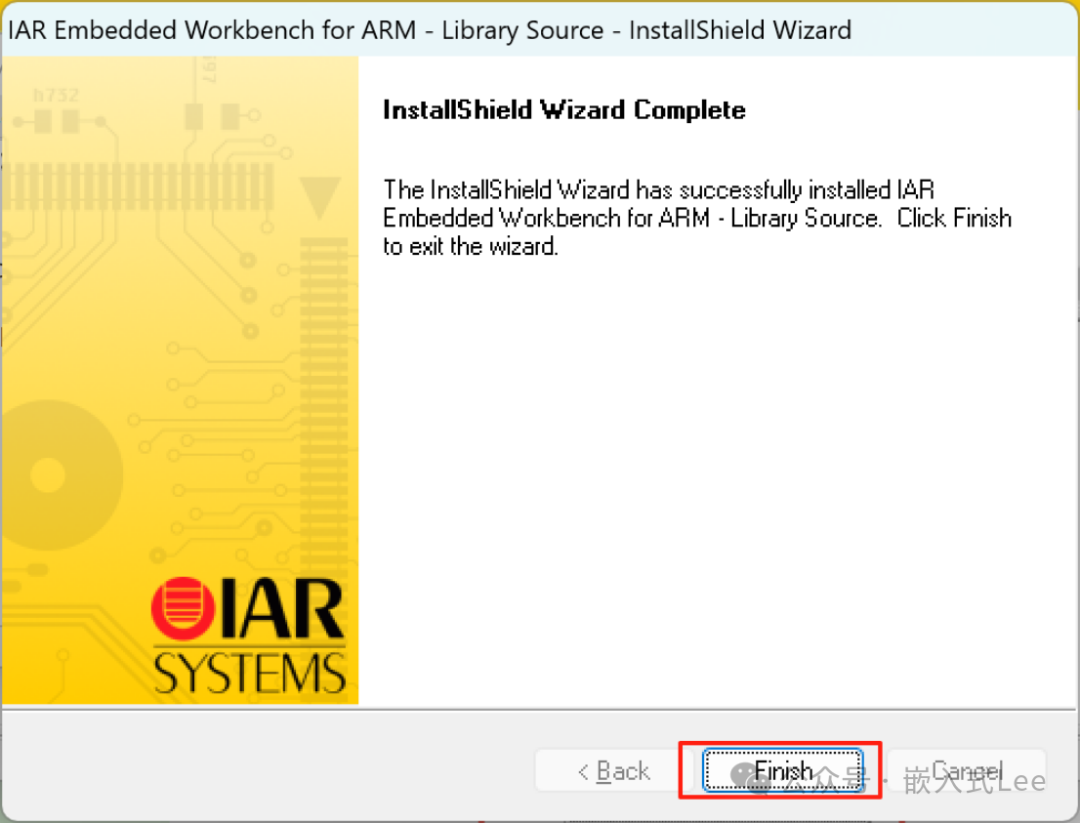
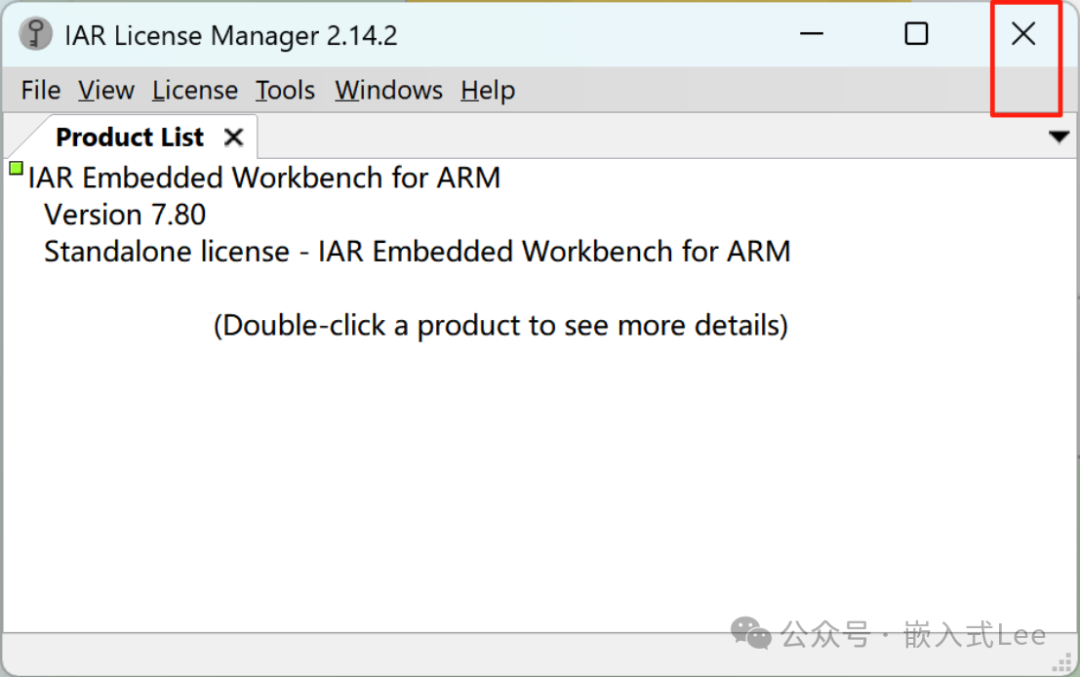
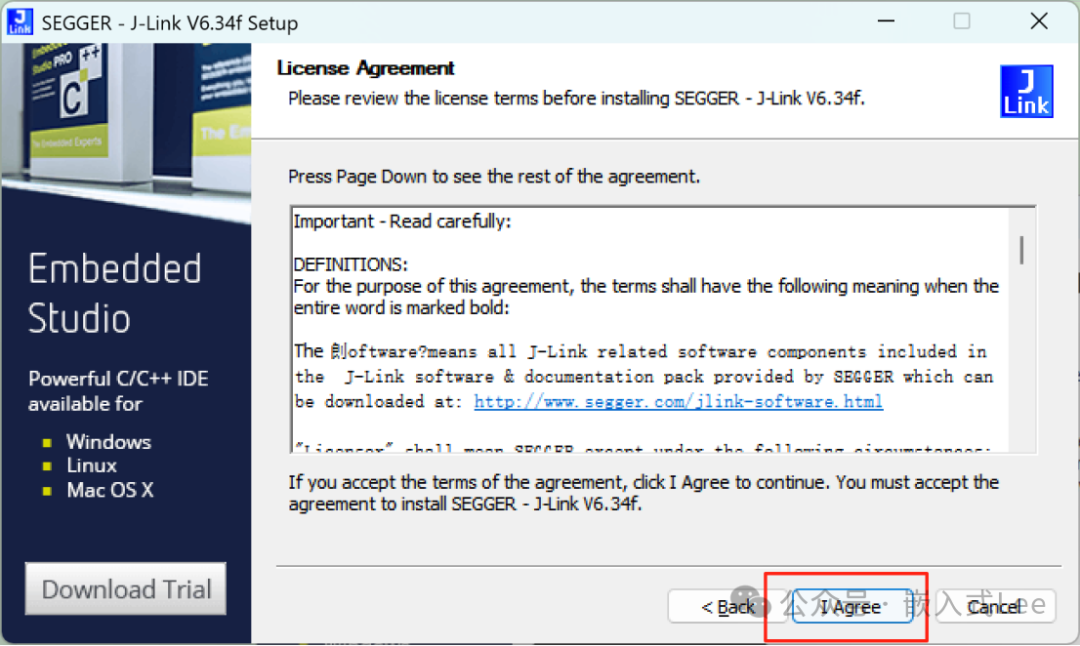
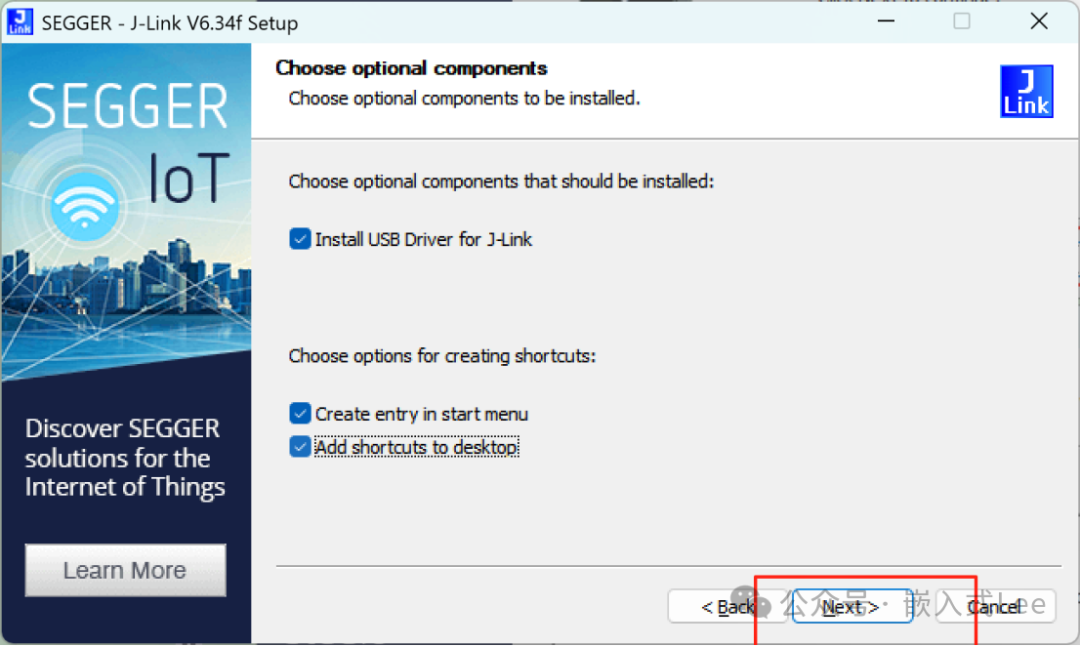
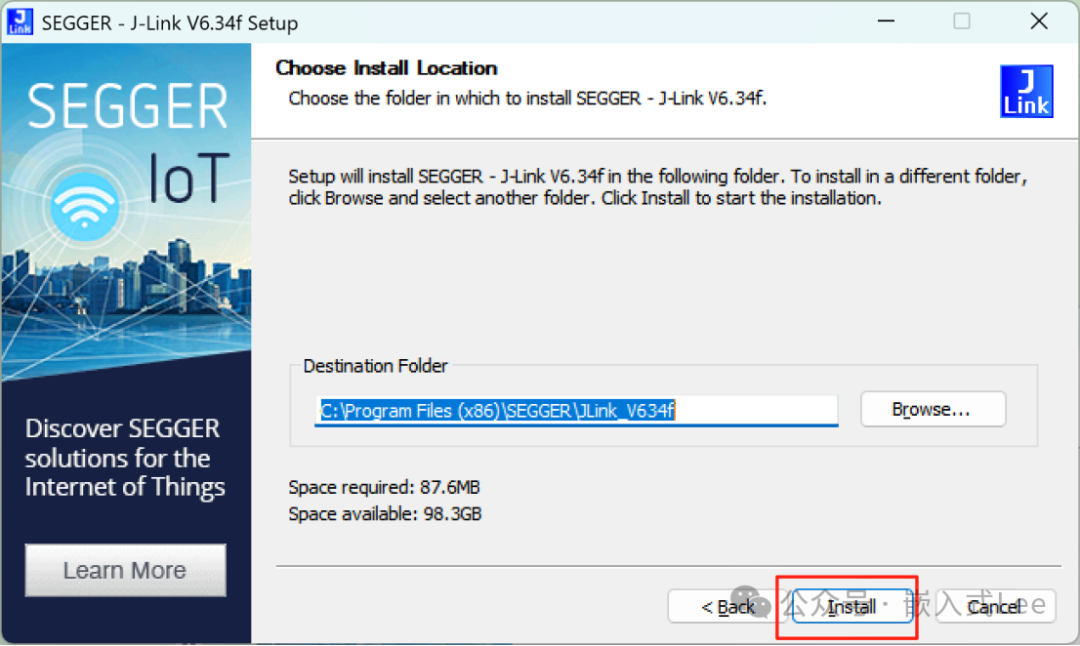
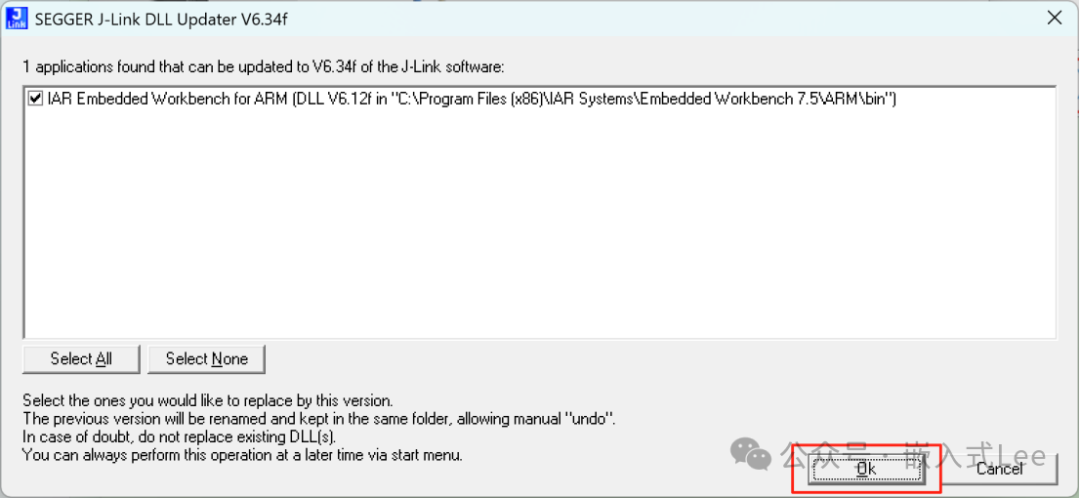
4. Install JLINK
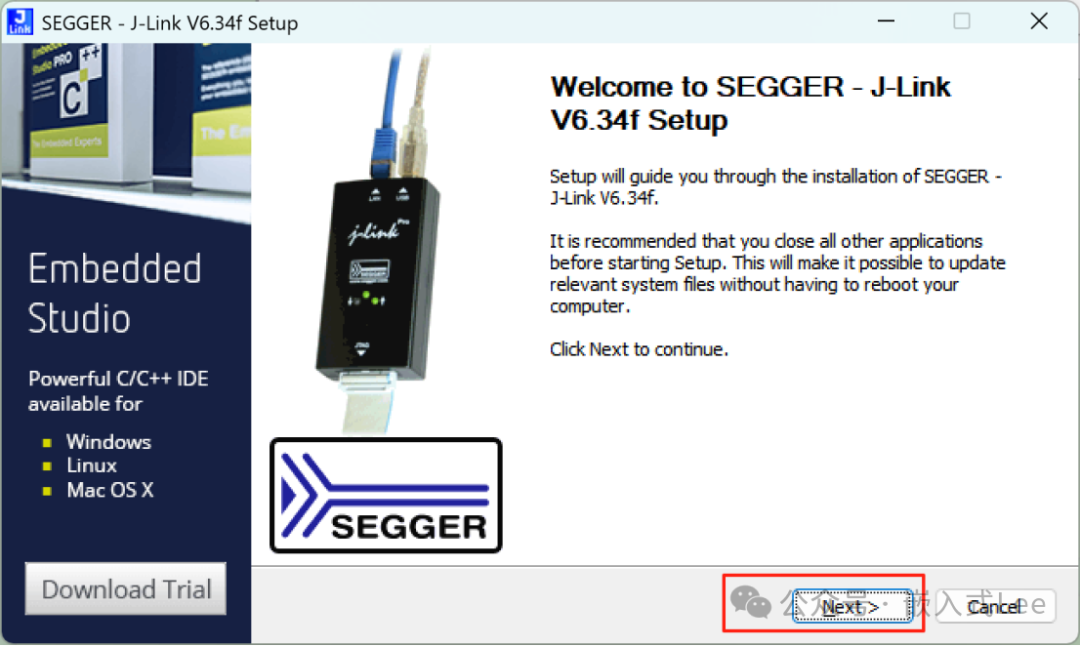
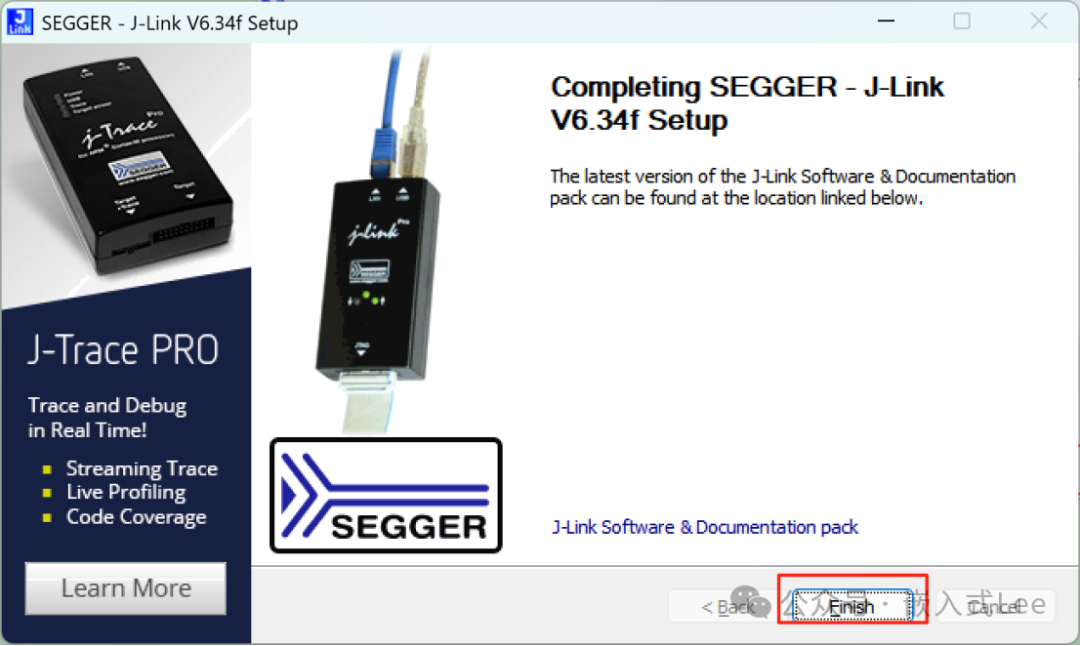
Open JLink V6.34.exe
5. Project Compilation
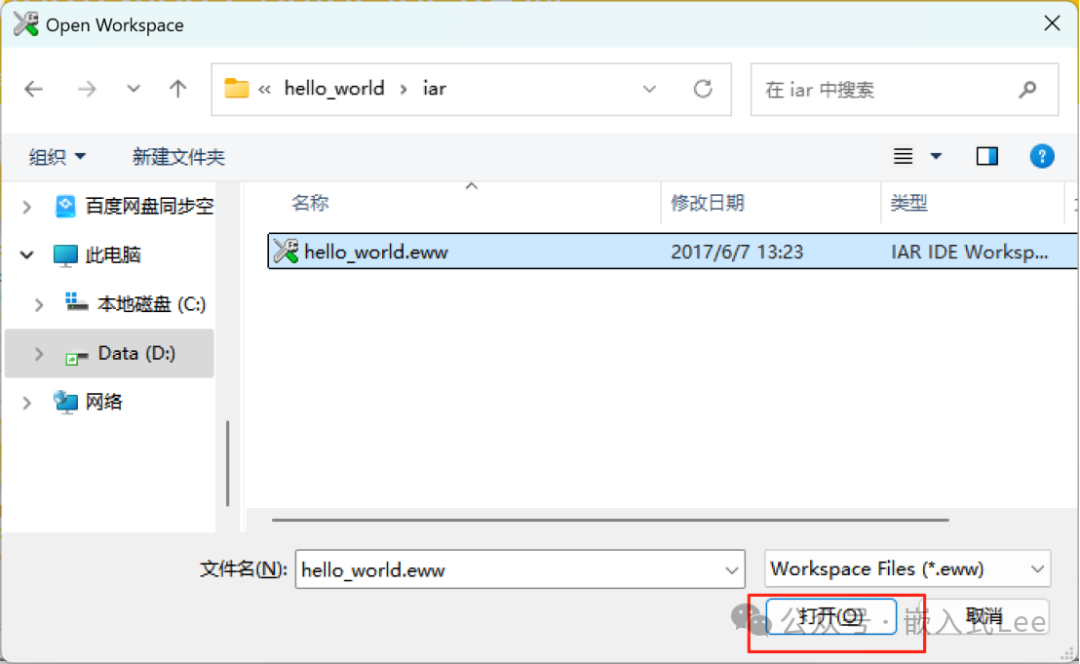
File->Open->workspace

Select D:\nxp\SDK_2.2_MCIM6ULL\boards\evkmcimx6ull\demo_apps\hello_world\iar
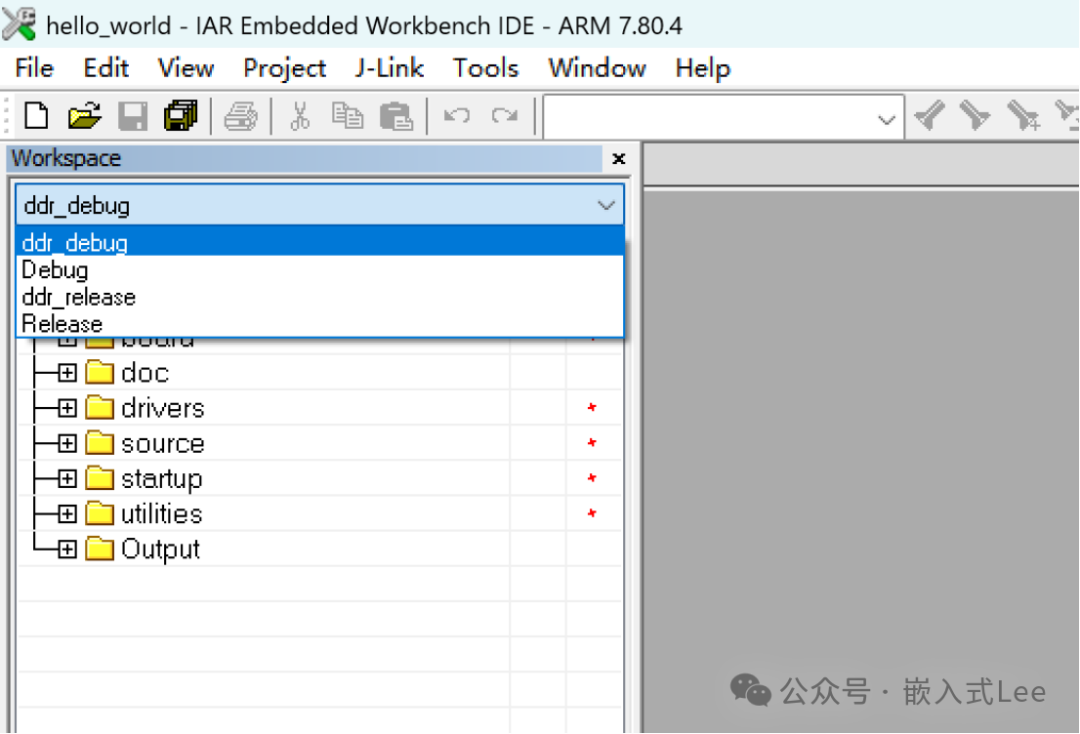
Select a target, for example, ddr_debug, and compile.
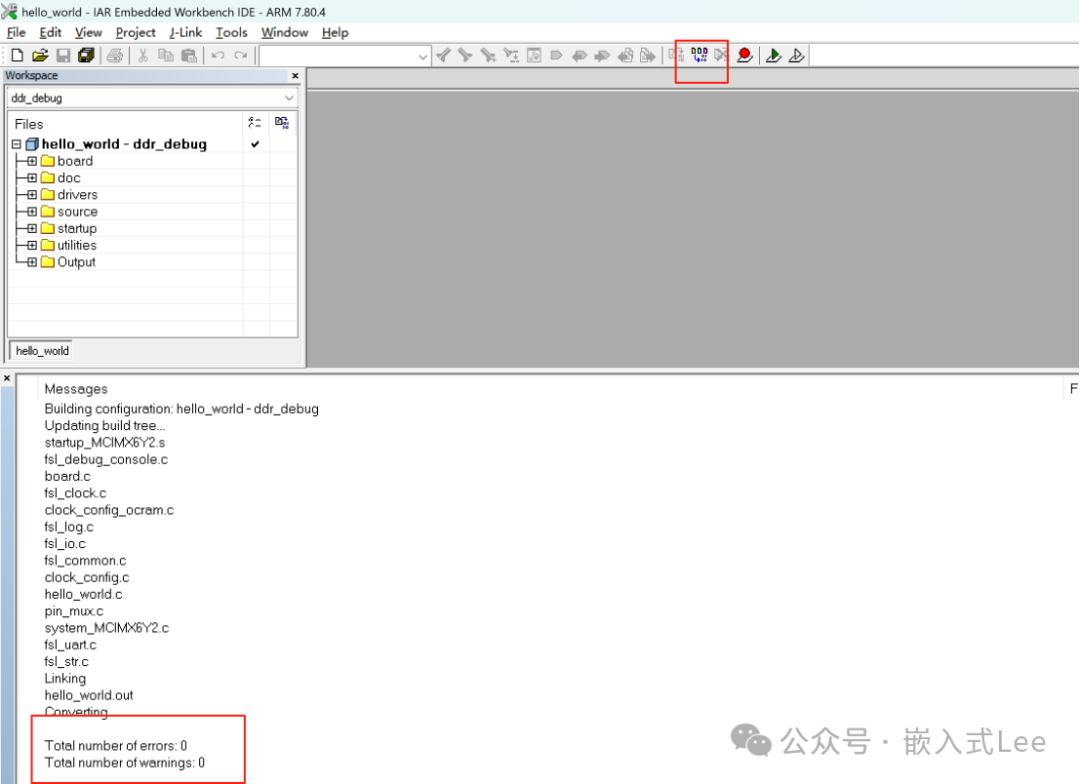
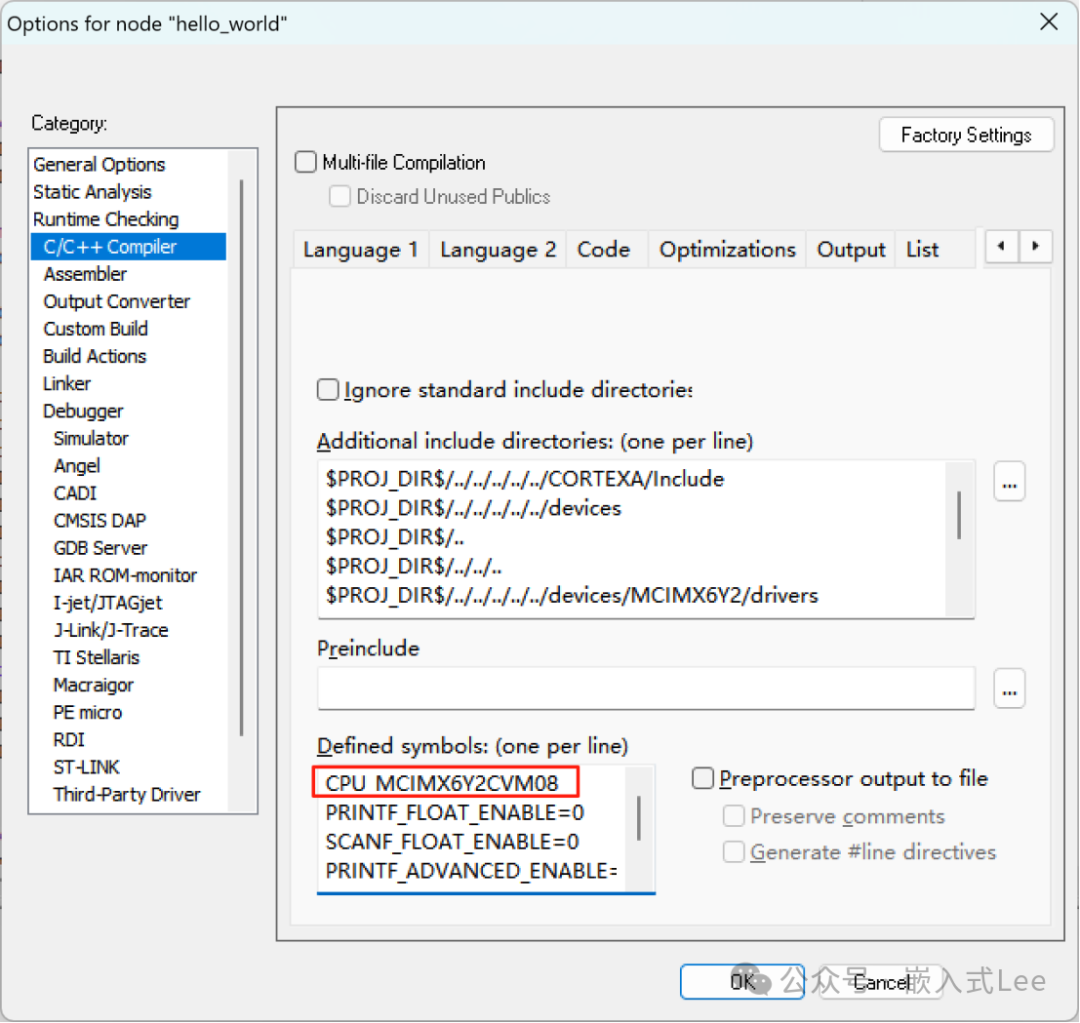
Configure the CPU model macro.
6. Download Debugging
6.1 Jlink Connection
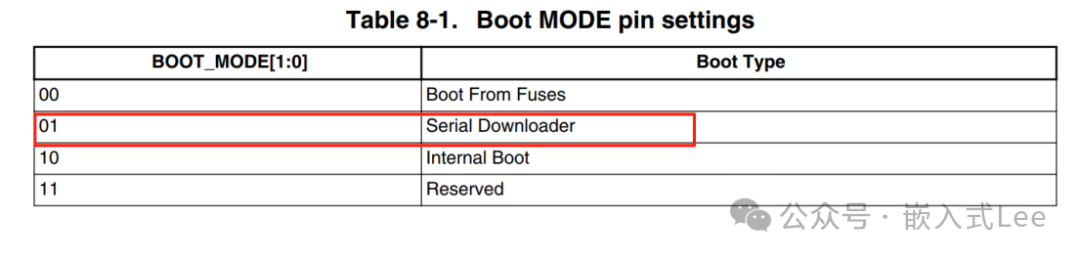
First, you must set BOOT1:0 to 01, which means Serial Downloader mode, otherwise Jtag will not be enabled. At this point, JTAG_TDO will have no output and will always be high.
JTAG_MOD should be grounded.

Otherwise, you will see the message:
Fatal error: JTAG Id mismatch. TAP with Id 0x00000000 is no JTAG-DP Session aborted!

If you see the message – ERROR: Cortex-A/R-JTAG (connect): Could not determine address of core debug registers. Incorrect CoreSight ROM table in device?
Then you need to modify the project file
ddr_init.jlinkscript
and add the following bold content:
/* ConfigTarget */
void ConfigTargetSettings(void)
{
Report(“Config JTAG Speed to 4000kHz”);
JTAG_Speed = 4000;
CORESIGHT_AddAP(0, CORESIGHT_AHB_AP);
CORESIGHT_AddAP(1, CORESIGHT_APB_AP);
CORESIGHT_IndexAPBAPToUse = 1;
}
6.2 Simulation
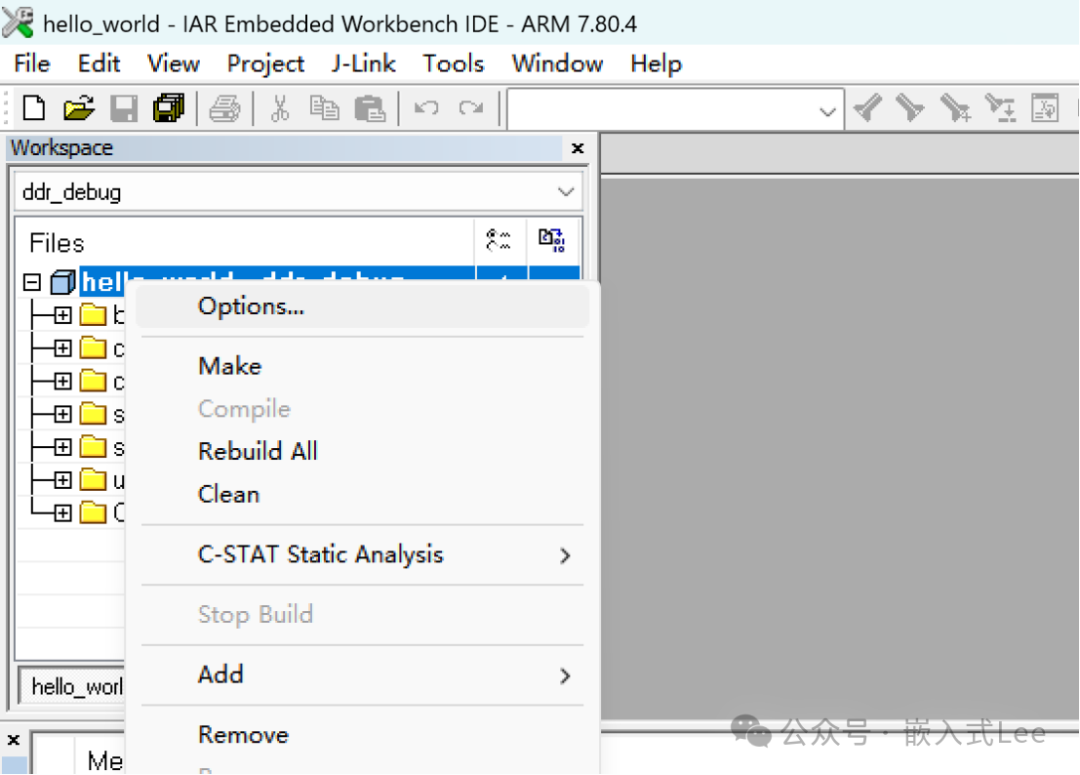
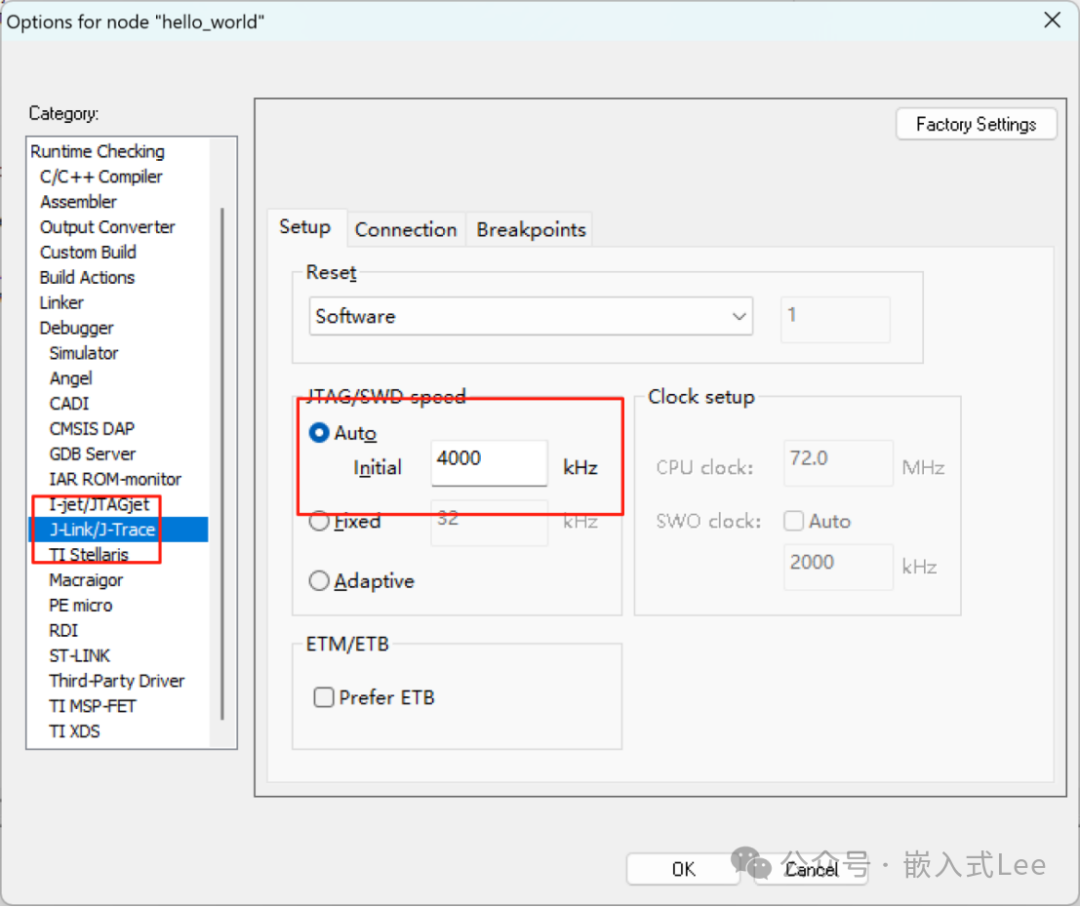
Right-click on the left directory -> options
Select Jlink
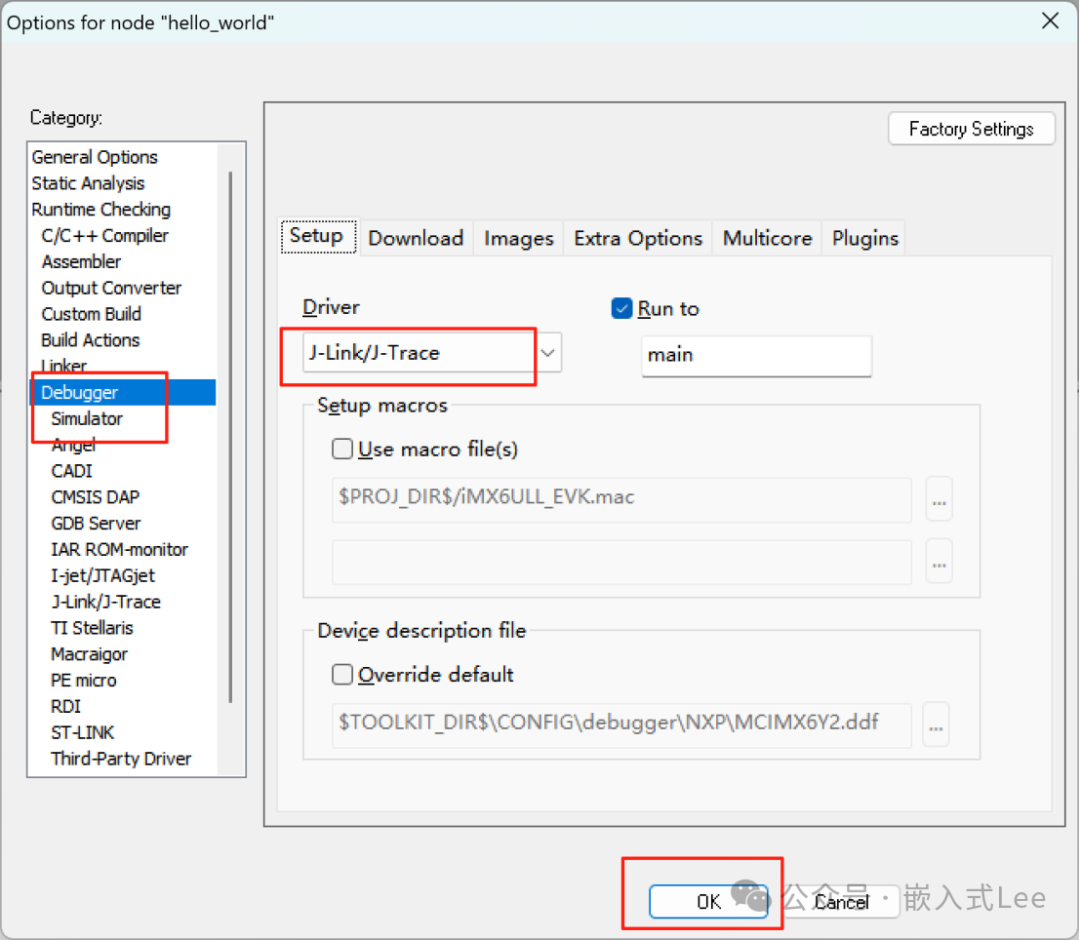
Here you can set parameters, such as clock speed; if the line is long, you can set it lower.
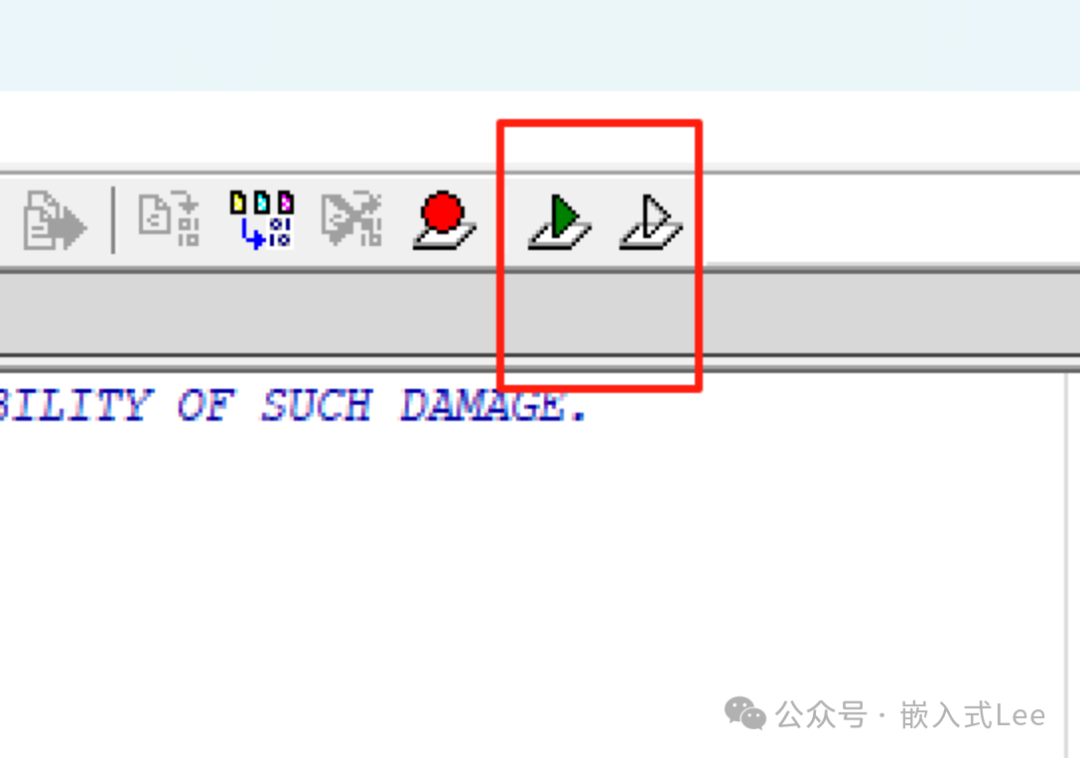
Click the following icon to enter simulation.
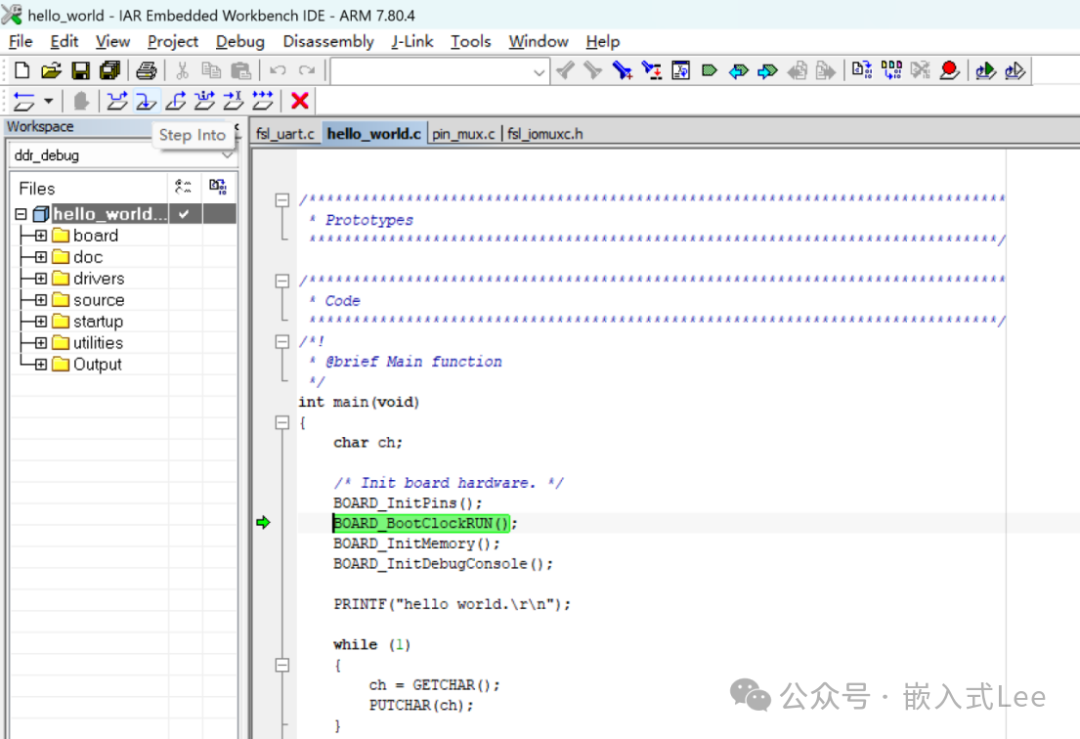
Once in simulation, you can perform various operations.
7. Conclusion
This article has detailed the setup of the bare-metal development environment for the IMX6ULL and some considerations for Jlink connections. The official SDK for bare-metal development is provided, making it convenient. The main points to note are the configuration of the BOOT pins and JTAG_MOD pins during Jlink connections.