
This article is an excellent piece from the KX Forum.
Author ID on KX Forum: ny0c
IntroductionThe Rust compiler rustc uses LLVM for intermediate code generation (MIR -> LLVM IR link), so I want to try adding a pass for code obfuscation during the Rust compilation process to protect the production code.
Since Rust has two toolchains on Windows, one is MSVC and the other is the MinGW-based windows-gnu. LLVM’s dynamic library compilation on Windows can only use the Mingw-w64 environment, as specified in the official LLVM CMake parameters (link), and the LLVM compiled by Rust does not support dynamic linking.

This article uses the Mingw-w64 environment under MSYS2.
Environment SetupMachine Requirements
A sufficiently powerful machine, about 20GB of hard disk space (SSD is better), more than 8GB of memory, and a good network connection.
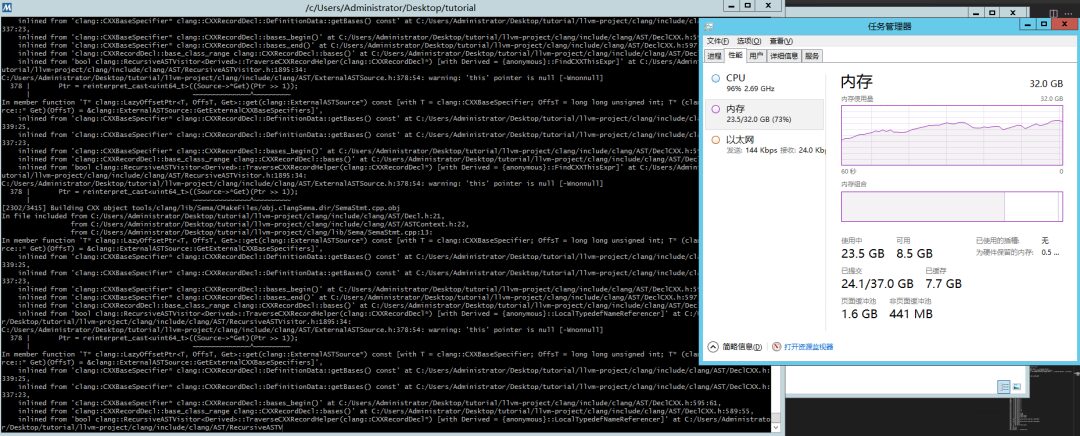
Using Ninja instead of make can significantly improve speed, but increases memory consumption (linking may reach 24GB of memory usage). If memory is insufficient, you can use MinGW Makefiles or Unix Makefiles during the cmake build. This article mainly uses Ninja as the primary build tool.
Space usage: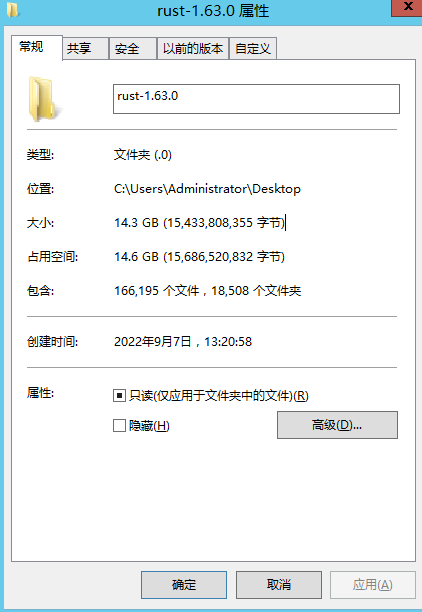
Memory usage:
MSYS2
Download the latest installation package from the Tsinghua source link (link), for example msys2-x86_64-20220904.exe.
Then install it directly.
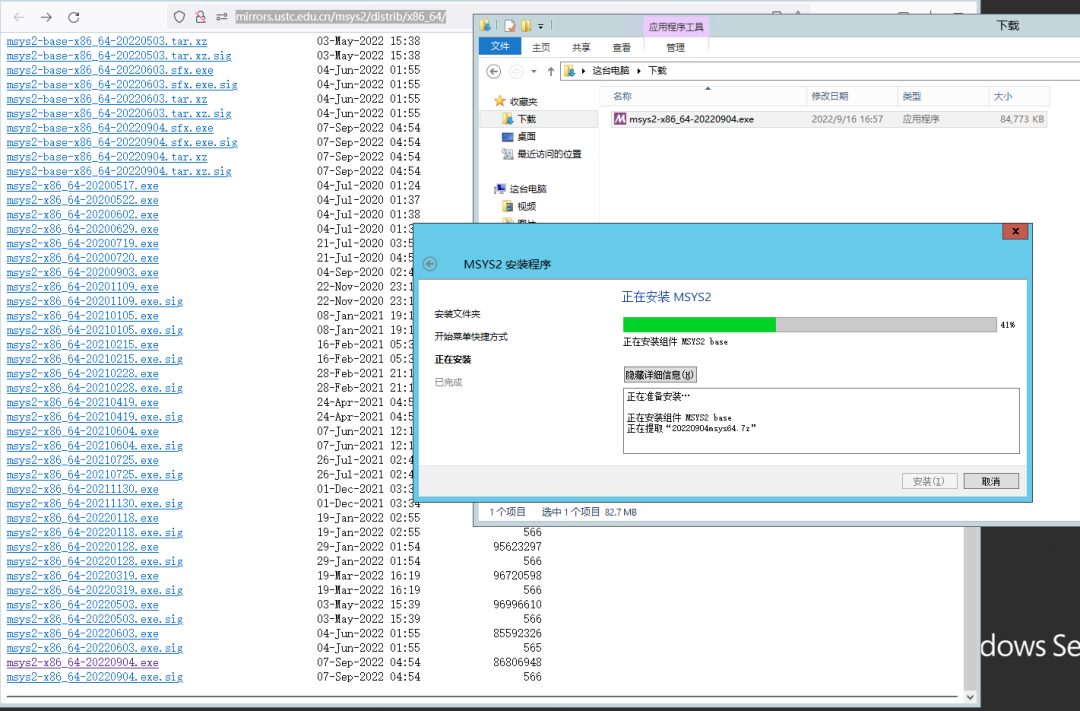
It may hang for a while, just wait a moment.
When it’s done, do not start the default terminal immediately.
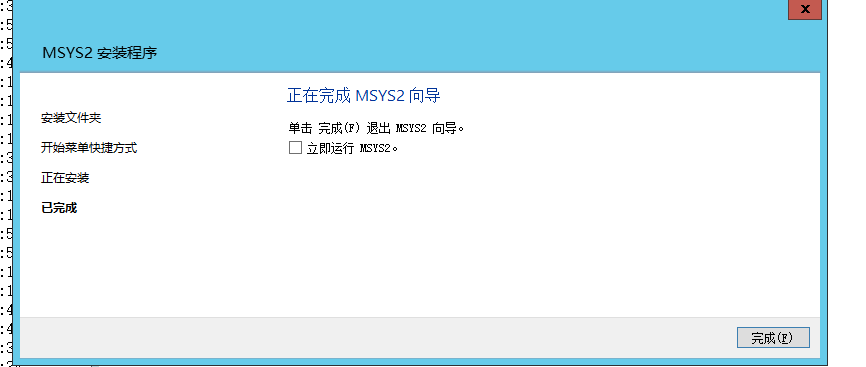
Go to the start menu and find msys2 – mingw64.

Install build dependencies
pacman -S mingw-w64-x86_64-gcc mingw-w64-x86_64-ninja mingw-w64-x86_64-python3 mingw-w64-x86_64-cmake autoconf libtool
Here we installed gcc, the ninja build tool, the mingw-w64 version of python3, cmake under mingw-w64, and some tools used for compiling.
Git
You can download it from the official Git website (link), or install it in MSYS2, depending on personal preference.
I prefer to use the Git downloaded from the official website, which can also be used in other IDEs.
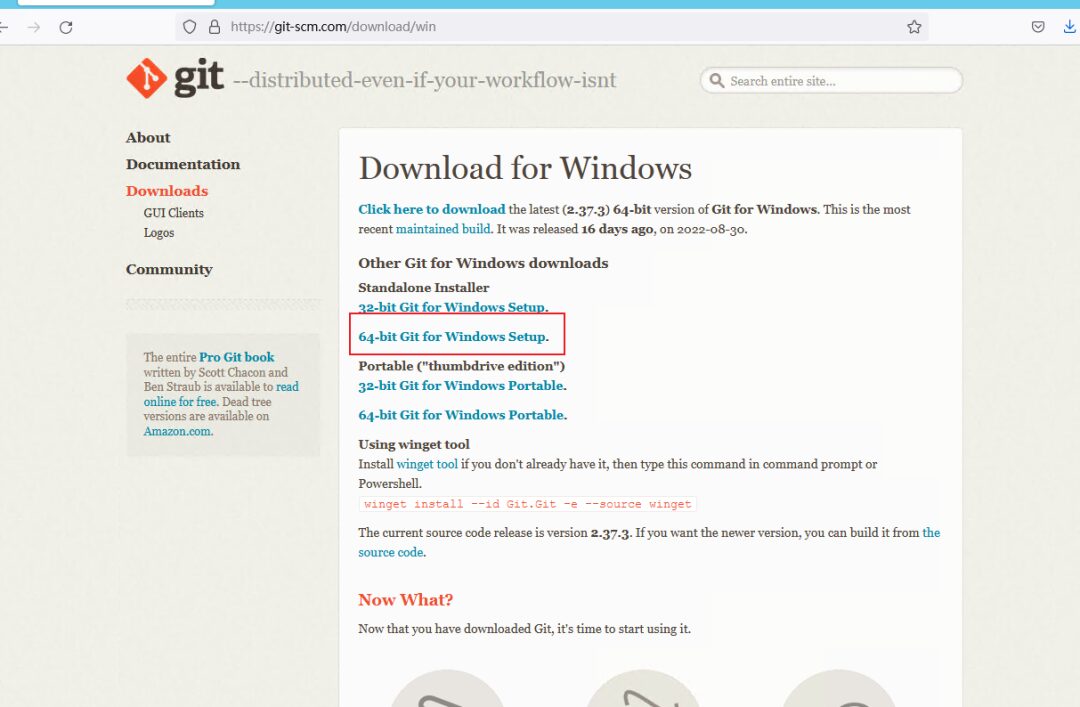
Just download the 64-bit Standalone Installer, and you can configure it according to personal preference during the installation process. If it’s just for this compilation, you can just click next without thinking.
CMake
You can download the Windows installation package from the official website (link), or install mingw-w64-x86_64-cmake in MSYS2, but you must not use the CMake package provided by MSYS2.
That is, install cmake using pacman -S mingw-w64-x86_64-cmake. This article uses the mingw-w64-x86_64-cmake in MSYS2.
If you use the cmake installed from the official website, you need to manually specify the location of cmake.exe in the MSYS2 mingw, that is
/c/Program\ Files/CMake/bin/cmake -G “Unix Makefiles”.
Rust Source Code
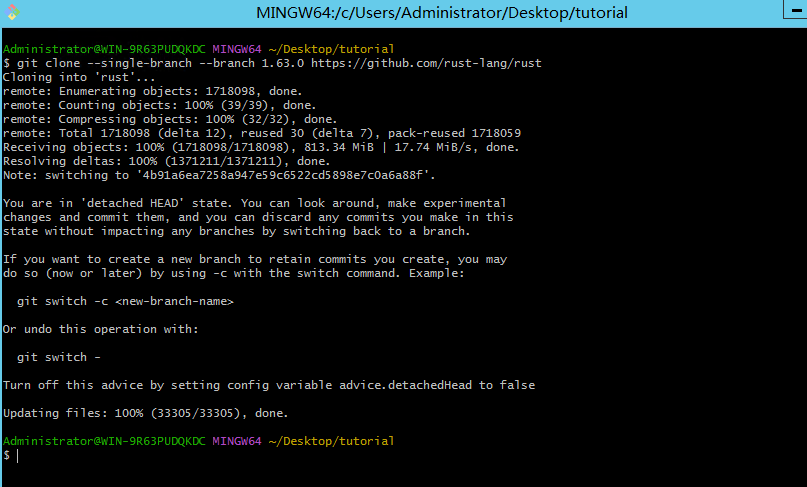
Find the version you want in the official GitHub branch, for example, 1.63.0.
Then use the command in your working directory
git clone –single-branch –branch 1.63.0 https://github.com/rust-lang/rust
to clone the specified branch of the Rust source code.
Corresponding LLVM Version for Rust
Note that you should not download the source code directly from llvm-org to avoid compatibility bugs.
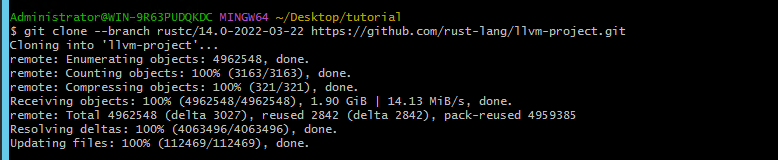
In the Rust source code, there is a .gitmodules file. Open it to see the corresponding LLVM branch and clone it. For example, Rust 1.63.0 corresponds to LLVM version rustc/14.0-2022-03-22.
git clone –branch rustc/14.0-2022-03-22 https://github.com/rust-lang/llvm-project.git
Compiling LLVMAdding Obfuscation Plugin to LLVM
1. Add LLVM obfuscator
Here we use the patch from heroims (link), the specific project address is here (link).
Since LLVM 14 has two types of pass methods, a legacy pass and a new pass, the LLVM official is gradually phasing out the legacy pass with the new pass, so we use the new pass as a patch.
wget https://heroims.github.io/obfuscator/NewPass/ollvm14.patchcd llvm-projectgit apply --reject --ignore-whitespace ../ollvm14.patchNote that normally it should be patched directly. If there are errors in applying the patch, a .rej file will appear, and conflicts need to be handled manually.
Screenshot of successfully applying the patch: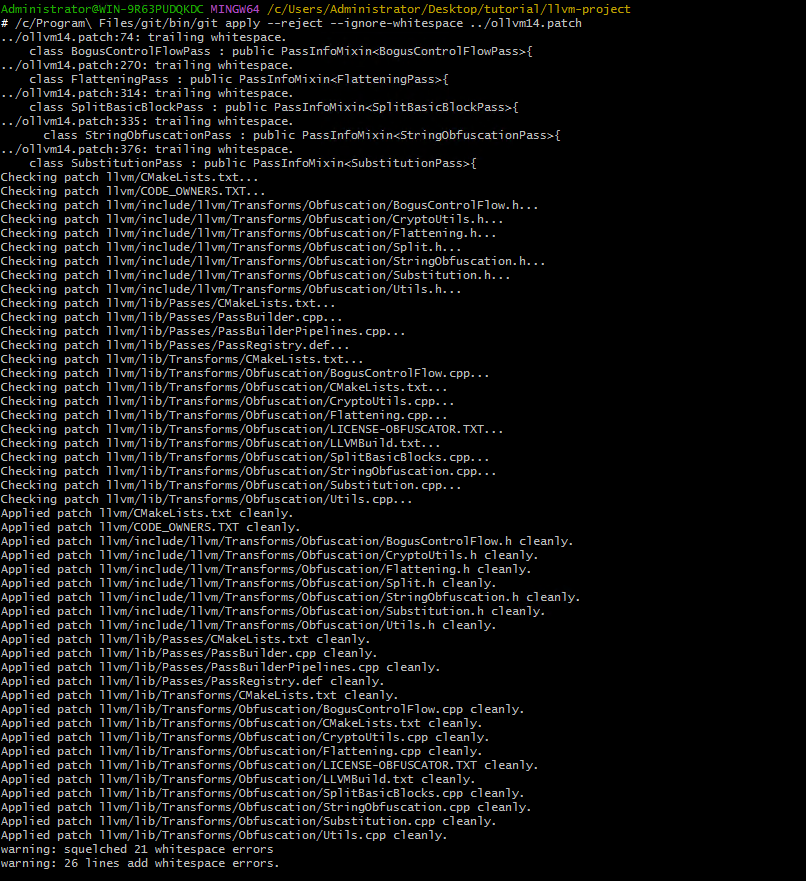
2. Fix LLVM 14 Link Errors
After applying the patch without conflicts, go to llvm-project/llvm/lib/Transforms/Obfuscation directory and modify CMakeLists.txt.
Add the following content after intrinsics_gen:
COMPONENT_NAMEObfuscation LINK_COMPONENTSAnalysisCoreSupportTransformUtilsThe final file content is shown in the figure: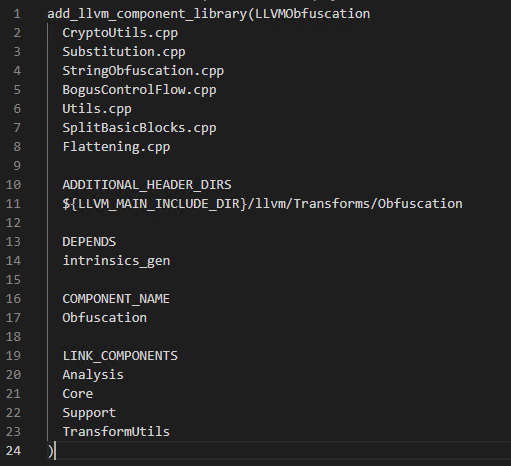
Compiling LLVM Itself
1. Generate cmake build project:
In the directory where you just cloned the LLVM source, enter the following command
cmake -G “Ninja” -S ./llvm-project/llvm -B ./build_dyn_x64 -DCMAKE_INSTALL_PREFIX=./llvm_x64 -DCMAKE_CXX_STANDARD=17 -DCMAKE_BUILD_TYPE=Release -DLLVM_ENABLE_PROJECTS=”clang;lld;” -DLLVM_TARGETS_TO_BUILD=”X86″ -DBUILD_SHARED_LIBS=ON -DLLVM_INSTALL_UTILS=ON -DLLVM_INCLUDE_TESTS=OFF -DLLVM_BUILD_TESTS=OFF -DLLVM_INCLUDE_BENCHMARKS=OFF -DLLVM_BUILD_BENCHMARKS=OFF
Command explanation:
-G