Recently, I have been testing the integration of Mobotix cameras with HomeAssistant. Through testing, I found that the Mobotix camera images can be successfully integrated into HomeAssistant via the Onvif protocol or RTSP. So how can the alarm signals from the Mobotix camera be integrated into HA? Since the Mobotix camera supports the MQTT protocol, and HA also supports MQTT, it is quite feasible to integrate the camera’s alarm signals into HA using the MQTT protocol. Thus, I began to delve into the MQTT protocol and attempted to set up a testing environment for MQTT communication.

To set up the MQTT testing environment, we first need an MQTT broker (server), which can either be a cloud service or a self-built server. Now that we have the HomeAssistant system, we can easily set up an MQTT broker using the add-ons available in HomeAssistant, and we completed the setup yesterday, which is now running smoothly:
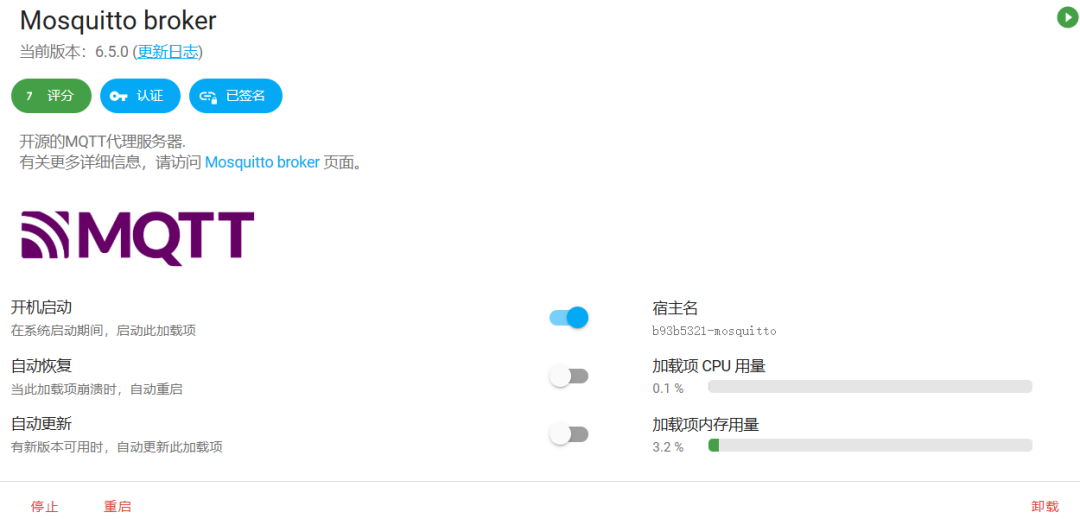
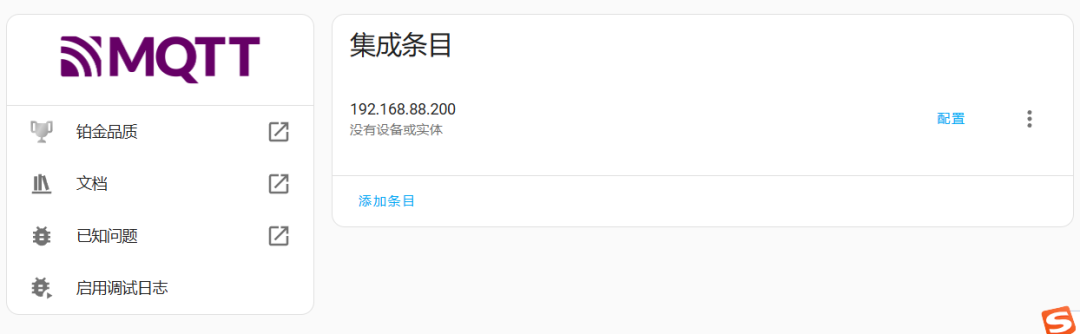
At this point, you should have already discovered the [MQTT] client in “Settings” – “Devices & Services” – “Integrations”.
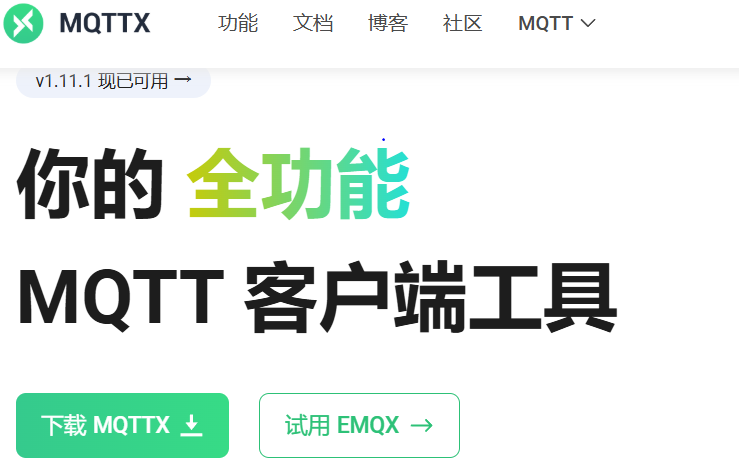
The next step is to download and install an MQTT client on the computer to communicate and test with HA. For the computer client, we chose MQTTX. MQTTX is an open-source, cross-platform MQTT 5.0 desktop client developed by EMQ, compatible with macOS, Linux, and Windows systems. You can complete the download by visiting the website https://mqttx.app/zh.
The user interface (UI) of MQTTX adopts a chat-style design, making the operational logic clearer and more intuitive. It supports users to quickly create and save multiple MQTT connections, facilitating the testing of MQTT/MQTTS connections, as well as the subscription and publication of MQTT messages. After installation, the interface looks as follows:
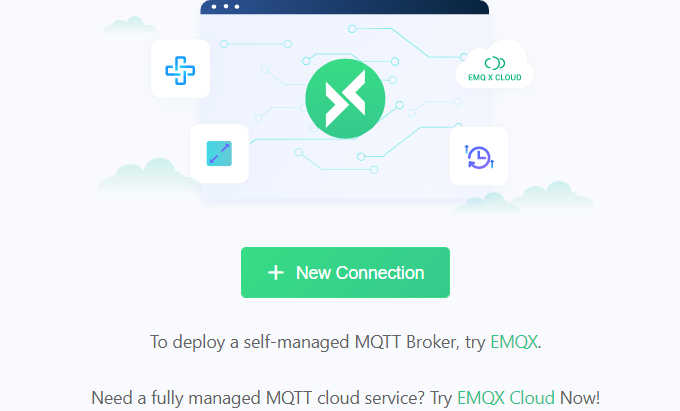
Click on “Create New Connection”; the connection name can be customized with any characters. Enter the IP address of your built MQTT broker, along with the username and password you set.
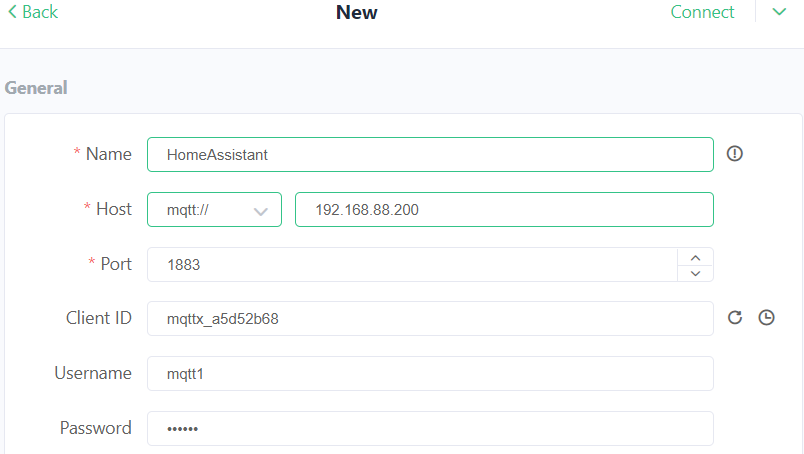
Then click the connect button in the upper right corner, and it will display “connected”, with the connection icon turning green, indicating a successful connection:

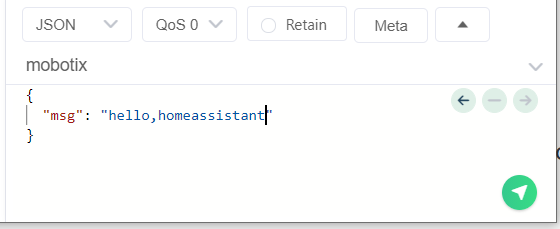
Select the input area in the lower right corner, change the topic for publishing information to “mobotix”, and also change the payload content to your custom text:
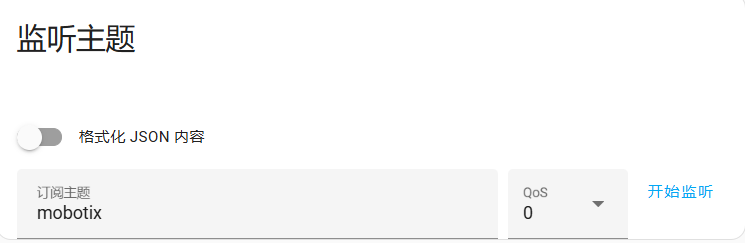
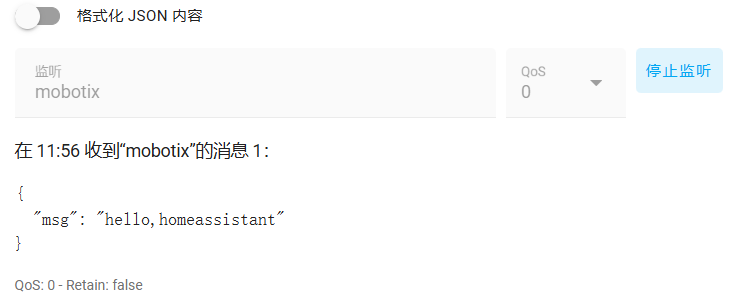
Return to the HA system’s “Integrations” section, find the configured MQTT, and re-enter “Configuration”. Under the listening topic, change the subscription topic to the unified “mobotix”, and click to start listening.
Return to MQTTX and click send to transmit the information.
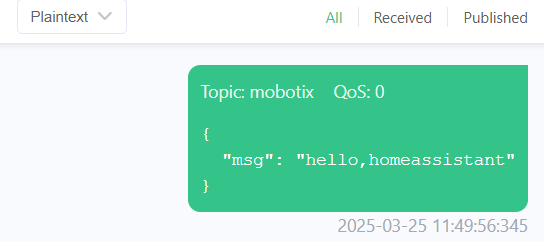
Return to the HA system, and you will find that MQTT has received the information sent by the client:
At this point, we have completed the testing using the third-party MQTT client (MQTTX). After subscribing to MQTT messages in the HA system and sending the corresponding topic information using the third-party client MQTTX, MQTT was able to receive it. This basically meets my testing expectations for integrating the camera’s alarm signals into the HA system via the MQTT protocol.

Click to identify and follow us

If you find this article helpful, please give it a thumbs up