Introduction
The VxWorks 7 SDK is a development environment specifically designed for VxWorks application developers, including the following features:
-
Standard cross-compilation tools based on clang/LLVM for building downloadable kernel modules (DKM) and RTP (real-time process) applications
-
Simplified build management: makefile, cmake, roll-your own
-
Target/architecture specific: includes a generic VxWorks kernel that can be booted on the target platform
-
Header files and libraries for application development
-
Wind River Debugger (wrdbg)
-
Files
This article describes how to run VxWorks 7 and applications on the Raspberry Pi 3B/3B+.
Configuring the Development Environment Software
Host
Virtual Machine VMware Workstation + Ubuntu 20.02
sudo apt install build-essential libc6:i386
Installing an FTP server on the development host will make application deployment easier and allow you to access the host file system from the VxWorks target. You may be interested in using an FTP server option based on pyftpdlib to accommodate different runtime configurations of the VxWorks kernel image included in the SDK.
sudo apt install python-pip
sudo pip install pyftpdlib
Raspberry Pi 3B/3B+
A microSD card larger than 8GB, formatted with FAT32 file system format, can be formatted using the built-in Windows formatting tool.
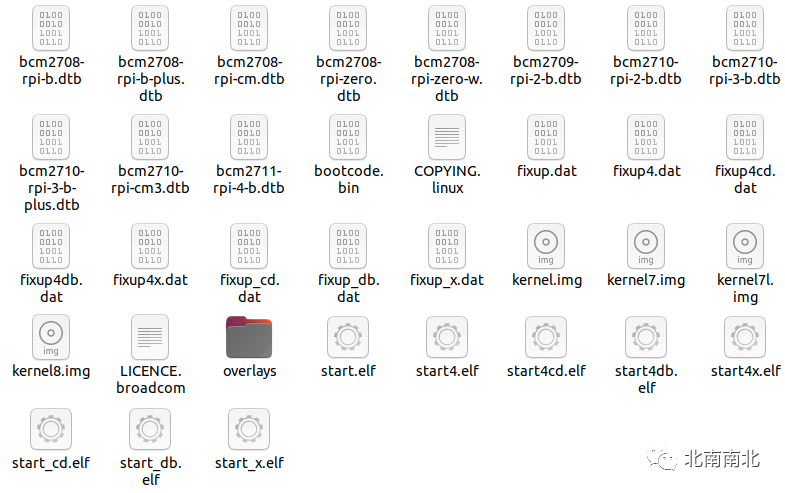
Download the firmware package and copy all files from the boot folder of the firmware package to the SD card.
Copy the contents of the bsps/rpi_3_0_1_1_0/boot/scard/ folder from SDK 1.4 to the SD card.

Download the u-boot.bin file, rename it to kernel8.img, and copy it to the SD card.

Create a vx folder in the root directory of the SD card.
mkdir vx
Copy the VxWorks kernel image to the vx folder.
cp $wrsdk-vxworks7-raspberrypi3b/bsps/rpi_3_0_1_1_0/boot/vxWorks $vx/

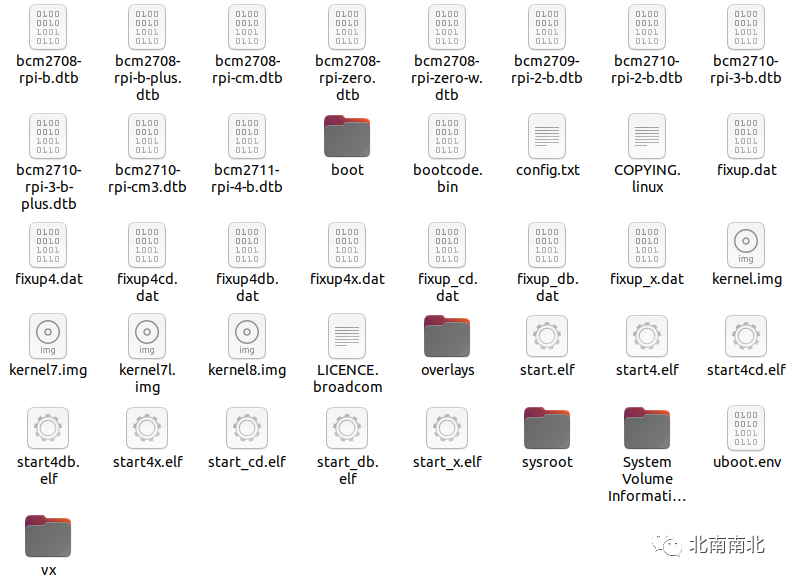
Final SD card directory.
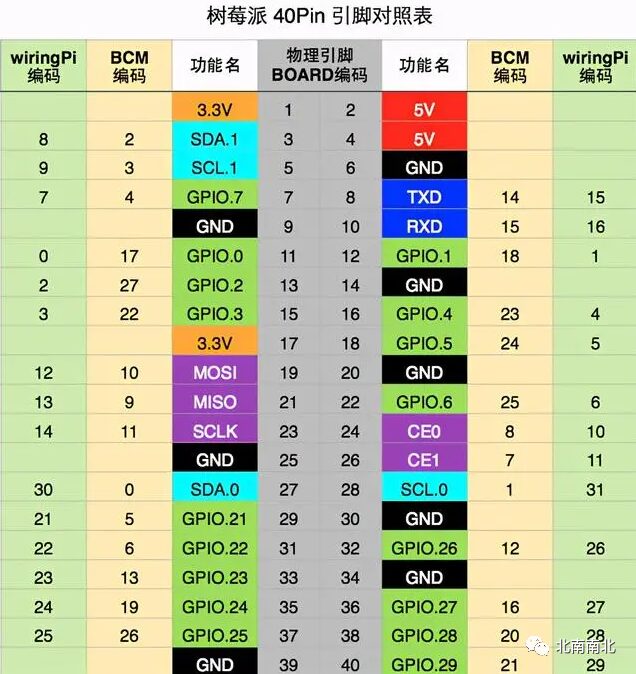
Connect the USB to serial converter on the working machine to GPIO 14 and GPIO 15 of the Raspberry Pi for UART transmission and reception. USB to serial converter —> Raspberry Pi 3B+
TXD —> GPIO 15 RXD —> GPIO 14 GND —> GND
sudo apt install minicom
sudo minicom -b 115200 -D /dev/ttyUSB0
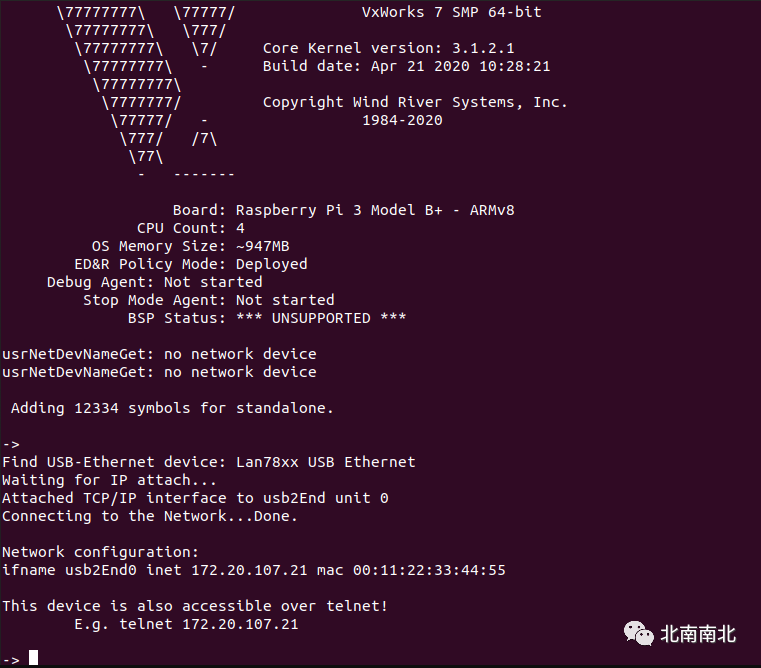
This basically completes the system setup of VxWorks 7 on Raspberry Pi 3B/3B+.
HELLOWORLD Application Development (RTP)
First, open a Linux terminal window, then navigate to the location of the extracted VxWorks SDK 1.4 development toolkit. Get the SDK environment file to update the PATH and environment variables for direct access to the tools included in the SDK.
source /toolkit/wind_sdk_env.linux
Create hello_world.c
#include "stdio.h"
int main (
    int   argc, /* number of arguments */
    char * argv[] /* array of arguments */
) {
    printf("\n\n\nRTP Hello World!\n\n\n");
    return 0;
}
Compile
$CC hello_world.c -static -o hello
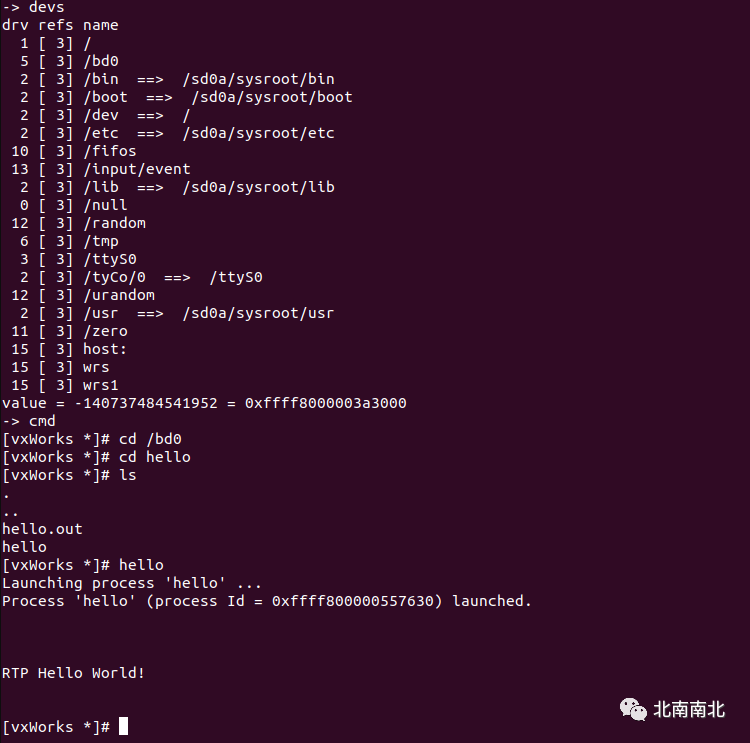
You can use a USB drive to copy the executable file hello. Alternatively, you can connect the host to the Raspberry Pi via an Ethernet cable and use FTP for file transfer instead of using a USB drive. The USB drive is bd0.
DKM Program HelloWorld
Add environment variables.
source /toolkit/wind_sdk_env.linux
If you want the environment variables to be effective in any terminal on boot, you can add the environment variables to the .bashrc file. Add the following at the end of the .bashrc file:
export /toolkit/wind_sdk_env.linux
source ~/.bashrc
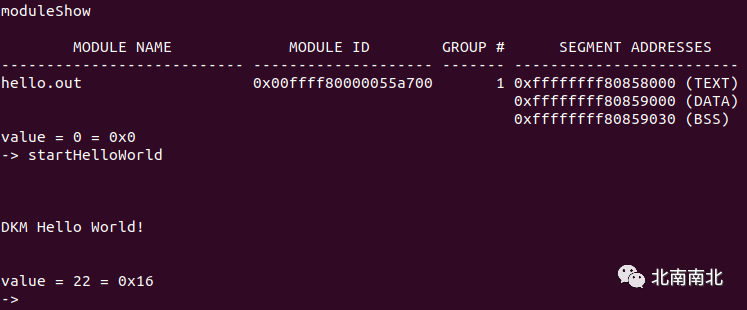
DKM hello_world.c
#include "vxWorks.h"
#include <stdio.h>

void startHelloWorld(void){
        printf("\n\n\nDKM Hello World!\n\n\n");
}
</stdio.h>
Compile
$CC -dkm hello_world.c -o hello.out
Also, use the USB drive to enter the command line and use the cmd command to enter the USB drive and use the ld command to load hello.out.
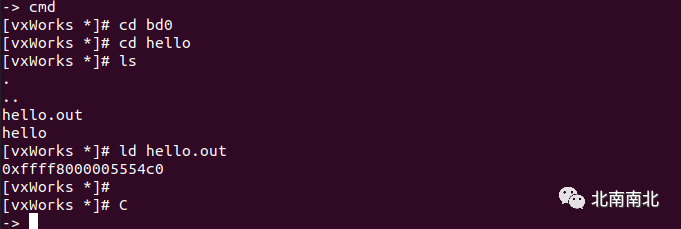
Use the C command to exit command line mode.