Compiled from: https://www.suse.com/communities/blog/opensuse-raspberry-pi-3-zero-functional-system-easy-steps/ Author: chabowskiTranslator: Cathon
This article is written by Dmitri Popov, a technical author from the SUSE documentation team.
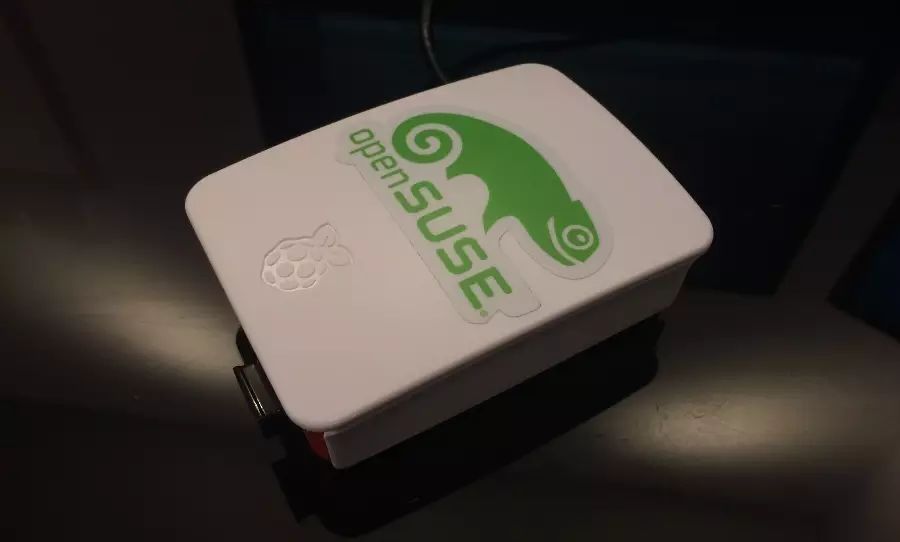
Deploying the openSUSE system on Raspberry Pi 3 is not very complicated, but here are some tips to help you complete the process better.
First, you will have several versions to choose from. If you plan to use Raspberry Pi 3 as a regular host, then the graphical version of openSUSE will be your best choice. There are several different graphical environments to choose from: X11, Enlightenment, Xfce, or LXQT. openSUSE also has a JeOS version that provides the most basic system, allowing you to use Raspberry Pi 3 as a headless server. Better options include openSUSE’s Leap or Tumbleweed versions.
First, you need to download the required openSUSE image from https://en.opensuse.org/HCL:Raspberry_Pi3 and create a bootable microSD card. Although you can use command-line tools to write the downloaded image to the microSD card, Etcher can make this process easier and safer. Get the program from the project’s website, unzip the downloaded .zip file, and use the following command to set the resulting .AppImage file as executable:
chmod +x Etcher-x.x.x-linux-x64.AppImage
Insert the microSD card into the computer, double-click to run the Etcher software, select the downloaded .raw.xz image file, and click the Flash! button. Then connect the monitor and keyboard to the Raspberry Pi 3, insert the microSD card, and start the Raspberry Pi. On the first boot, openSUSE will automatically expand the file system to make full use of the remaining space on the microSD card. You will see the following message:
GPT data structures destroyed! You may now partition the disk using fdisk or other utilities
GPT 数据结构被破坏!您需要使用 fdisk 或其它工具对磁盘分区。
Don’t worry, wait for two minutes, and openSUSE will continue to boot normally. When prompted, enter the default username root and the default password linux to log in to the system.
If you choose to deploy the JeOS version on Raspberry Pi 3, you won’t see any output on the screen during the first boot. This means the screen will remain blank until the system completes the expansion of the file system. You can display the output by configuring kernel parameters, but there is no need to go through that hassle. Just wait a moment, and you will see the command line prompt.
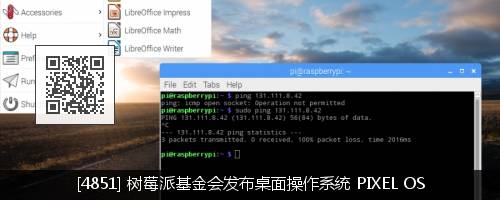
Since openSUSE has already enabled and configured the SSH service, you can boot the Raspberry Pi without a monitor. In this case, you need to connect the Raspberry Pi to the network using the Ethernet interface. After giving the Raspberry Pi enough time to boot and expand the system, you can connect to the Raspberry Pi via SSH service from other hosts on the same network using the command ssh [email protected].
By default, you will log in to the system as the root user, so it’s a good idea to create a regular user. You can easily do this using the YaST configuration tool. Run the yast2 command, select Security and Users -> User and Group Management option to create a new user. You can also choose System -> Online Update option to update the system. After completing this, exit YaST, restart the Raspberry Pi, and log in to the system using the newly created user.
Everything is set up, but there is one important system component that is not working properly, which is the wireless interface. Of course, this issue can also be easily resolved. First, use the following command to install the nano text editor:
sudo zypper in nano
Then run the following command to modify the raspberrypi_modules.conf file:
sudo nano/etc/dracut.conf.d/raspberrypi_modules.conf
Delete the first line sdhci_iproc in the file and uncomment the last line. Run the following command to save the changes:
mkinitrd -f
Finally, restart the Raspberry Pi.

Run YaST again, and in the System -> Network Settings area, you should see the BCM43430 WLAN Card item in the network interface list. Select this item and click the Edit button. Enable the Dynamic Address DHCP option, click Next, select the wireless network you want to connect to, and configure the required connection settings. Click Next and OK to save the settings. Restart the Raspberry Pi, and it should connect to the specific Wi-Fi network.
At this point, you have completed the system deployment on Raspberry Pi.
via: https://www.suse.com/communities/blog/opensuse-raspberry-pi-3-zero-functional-system-easy-steps/
Author: chabowski[10] Translator: Cathon Proofreader: jasminepeng
This article is originally compiled by LCTT[11] and honorably published by Linux China
Recommended Articles
< Swipe left or right to view related articles >


Enter article ID or long press the QR code to go directly