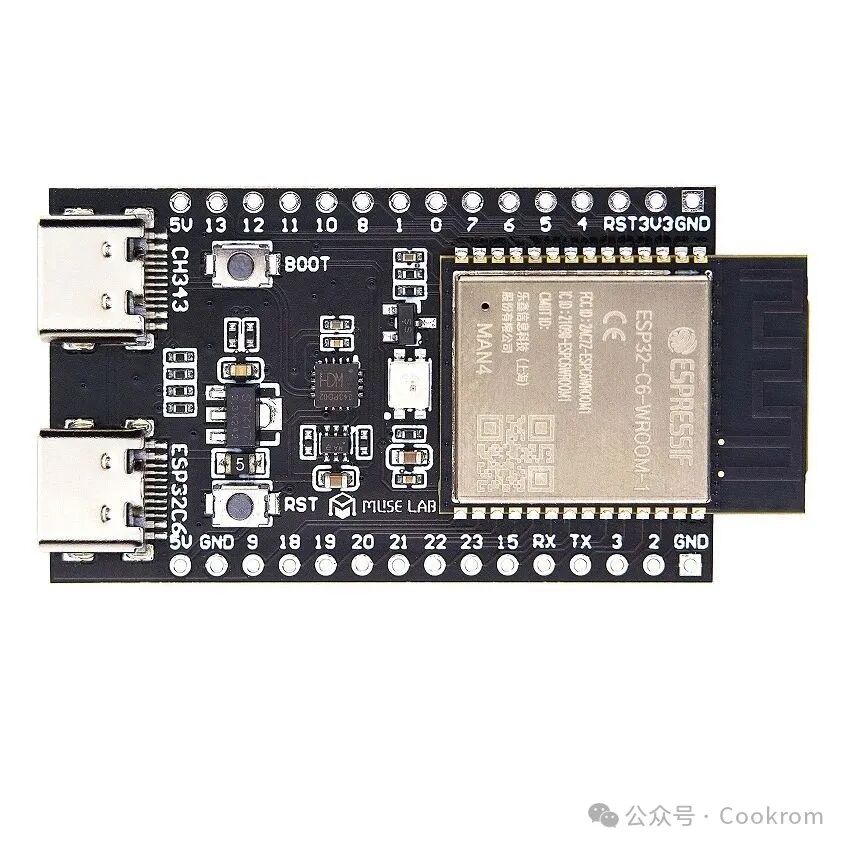
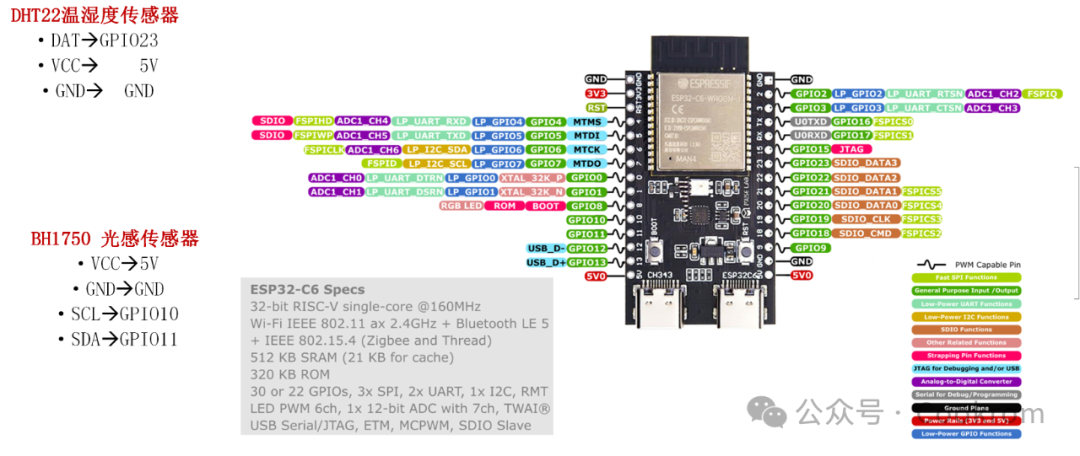
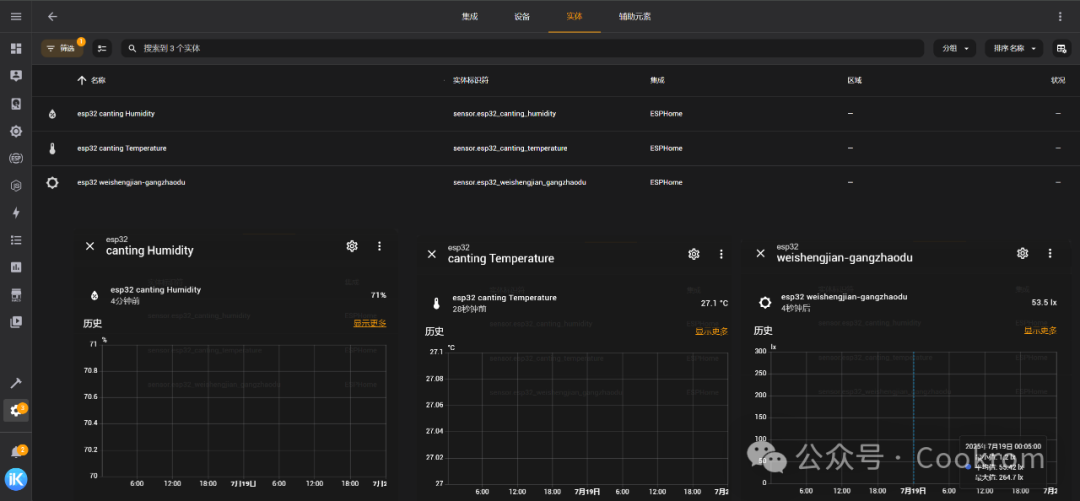
 Effect Diagram: Temperature and Humidity Sensor + Light Sensitivity Sensor———————————————Implementation Steps:1. Install the Esphome compilation tool on the Windows platform (refer to https://blog.csdn.net/robin97172/article/details/145058263)2. Create a config folder in the C:\Users\begam\Documents\Arduino folder path3. Start by right-clicking to run the Windows PowerShell program4. Input 1: cd C:\Users\begam\Documents\Arduino Input 2:esphome dashboard config5. Browser:http://127.0.0.1:6052/ to enter the software6. Create a project and copy-paste the program code
esphome:  name: esp32  friendly_name: esp32
esp32:  # This hardware development board is nanoesp32-c6 v1.0  board: esp32-c6-devkitm-1  framework:    type: esp-idf
# Enable logginglogger:
# Enable Home Assistant API, the following is required for device integration: api:  encryption:    key: "l1HqjqUNNtKsI93KCOouc6wAqmvnC9jeVvjT12YaQMM="
ota:  - platform: esphome    password: "4244586d5f58a6cee22dc0a370b6a42c"  # Home WiFi name and passwordwifi:  ssid: "@JL-dlink"  password: "T12335353"# Specify the internal network IP address  manual_ip:    static_ip: "192.168.1.103"    gateway: "192.168.1.2"    subnet: "255.255.255.0"
  # Enable fallback hotspot (captive portal) in case WiFi connection fails  ap:    ssid: "Esp32 Fallback Hotspot"    password: "waKqglOszZoB"
captive_portal:# Light sensitivity sensor definitioni2c:  sda: GPIO11 # Actual pin position  scl: GPIO10 # Actual pin position  scan: True  id: bh_02sensor:  - platform: bh1750    name: "weishengjian-gangzhaodu"    i2c_id: bh_02    address: 0x23    update_interval: 2s
# Temperature and humidity sensor definition  - platform: dht    pin: GPIO23 # Actual pin position    temperature:      name: "canting Temperature"    humidity:      name: "canting Humidity"    update_interval: 60s
7. Save in the upper right corner, then execute install to generate the bin flashing file8. Load the generated BIN program to automatically perform the flashing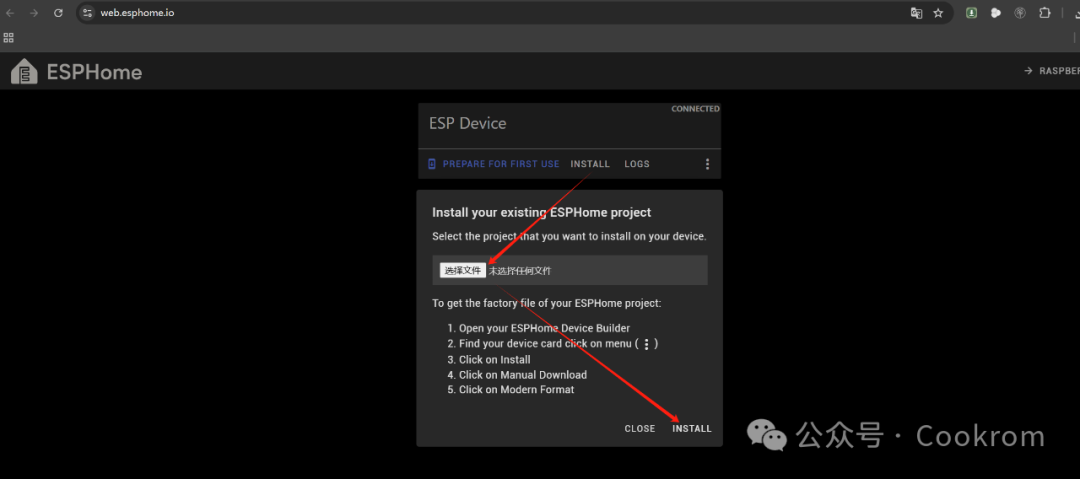 9. After flashing is complete, click LOGS to check the program’s running status——————————————–Physical Diagram and Wiring Diagram