The previous article discussed how to create new logical volumes. When the space of a logical volume is insufficient, it needs to be expanded. There are two scenarios: one is that the remaining space is sufficient to support the required expansion size; the other is that there is not enough remaining space to meet the expansion needs (for example, wanting to expand by 100G, but currently, there is only 20G of remaining space).
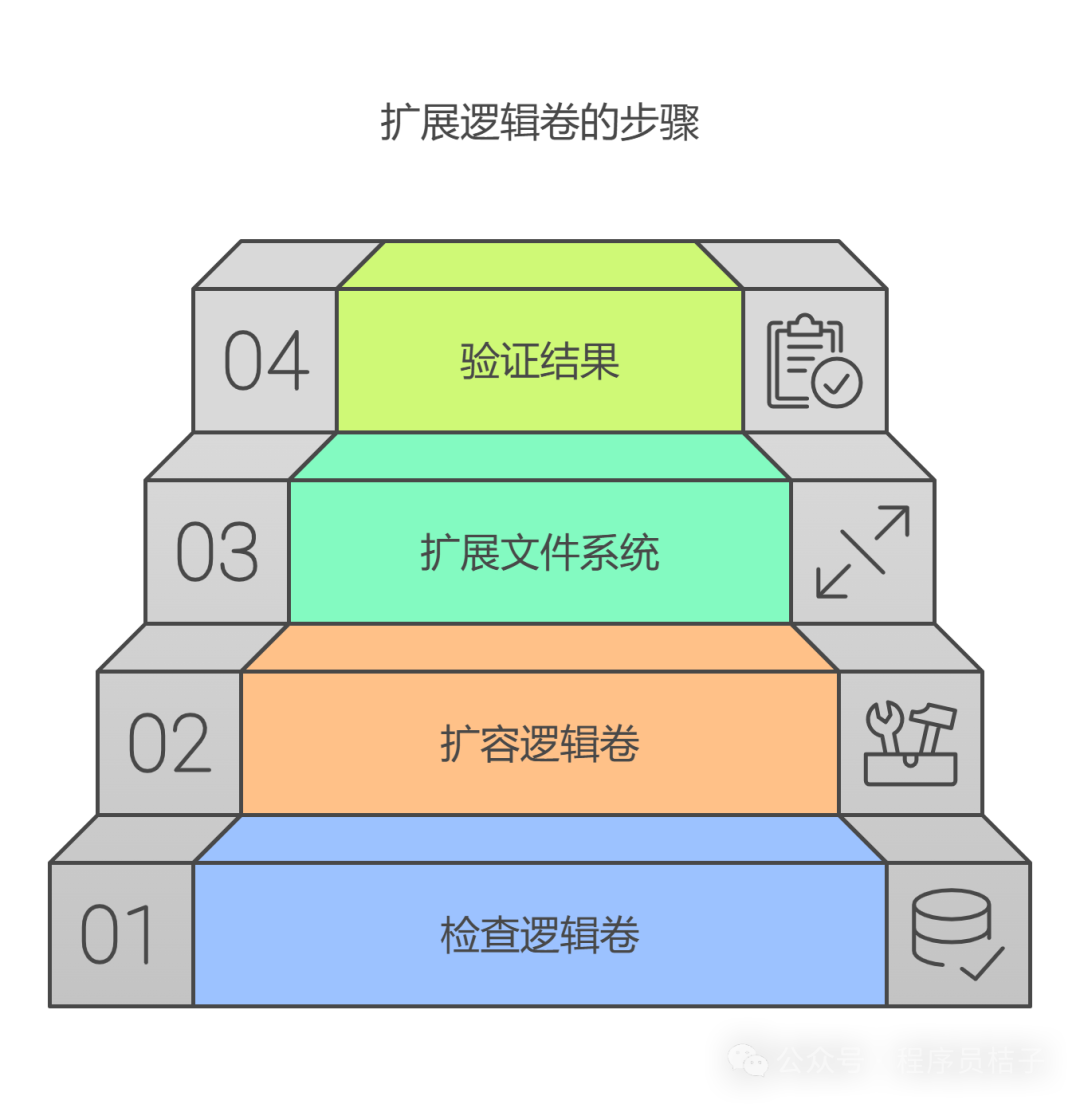
This article will detail the steps for both scenarios. The main steps are as follows:
In this case, we need to expand the logical volume mylv under the volume group textvg by 100G, and the remaining space in the volume group is 120G
To confirm the logical volume’s name, size, and the remaining space in the volume group
lvdisplay /dev/datavg/mylvUse the <span>lvextend</span> command to expand the logical volume. You can use <span>-L</span> to specify the absolute size of the logical volume, or use <span>-l</span> to specify the number of physical extents (PE, generally each PE is 4MB in size). However, it is usually sufficient to use <span>-L</span>.
lvextend -L +100G /dev/datavg/mylv

# or
lvextend -l 250 /dev/datavg/mylv

# If you want to use all remaining space, you can use the following command
lvextend -l +100%FREE /dev/datavg/mylvAfter expanding the logical volume, the next step is to expand the file system to utilize the newly added space. Depending on the file system type used, use the corresponding command. Here we are using the xfs file system
# For xfs system:
xfs_growfs /dev/datavg/mylv

# For ext4 system:
resize2fs /dev/datavg/mylvFinally, check the sizes of the logical volume and file system to confirm whether the expansion was successful.
df -Th
# or
lvdisplay /dev/datavg/mylvIf the existing volume group has insufficient remaining space (check using <span>vgs</span>), we can expand the physical volume of the volume group by adding a new physical disk, and then add the new space to the volume group to meet the expansion requirements. Here we take the local virtual machine sda system disk expansion as an example; if it is a cloud server, you can choose the cloud disk expansion service. The steps for expanding the logical volume are the same. Here, we will expand the root logical volume of the centos volume group by 10G
Shut down the virtual machine, select edit virtual machine – hard disk – expand – enter the maximum disk size – start after expansion
-
Use <span>fdisk /dev/sda </span>to create a partition, -
Enter <span>n</span>(new partition), <span>p (partition number, default is 3),</span>-
Press enter (select the starting sector, usually the default is fine), -
Press enter (you can choose the partition size), <span>w (save and exit).</span>-
Then use <span>lsblk</span>to check the block device information. If<span>lsblk</span>does not show the newly created partition (i.e., sda3), use the<span>partprobe</span>command.
<span>fdisk /dev/sda (manage disk partitions),</span><span>t (change type of partition number),</span>-
Press enter (because the partition number defaults to 3, which is consistent with the partition number when created, so just press enter), -
Input hex code option 8e, <span>w</span>(save and exit), changing the partition type to Linux LVM -
Use <span>fdisk -l</span>to check if it has taken effect
pvcreate /dev/sda3vgextend centos /dev/sda3lvextend -L +10G /dev/centos/root# For xfs system:
xfs_growfs /
# For ext4 system:
resize2fs /dev/mapper/centos-rootdf -ThThe above are the specific steps for expanding logical volumes in the case of sufficient and insufficient space. In fact, the only difference between the two is how to handle the volume group; the steps for expanding the logical volume are the same afterwards. In the next article, I will provide a general supplement to other commonly used commands related to logical volumes, hoping that everyone can understand the basic steps for adding and expanding logical volumes through these two articles~