Today, Teacher Cheng from the Mark Pen Design Study Abroad program will continue to bring you knowledge about Arduino. Those who haven’t seen the previous episodes should catch up!
《How to Connect Basic Arduino Circuits》
《How to Install Libraries for Arduino IDE》
Lighting effects are a popular type of interactive effect among students. Considering the presentation in a portfolio, lighting effects are easier to showcase than sound effects. After all, sound effects can only be demonstrated through video, while stunning lighting effects can be seen in images. Today, I will explain how to implement several common lighting effects using Arduino sensors.
The WS2812 is an integrated IC LED strip, which integrates the main part of the driving IC into the commonly used 5050 RGB LED chips. The advantage is that it integrates the circuit into the LED, eliminating the need for external circuits, thus reducing circuit design complexity, external components, size, failure rates, and production costs.
Because each LED is an RGB LED, we can control the color of the light by adjusting the values of “R”, “G”, and “B” during programming. This allows for a wide range of effects, including chasing, flowing, running, changing colors, breathing, strobe, clockwise flowing, counterclockwise flowing, simulating lightning, etc. Cutting and soldering is easy and flexible: a circuit can be formed with just one LED, and the strip can be cut and soldered along the cutting lines to achieve various desired lengths.
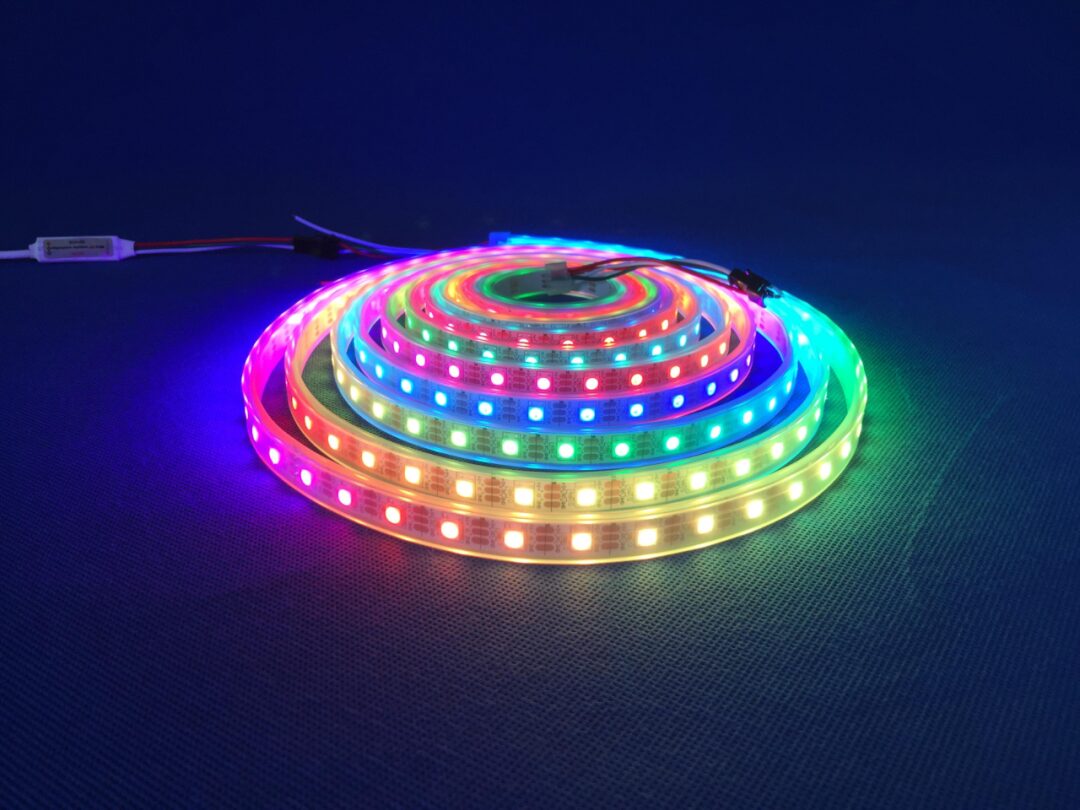
The types of LED strips are generally divided into the following:
1). WS2812B 30 LEDs per meter; 2). WS2812B 60 LEDs per meter; 3). WS2812B 72 LEDs per meter; 4). WS2812B 96 LEDs per meter; 5). WS2812B 144 LEDs per meter. For strips of the same length, more LEDs mean denser spacing, while fewer LEDs mean sparser spacing.
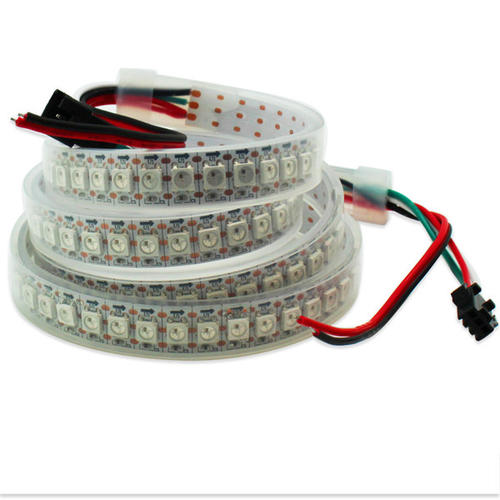
Next, let’s talk about the wiring method. We will take the Arduino UNO development board as an example. The WS2812B full-color LED strip has three connections: red, white, and green wires. We can see that the strip has connectors at both ends; we need to pay attention to the arrow direction on the strip and connect according to the arrow. Connect the red wire to the 5V of the development board, the white wire to GND, and the green wire to a digital pin. The packaging is generally divided into three types: bare version, glue-coated with double-sided tape, and tubing without double-sided tape.
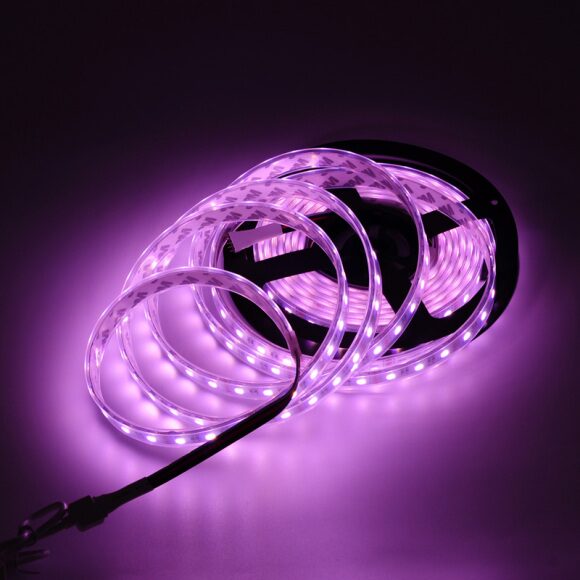
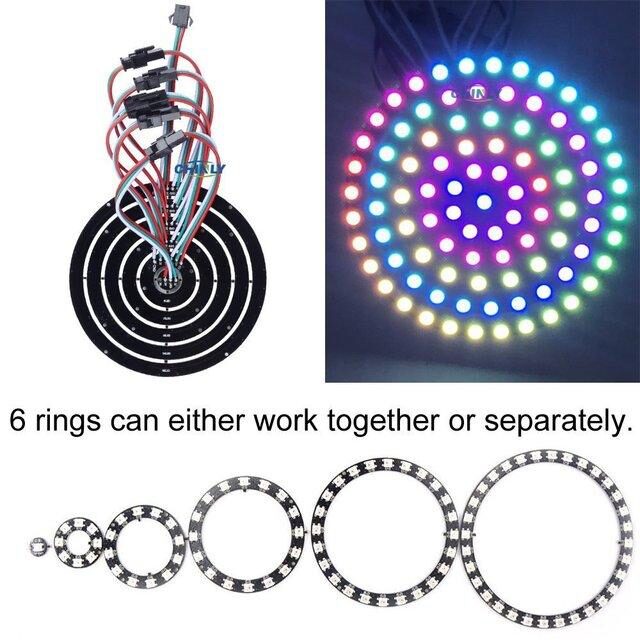
This type of LED strip is commonly used in home decor, with many people using it to DIY corridor and staircase lighting. It is also used in hotel renovations, theaters, KTV bars, stage lighting, clubs, shopping centers, etc. It is widely applied in signage backlighting, concealed lighting, and advertising sign lighting. The WS2812B LED strip comes in more than just a strip form; there are also ring types. The principle of this ring light is the same as that of the strip; it is simply bent into a circular shape. The same third-party library, “Adafruit_NeoPixel.h,” is used in programming. The connection also involves three wires, with no difference.
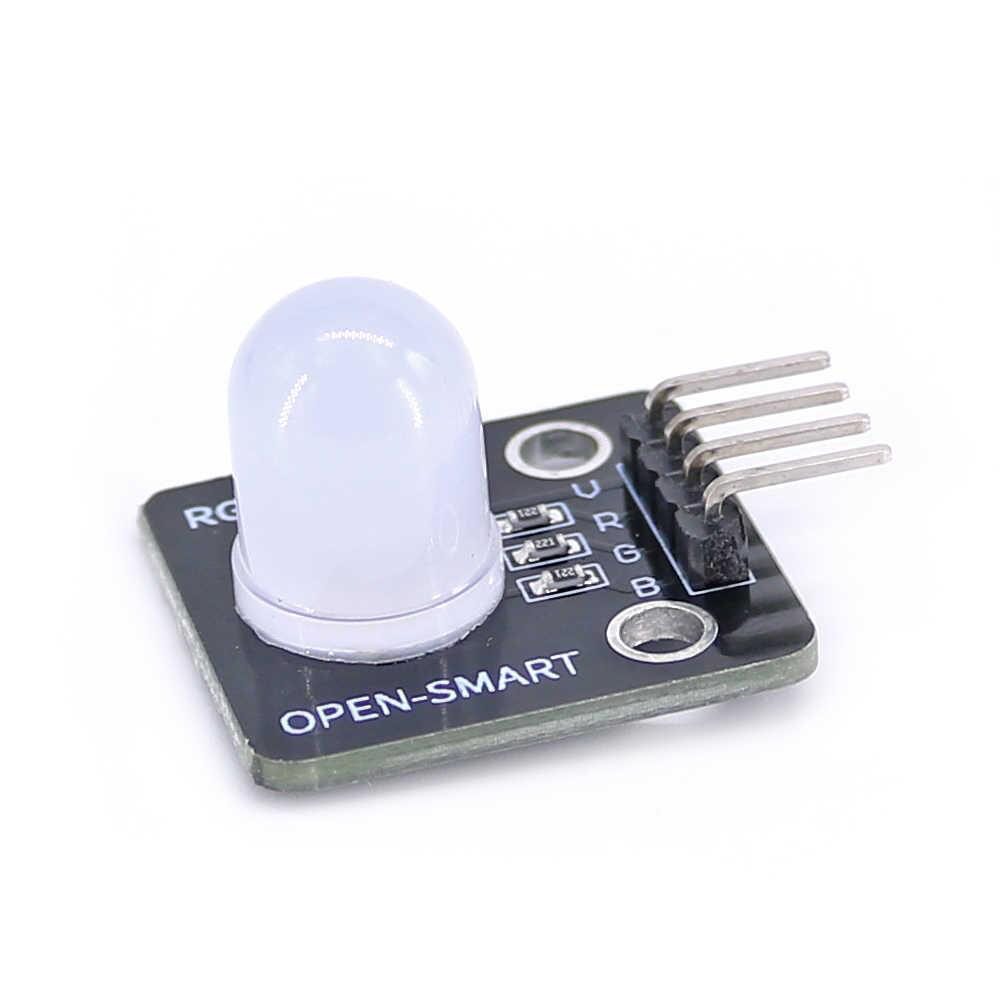
At first glance, RGB (Red, Green, Blue) LEDs look like ordinary LEDs. However, unlike regular LEDs, RGB LEDs contain three LEDs in one package: one red, one green, and one blue. By controlling the brightness of each LED, you can mix almost any color you want.
What we typically buy on Taobao are common anode RGB LEDs. Common anode RGB LEDs have four pins, with the most common positive pin being the second pin, which is also the longest lead. This pin will be connected to +5V. Each of the other LEDs needs to be connected in series with a 220Ω resistor to prevent excessive current from burning them out. The three positive pins of the LEDs (one red, one green, and one blue) are connected to the resistors and then to the PWM output pins of the Arduino, which are the digital pins we commonly use.

(Common Cathode RGB LED Connection)

(Common Anode RGB LED Connection)
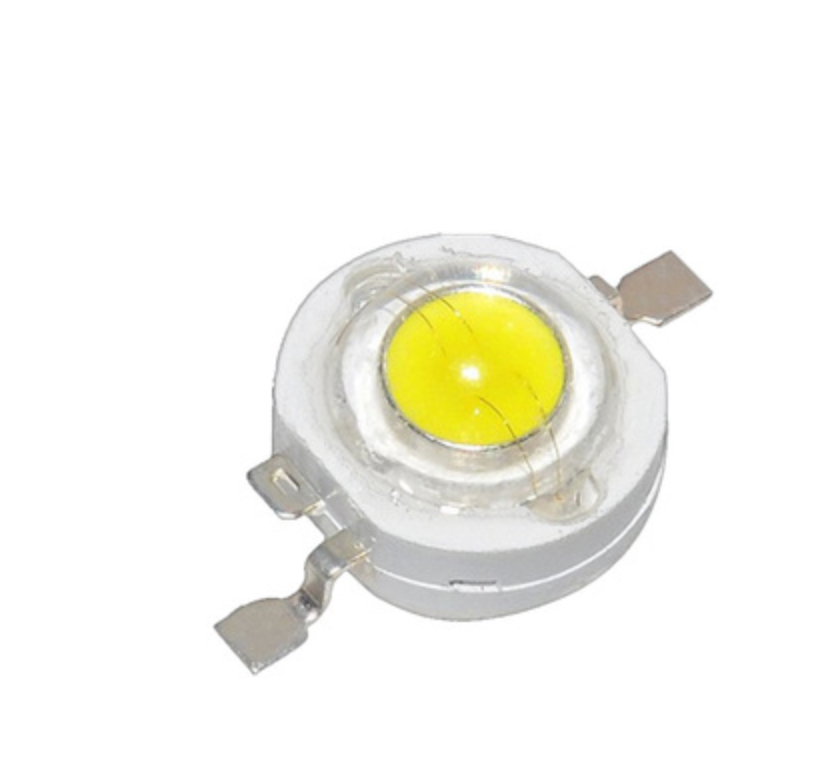
This is a standard small LED, which is actually no different from what we see in beginner kits. It has two pins for positive and negative connections, with markings indicating polarity on the two small legs. When connecting, be careful not to reverse the polarity. This type of LED is generally divided into two types: warm light and cool light. Warm light has an orange-yellow glow, while cool light has a blue-purple glow. The brightness of the light is related to power. This type of LED can only emit one color of light and cannot present multiple colors like the previous two types; it is not an RGB LED.
Alright, that’s all for today. Students can choose the appropriate LED according to the desired effect. To master the programming logic characteristics of each LED, you need to experiment more. You can call up the most basic programming from the library, try changing some parameters, and observe the changes. Through various attempts, you can roughly grasp the statements and logic.
Here’s a preview: Next week, Teacher Cheng from the Mark Pen Design Study Abroad program will explain how to implement animation effects with Arduino. We welcome everyone to continue following us!
Article Author:Cheng Yaqiu
Master’s in Product Design from the Royal College of Art, UK
Specializes in product service system design, user experience design, and hardware Arduino interaction.
For any questions about schools and portfolios,
Feel free to communicate at any time.
Speak freely, share fully.