In the development of C++ projects, cross-platform building and configuration have always been complex and troublesome issues. The differences between different operating systems and compilers often lead to cumbersome and repetitive project configurations, and can even cause some hard-to-debug problems. To reduce such issues, CMake has become the preferred build tool for many C++ developers.
CMake is a cross-platform build tool that can generate build files suitable for different platforms, making the compilation of C++ projects simpler and more efficient.
This article shares a general <span>CMakeLists.txt</span> template and demonstrates how to quickly configure a cross-platform C++ project through examples.
📚 The C++ Knowledge Base has been launched on ima! The content covered by the knowledge base is shown in the image below👇👇👇
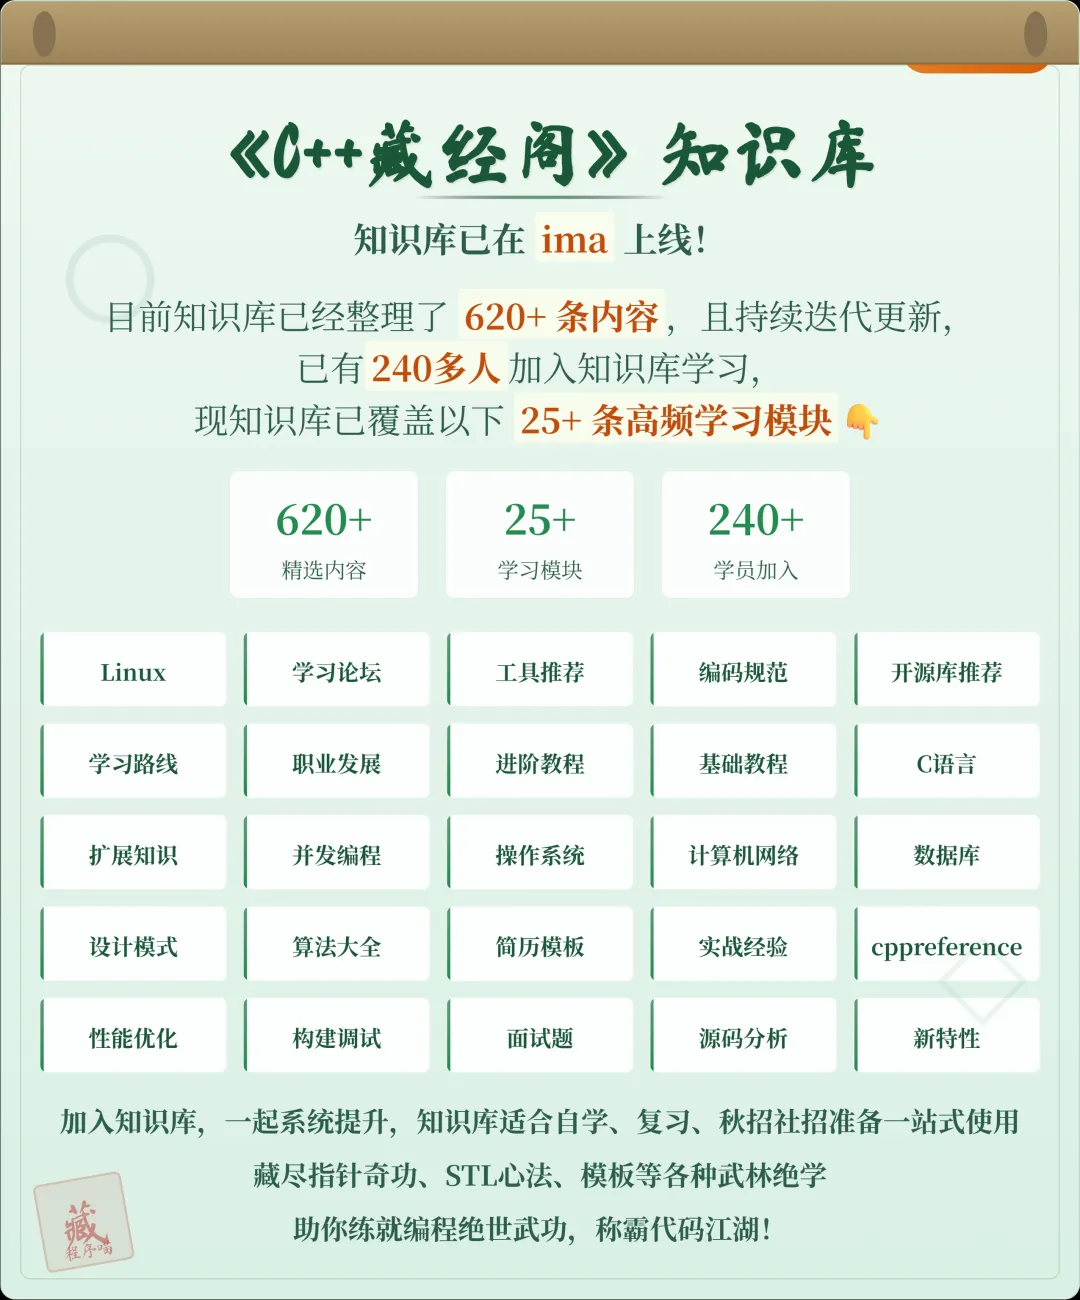
📌 Students interested in the knowledge base can add the assistant on WeChat (cppmiao24) with the note 【Knowledge Base】 or click 👉 C++ Knowledge Base (tap to jump) to view the complete introduction of the knowledge base~
1. Why Choose CMake?
In the past, the building of C++ projects mostly relied on platform-specific build tools, such as <span>Makefile</span>, <span>Visual Studio</span> project files, and <span>Xcode</span> projects. These tools each have different syntax and configuration methods, often making cross-platform development complex and inefficient.
The emergence of CMake is to simplify this issue. CMake provides a unified configuration method that can generate build files suitable for different platforms and compilers (for example, <span>Makefile</span>, <span>Visual Studio</span> projects, <span>Xcode</span> projects, etc.). It can support different platforms such as Windows, Linux, and macOS, and can automatically detect compiler, library dependencies, and compilation options, greatly improving development efficiency.
2. CMake Project Structure
A typical CMake project structure is as follows:
/project-root
├── CMakeLists.txt       # CMake configuration file
├── src/                 # Source code directory
│   ├── main.cpp
│   └── my_class.cpp
├── include/             # Header files directory
│   └── my_class.h
├── build/               # Build directory
├── CMakeModules/        # Optional, CMake modules directory
└── lib/                 # Optional, third-party libraries directory
In this structure:
<span>CMakeLists.txt</span>is the core of the CMake configuration file, defining the build rules for the project.<span>src/</span>directory stores the source code.<span>include/</span>directory stores the header files.<span>build/</span>directory is used to store the generated build files.<span>CMakeModules/</span>and<span>lib/</span>directories are optional, used to store custom CMake modules and third-party libraries, respectively.
3. Basic <span>CMakeLists.txt</span> Template
Below is a basic CMake configuration template that can be used to quickly start a cross-platform C++ project:
# Set the minimum required version of CMake
cmake_minimum_required(VERSION 3.10)

# Set project name and version
project(MyProject VERSION 1.0 LANGUAGES CXX)

# Set C++ standard
set(CMAKE_CXX_STANDARD 17)
set(CMAKE_CXX_STANDARD_REQUIRED True)

# Set C++ compiler options
set(CMAKE_CXX_FLAGS "${CMAKE_CXX_FLAGS} -Wall -Wextra")

# Find all source code files in the current directory
file(GLOB SOURCES "src/*.cpp")

# Include header file directory
include_directories(include)

# Create executable file
add_executable(MyProject ${SOURCES})

# Link third-party libraries (optional)
# target_link_libraries(MyProject some_library)

# Set installation rules (optional)
install(TARGETS MyProject DESTINATION bin)
4. Template Explanation
Let’s break down this CMake template step by step:
1. Set the minimum required version of CMake
cmake_minimum_required(VERSION 3.10)
This line specifies the minimum required version of the CMake configuration file. If your CMake version is lower, it may not recognize some new features.
2. Set project name and version
project(MyProject VERSION 1.0 LANGUAGES CXX)
This line specifies the project name and version number, with <span>LANGUAGES CXX</span> indicating that we will use C++ as the primary language.
3. Set C++ standard
set(CMAKE_CXX_STANDARD 17)
set(CMAKE_CXX_STANDARD_REQUIRED True)
With these two lines of code, we specify the C++ standard as C++17 and require support for this standard. This way, CMake will ensure that the compiler supports and enables C++17 features.
4. Set compiler options
set(CMAKE_CXX_FLAGS "${CMAKE_CXX_FLAGS} -Wall -Wextra")
This line sets the compiler options, enabling warning messages (<span>-Wall -Wextra</span>), helping developers identify potential issues. You can add more compiler options as needed.
5. Find source code files
file(GLOB SOURCES "src/*.cpp")
<span>file(GLOB ...)</span> command automatically searches for all <span>.cpp</span> files in the <span>src/</span> directory and saves them in the <span>SOURCES</span> variable. This way, we do not need to manually list each source file.
6. Include header file directory
include_directories(include)
This line tells CMake to look for header files in the <span>include/</span> directory. Thus, when referencing header files in the source files, CMake will automatically find the corresponding paths.
7. Create executable file
add_executable(MyProject ${SOURCES})
This line specifies the target file to be generated (the executable file). CMake will compile and link the executable file based on the source files listed in the <span>SOURCES</span> variable.
8. Link third-party libraries (optional)
# target_link_libraries(MyProject some_library)
If your project needs to link third-party libraries, you can use <span>target_link_libraries</span> to specify the library files. You just need to pass the library name to this function, and CMake will handle the linking process automatically.
9. Set installation rules (optional)
install(TARGETS MyProject DESTINATION bin)
This line specifies how to install the built executable file. During the build and installation of the project, CMake will install the executable file into the <span>bin/</span> directory.
5. Cross-Platform Support
One of the major advantages of CMake is its cross-platform support. Whether on Windows, Linux, or macOS, CMake can automatically generate the corresponding build files. For example:
- On Windows, CMake will generate
<span>Visual Studio</span>project files or<span>MinGW</span>’s<span>Makefile</span>. - On Linux and macOS, CMake will generate standard
<span>Makefile</span>, or build using the Ninja build system.
CMake automatically adjusts compilation options based on the system and supports platform-specific features and libraries.
6. How to Use This Template?
-
Place the above
<span>CMakeLists.txt</span>file in your project root directory. -
Create a new build directory in the command line:
mkdir build cd build -
Run CMake to generate build files:
cmake .. -
Execute the build:
make -
If installation is needed, use:
make install
7. Conclusion
With the above <span>CMakeLists.txt</span> template, configuring a cross-platform C++ project becomes easy and simple. Whether for single-platform or cross-platform development, CMake can provide powerful support, helping us automate the build process and improve development efficiency. I hope this template can help you configure the build environment in your C++ projects more efficiently and avoid cumbersome operations between platforms.
Many students are preparing for the autumn recruitment, but are struggling without impressive projects. For the project part in interviews, we have launched the C++ Training Camp, which, in addition to systematic learning of C++ foundational and advanced knowledge, allows you to choose projects for practical experience, building from 0 to 1. Instructors review code, provide guidance, and a wealth of learning materials are available for lifetime access.
Students interested can directly add WeChat (cppmiao24) to quickly learn more about the training camp~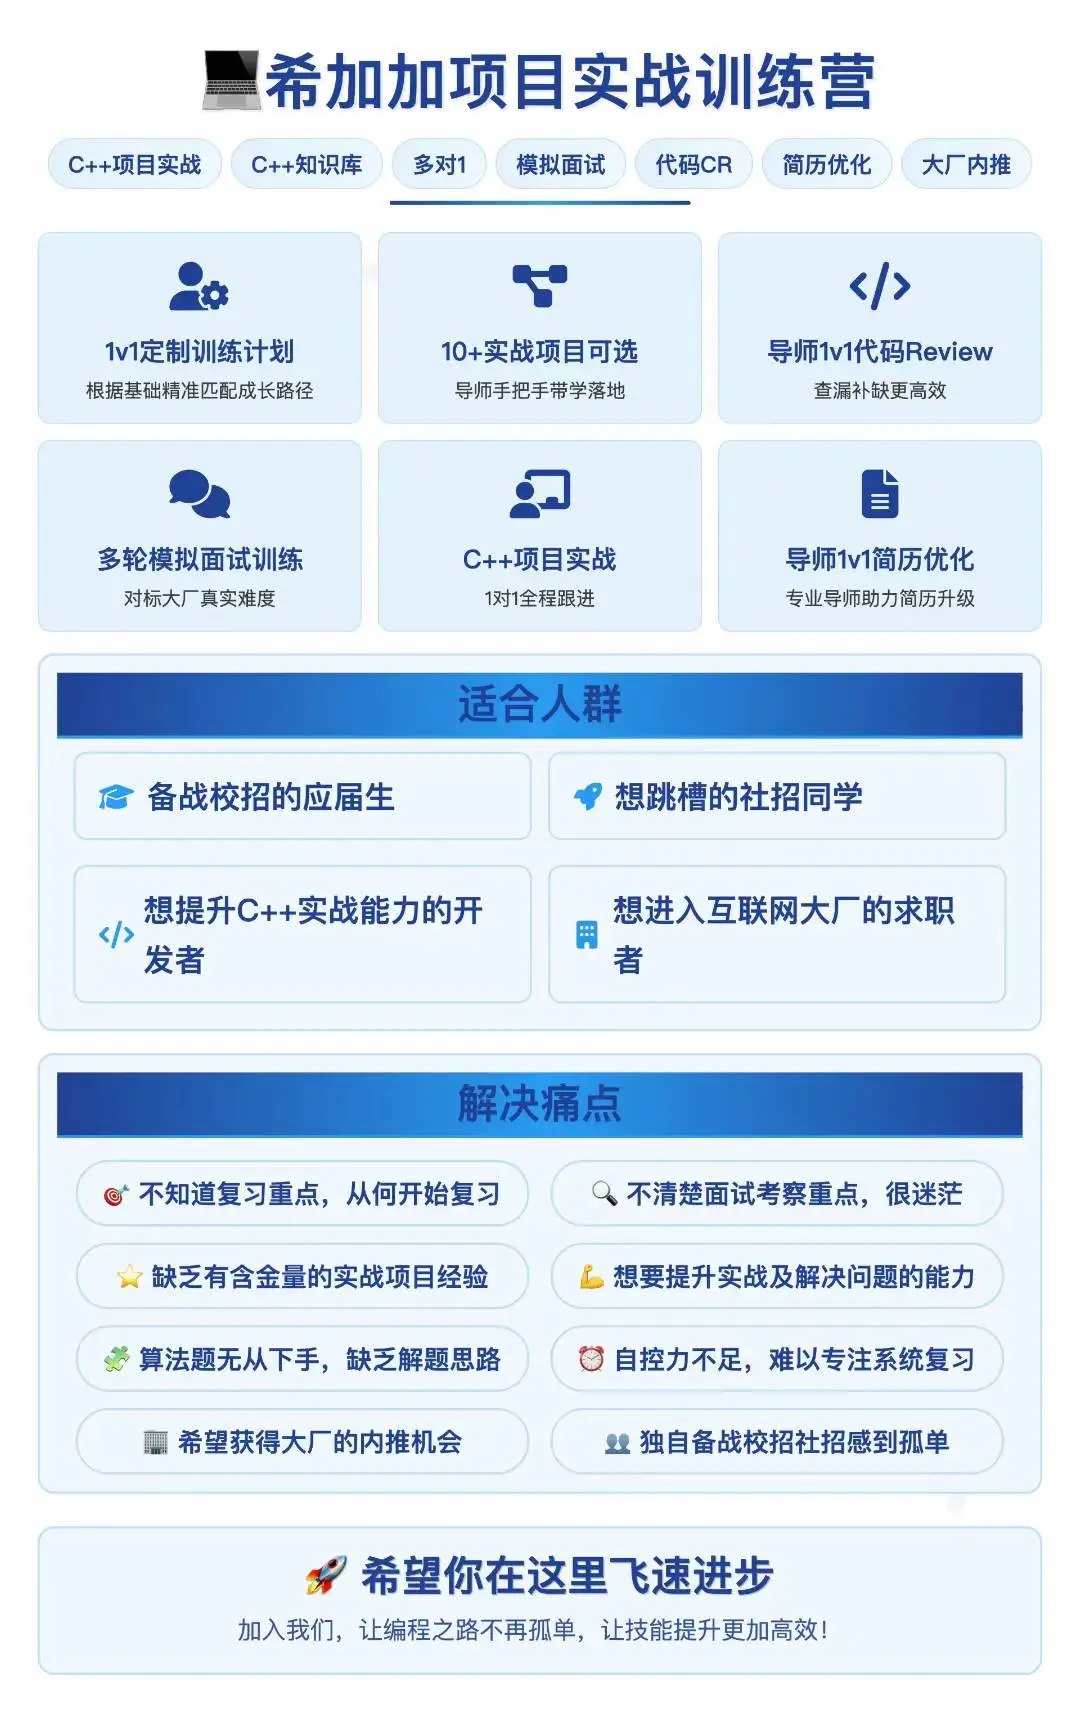
The project is ready, you just need to take the first step!
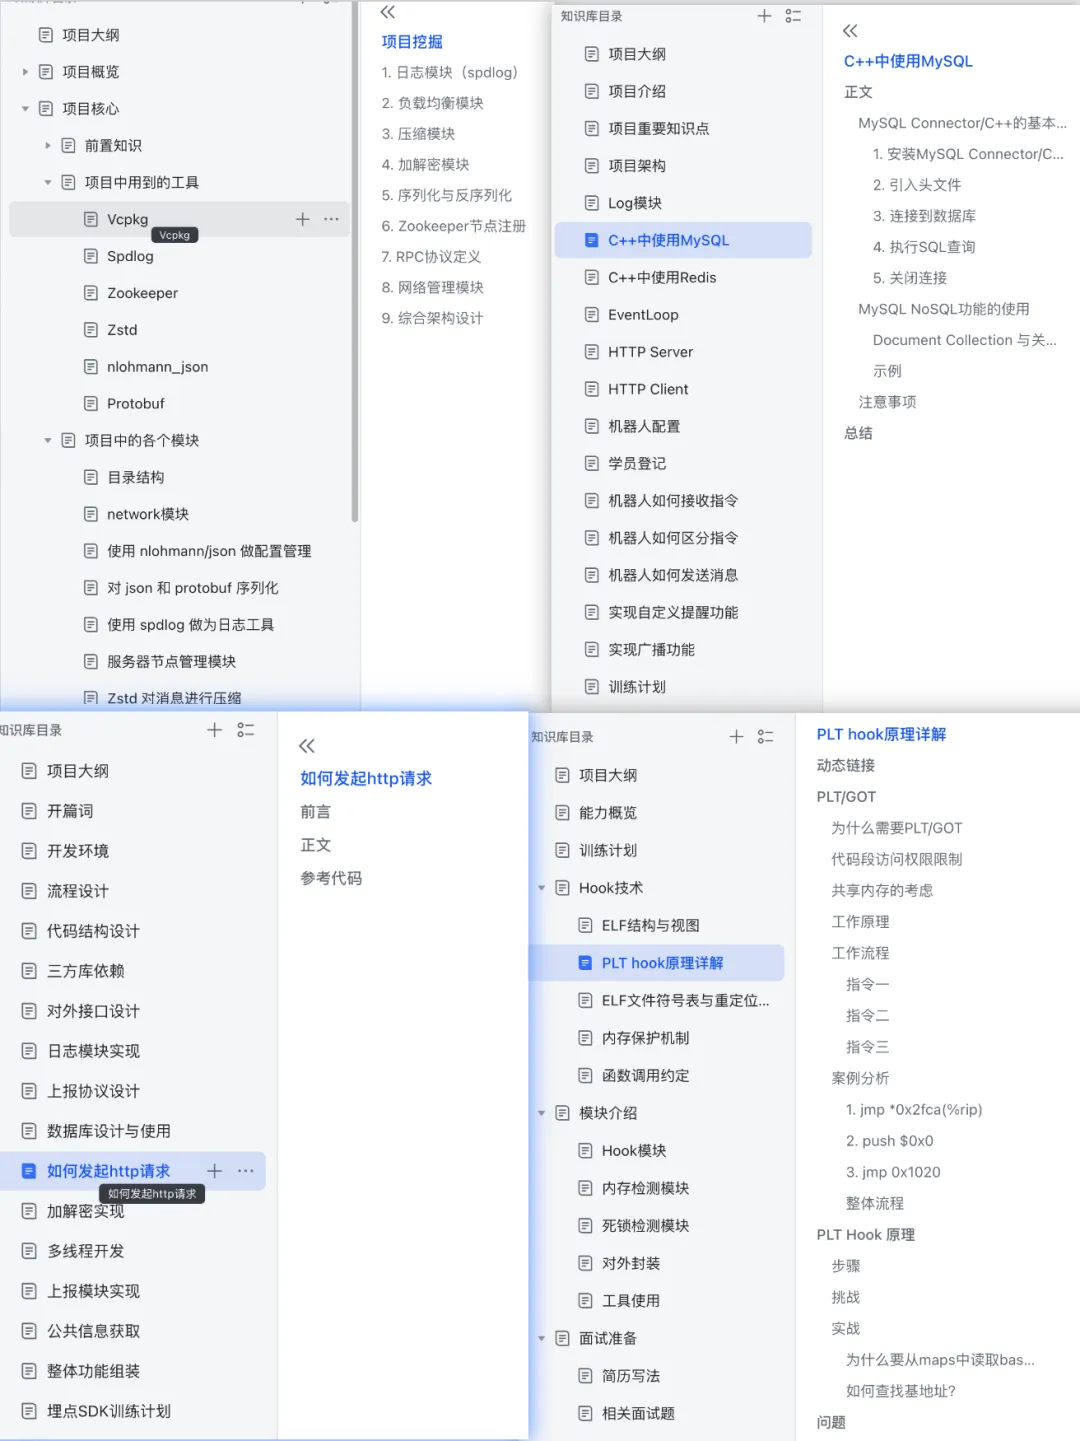
Trust me, these projects will definitely help you improve significantly! Below are the documentation for some of these projects
Target Audience for the Training Camp:
- Graduates preparing for spring and autumn recruitment, both major and non-major are welcome,
- Job seekers with less than 3 years of experience looking to switch jobs
- If you have the following concerns, feel free to contact us, and we are willing to provide help and support
- Not sure what content to review or how to start reviewing.
- Unclear about the key points of interview assessments, low review efficiency.
- Lack of valuable practical project experience.
- Want to improve practical skills and problem-solving abilities.
- Struggling with algorithm questions, lacking problem-solving ideas and common templates.
- Lack of self-discipline, difficulty focusing on systematic review.
- Hoping to get internal referral opportunities from large companies.
- Feeling lonely preparing for campus recruitment or social recruitment alone, wanting to find study partners.
Not Suitable for:
- Those lacking patience and perseverance, eager for quick success
- Those with weak programming logic thinking foundation, unwilling to improve
- Those who only want quick results without focusing on foundational learning
Recommended Reading:
Powerful but Niche C++ Libraries: Boost Your Development Efficiency!
Writing a “Genshin Impact” Plugin in C++? A Comprehensive Analysis from Technology to Law
Debugging Tools for C++ Engineers: 3 Non-Mainstream but Efficient Tools