This article can be skipped by experts who are already familiar with the setup; they must have already configured their environments.
STM32CubeIDE
Installation
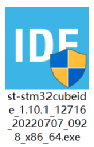
Double-click the installation package shown on the left side of the image below to install. Note that this installation package should not be placed in a Chinese path, otherwise, the error shown on the right will occur:
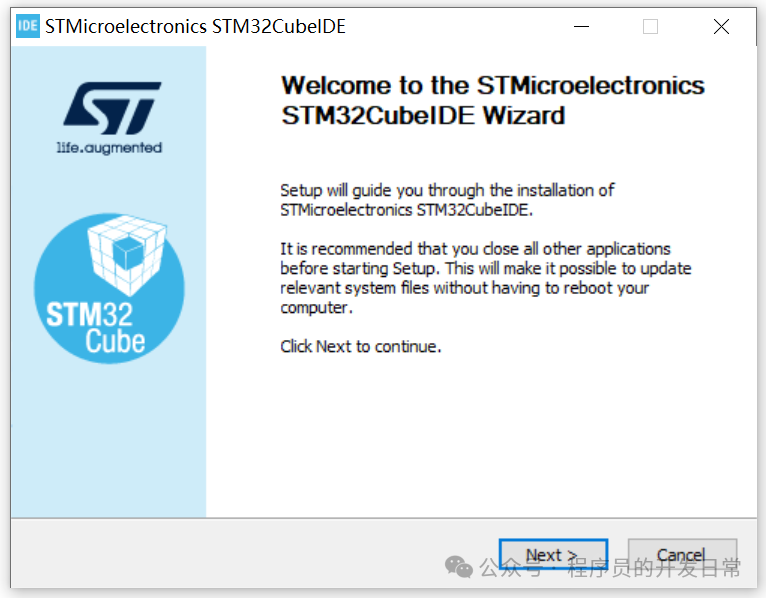
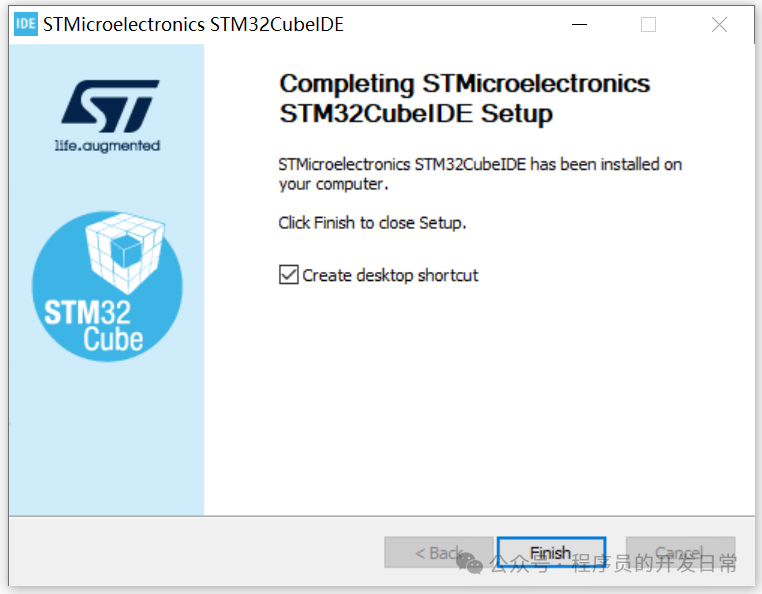
Then click next all the way:
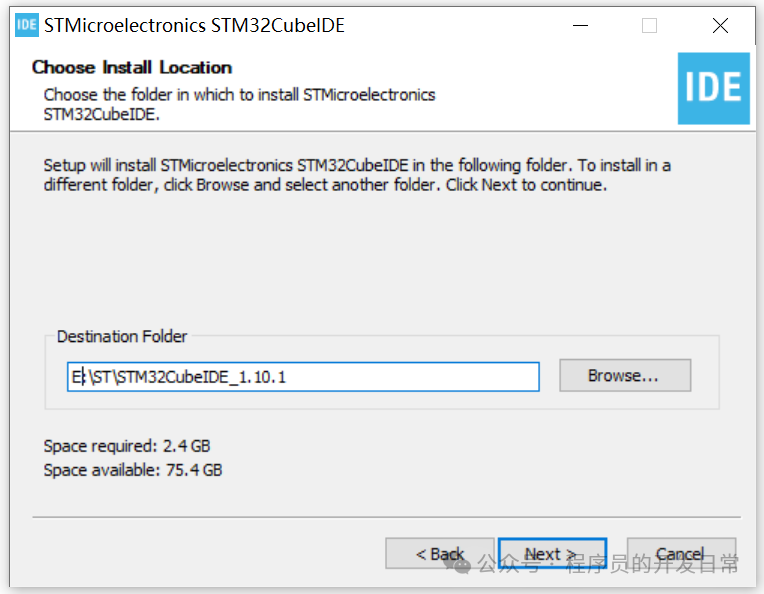
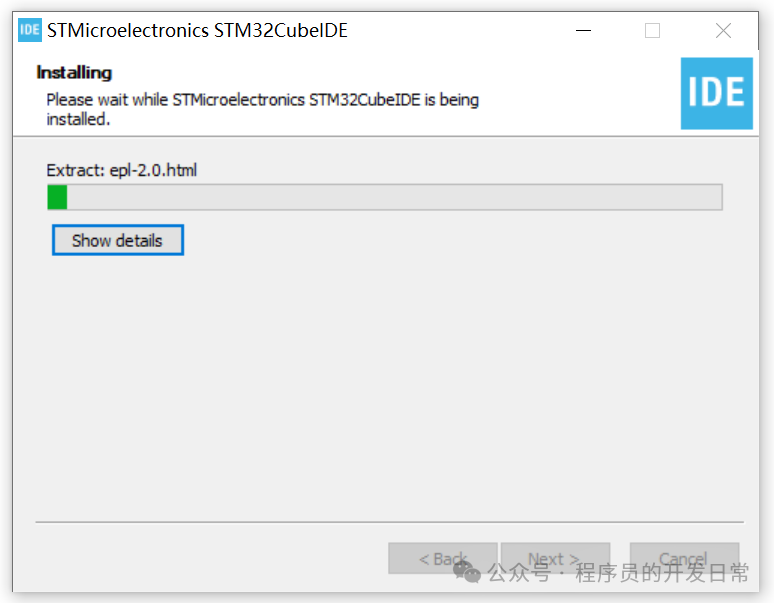
Note the ST-LINK drivers; it is recommended to check this option. I have already installed it, so I will not check it again. Also, note that I changed the path here; the space requirement is 2.4GB, which is a bit large, and the default installation is on the C drive.
Configuration
Double-click the icon:
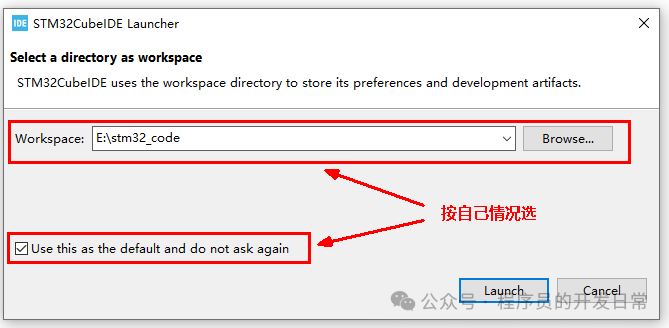
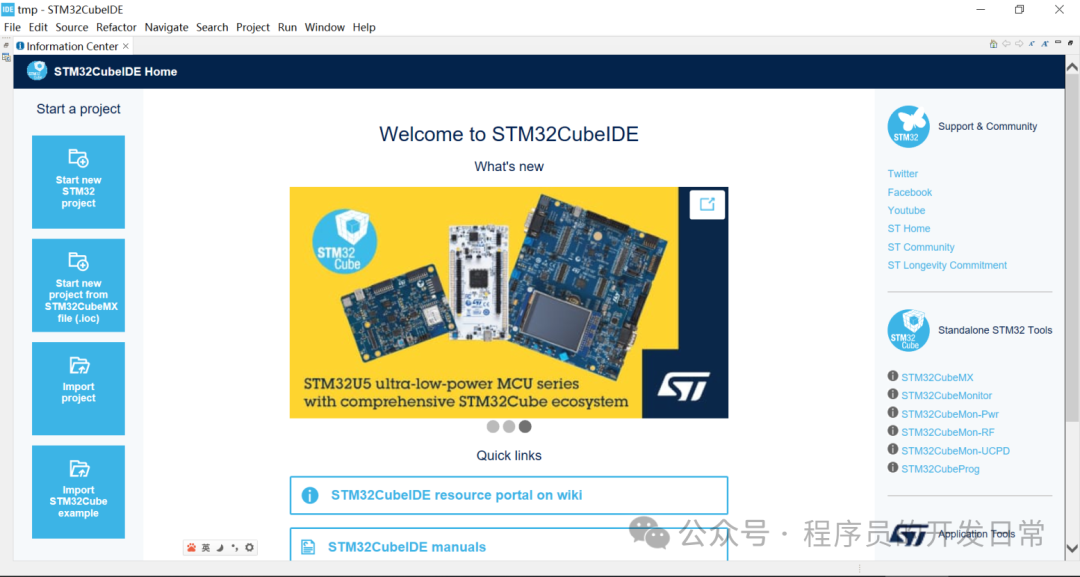
After a moment, the following two interfaces will appear sequentially; follow the prompts in the images below to configure:
Localizing the Main Interface
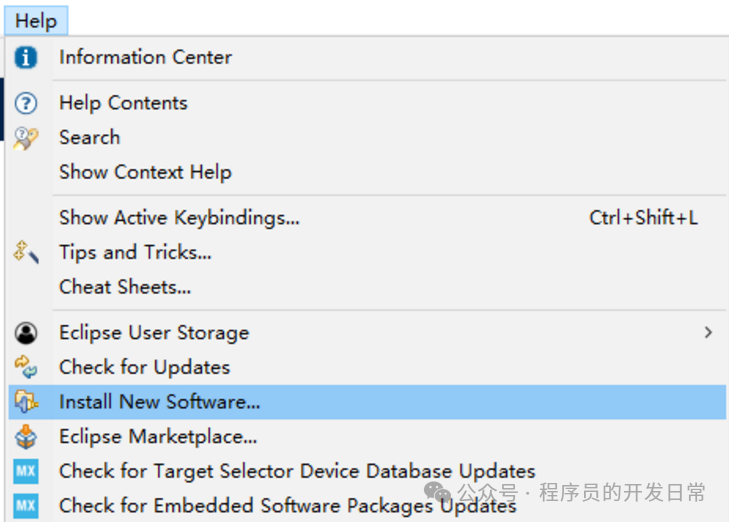
The above interface is all in English; here is a record of the localization process. Click on the “Help” menu and select “Install New Software…”:
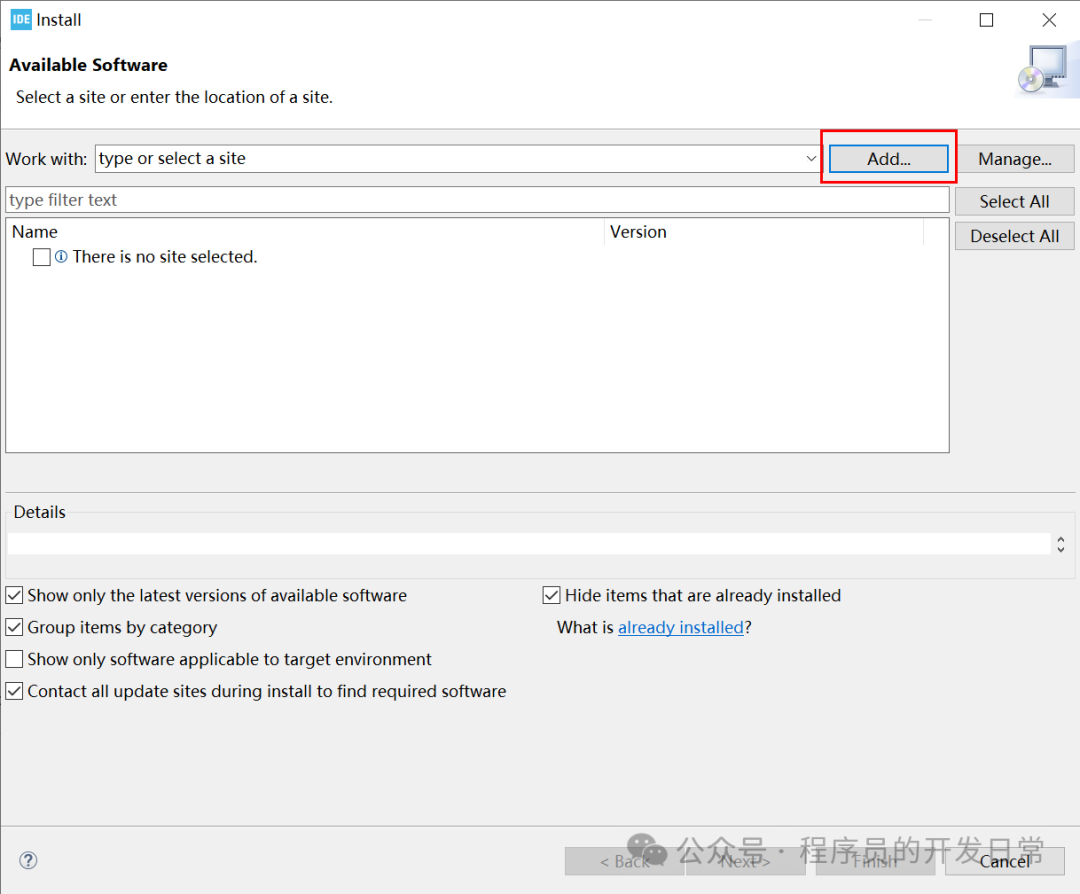
In the pop-up window, select “Add…”:
 Custom name input:
Enter this URL:http://mirrors.ustc.edu.cn/eclipse/technology/babel/update-site/R0.19.2/2021-12/
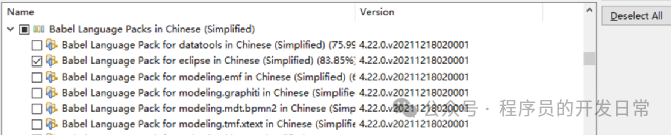
After filling in, click “Add”, then select as shown in the image below:
This URL may also be invalid; it depends on luck. Then proceed with the usual next steps:
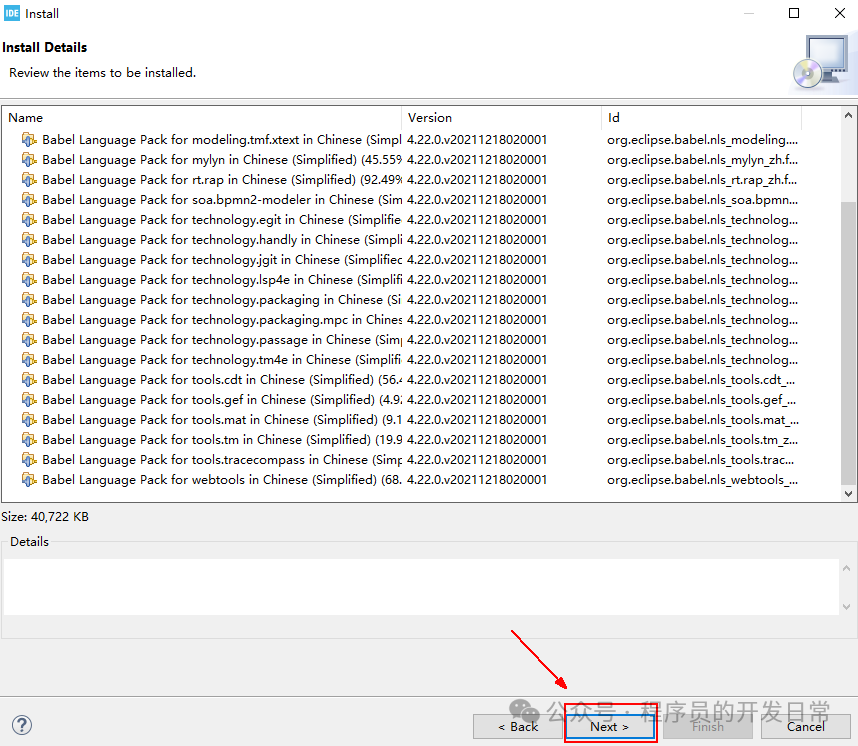
Do not think it is over when you see “Finish”; do not exit either, as the program is still downloading, pay attention to the lower right corner:
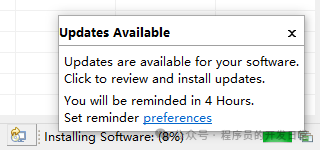
The download process may take a long time, so be patient. Remember to check occasionally, as there may be pop-ups waiting for your confirmation:
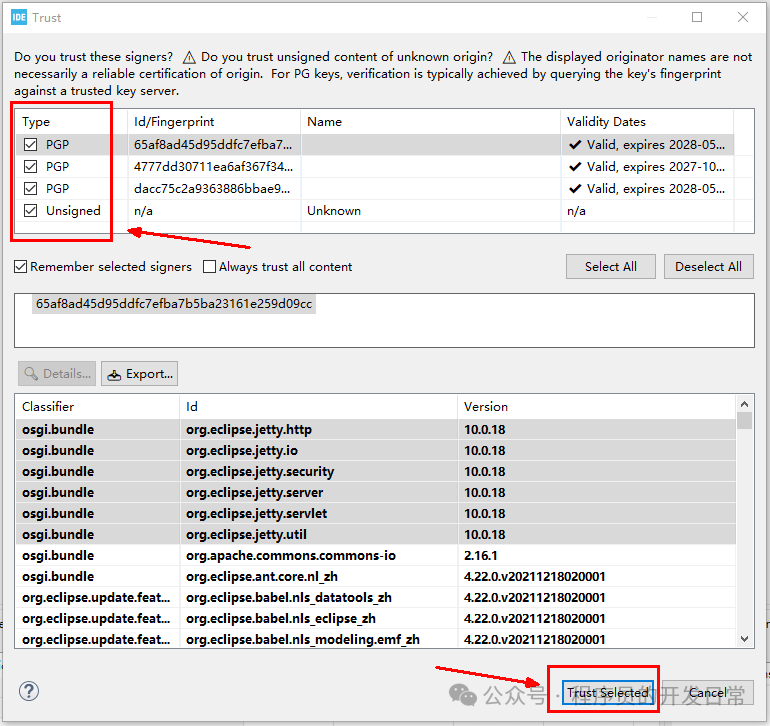
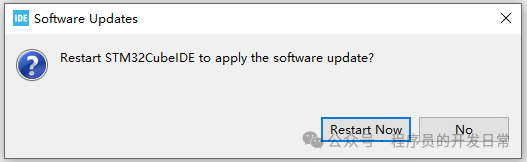
After a successful installation, it will prompt you to restart the software:
Adding Code Completion Functionality
This functionality is implemented using the plugin org.eclipse.cdt.ui_7.3.201.202205131409.jar. First, back up this org.eclipse.cdt.ui_7.3.201.202205131409.jar located in the installation path E:\ST\STM32CubeIDE_1.10.1\STM32CubeIDE\plugins. After closing the IDE, place the plugin with this functionality into this path.
Repository Path Settings
Under the “Window” menu, there is a “Preferences” option,
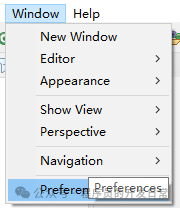
In the position shown in the image below, the default repository path is on the C drive; modify it:
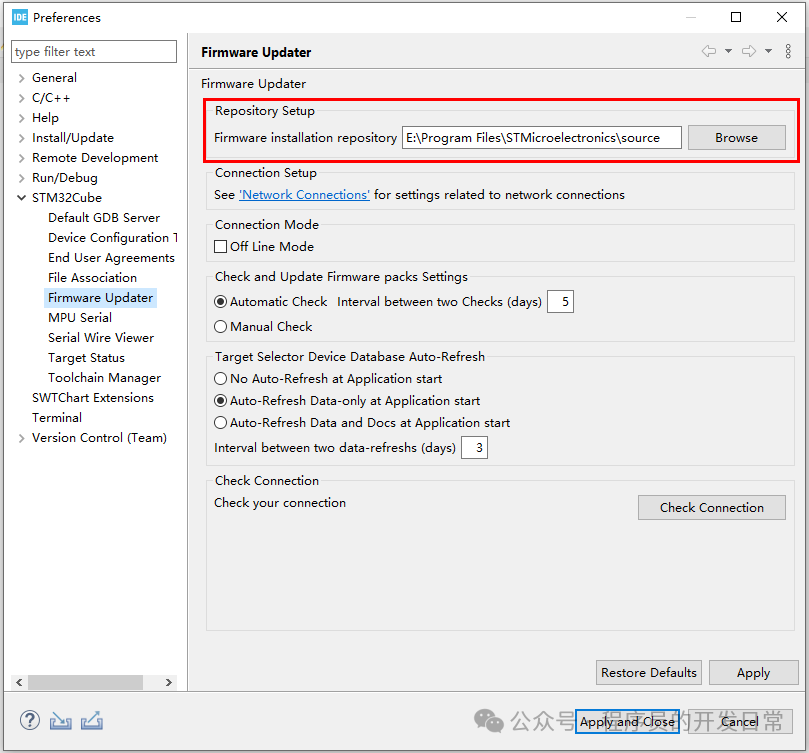
You can also choose not to modify this; it does not have a significant impact, just takes up some space on the C drive.
Project Creation
The steps to create an STM32 project are as follows:

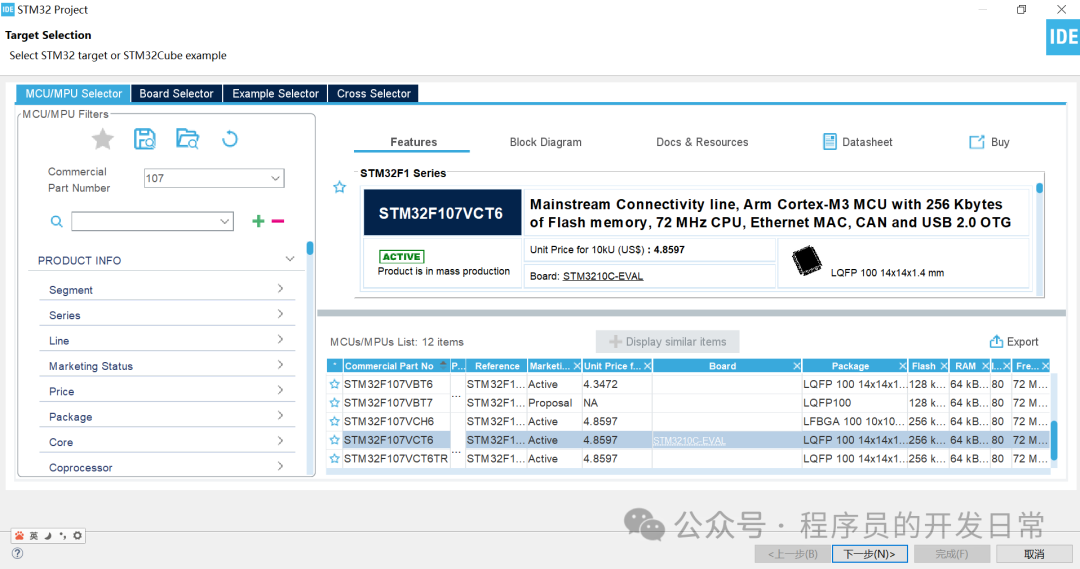
You cannot double-click here; you can only click next:
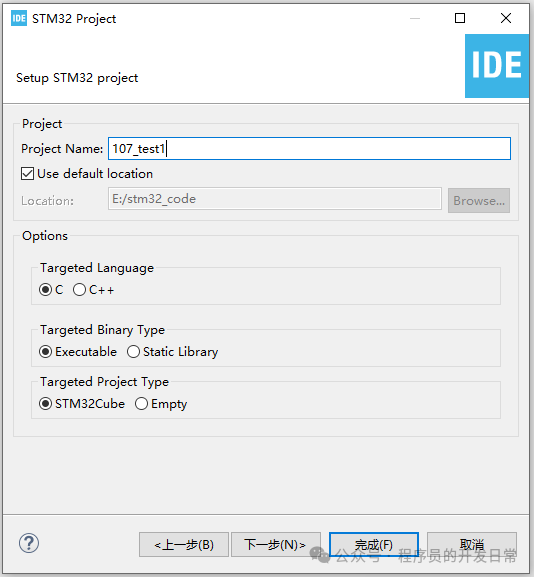
You can click next or finish; if you click next, it will allow you to select the library version, as shown in the right image above. Click finish:
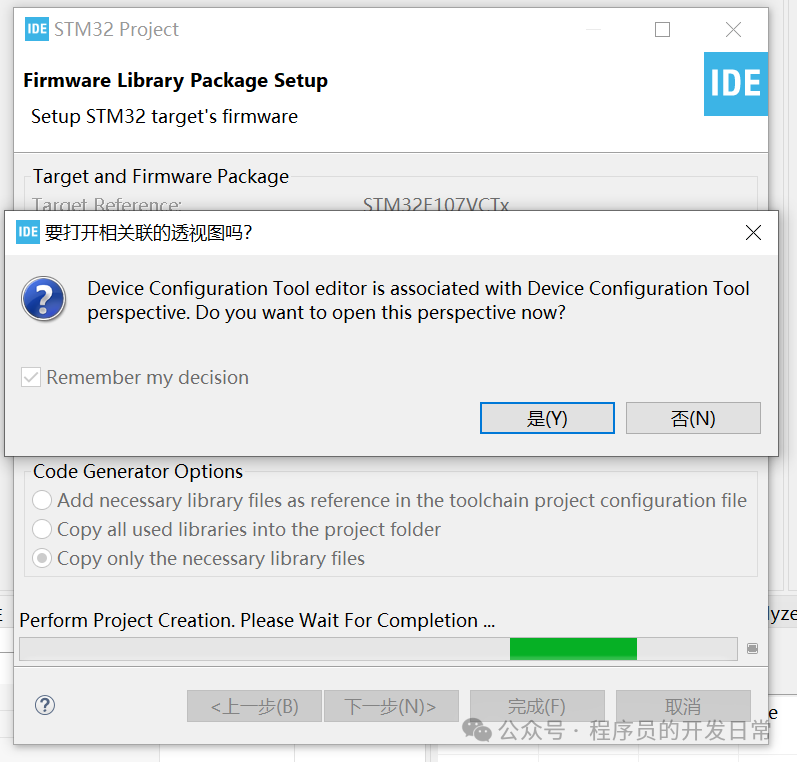
Click “Yes”, wait a moment, and the chip configuration will pop up:
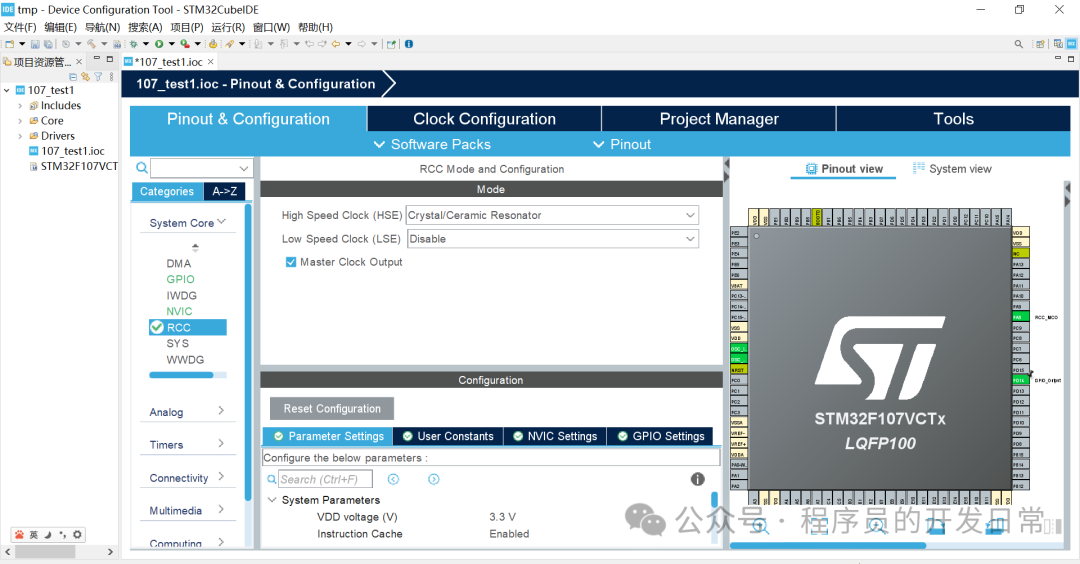
You can see this is the CubeMX interface; subsequent operations are the same as the settings in CubeMX, except that in CubeIDE, it can only generate projects that CubeIDE can use, while CubeMX supports output of other project files. The specific configuration process will not be repeated. Finally, the code editing interface will open:
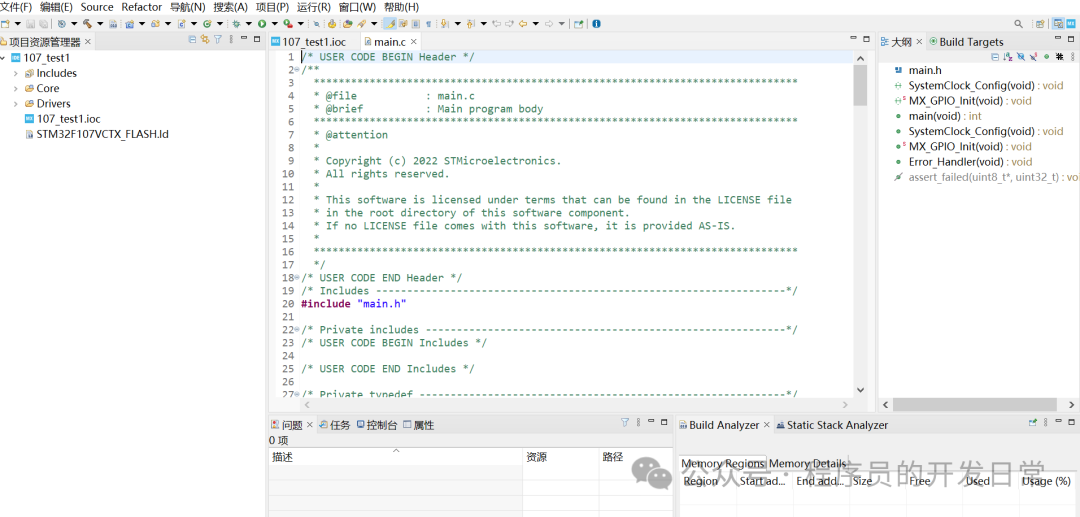
The entry for compiling and downloading operations is as follows:
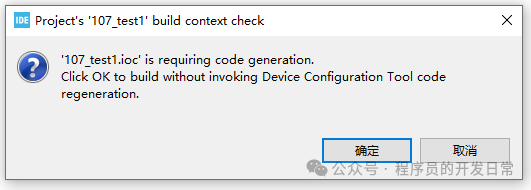

After clicking “OK”, the code will be automatically generated. You can double-click the contents in the resource explorer on the left to view the files:
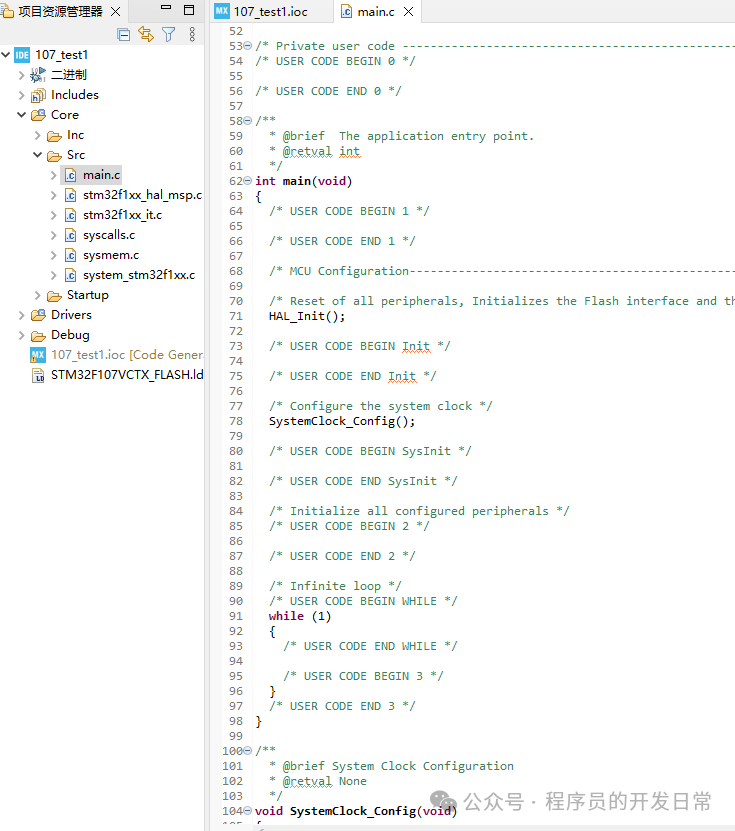
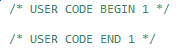
Note the comments inside; the code written between BEGIN and END will not be cleared when the project is modified and regenerated:
Building
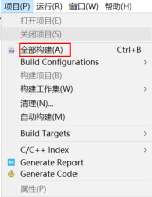
Successful on the first try, more convenient than MDK, which requires various settings for creation.
Debugging
If using STLINK, keep the debugging configuration as default:
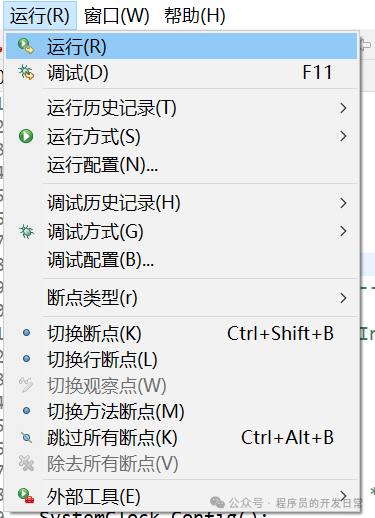
Once configured, you can directly enter debugging, or you can click to enter debugging; during debugging, the code will be downloaded first. You can also access it from the run menu:
For specific usage methods, refer to the official ST manual: “STM32CubeIDE Quick Start Guide.pdf”
Welcome to follow my personal WeChat public account and Zhihu blog: