Project Name: 【Lichuang·Taishan】 Smart Projector – Sony CXN0102
Project Author: Feng Moxi
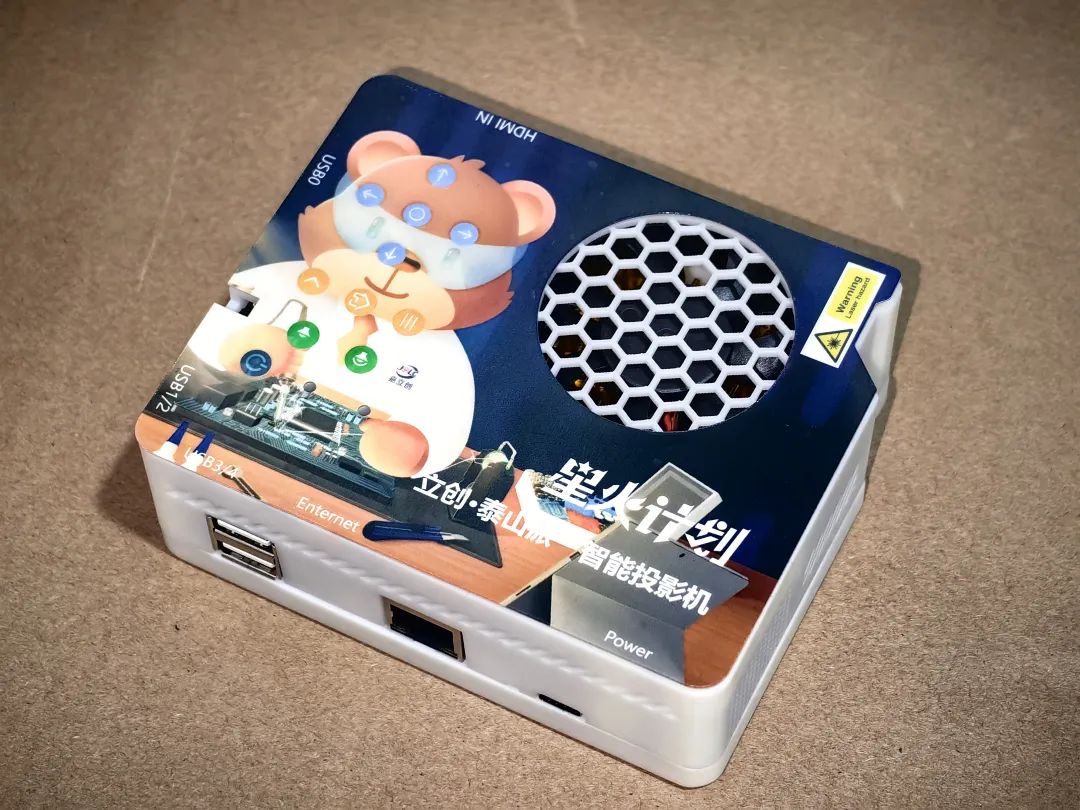
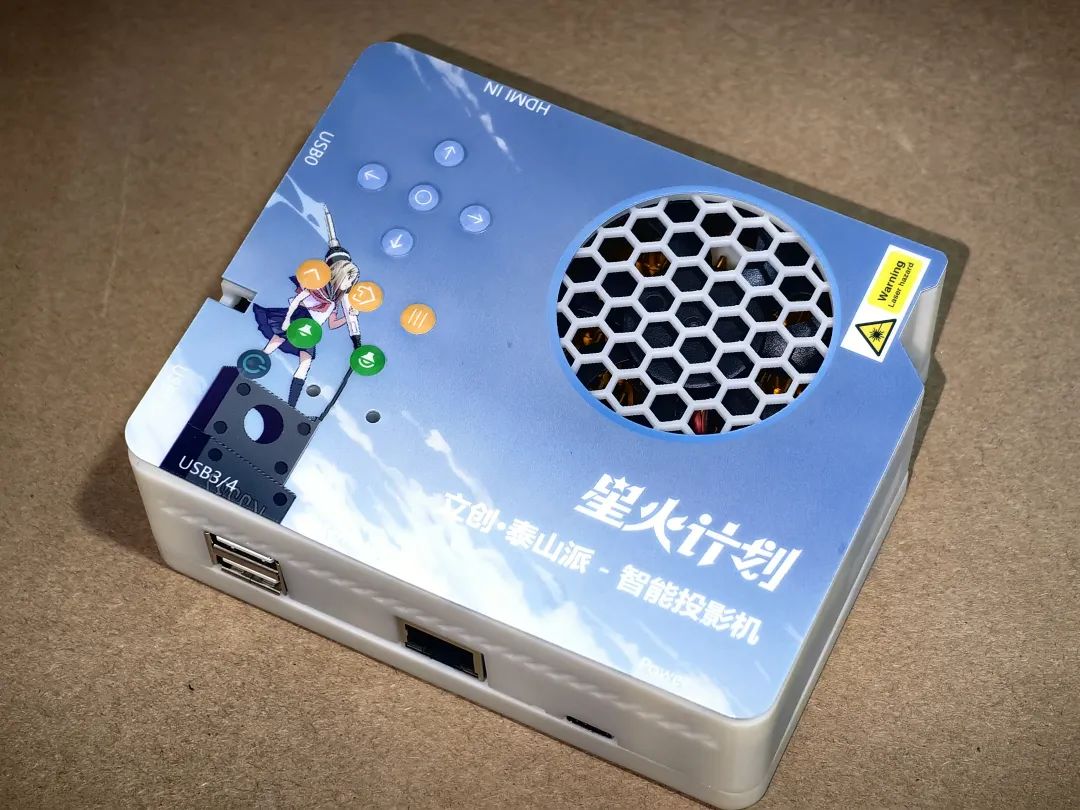
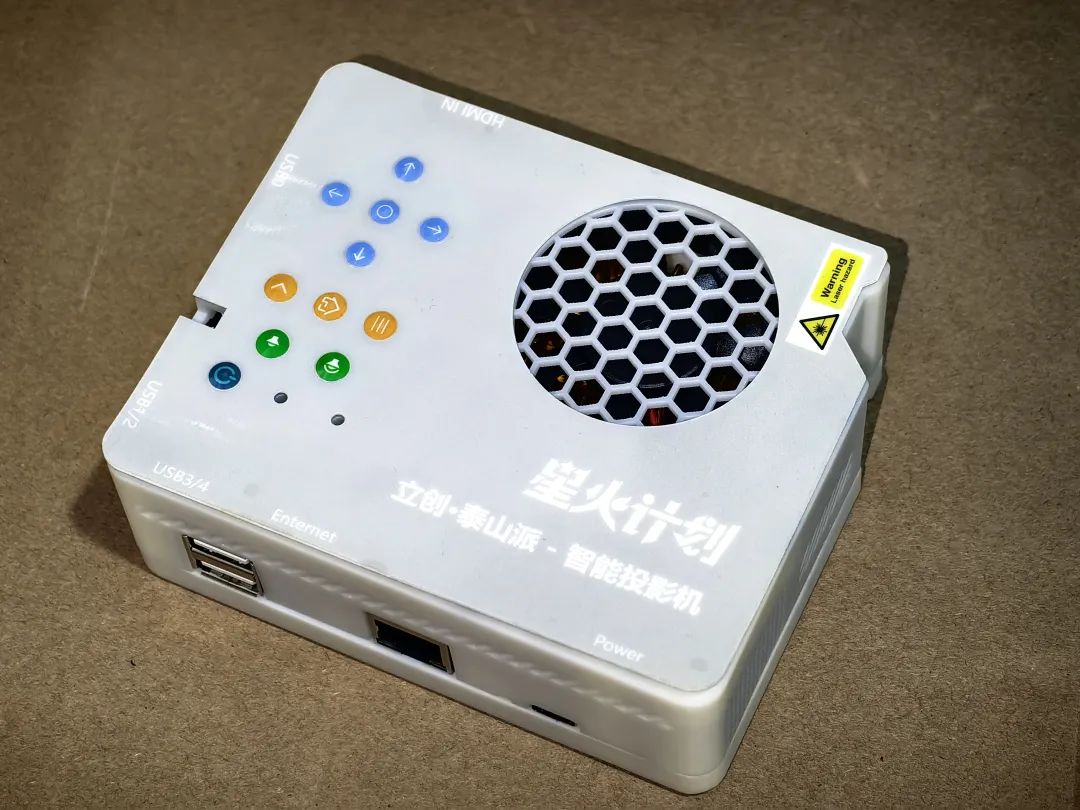
Using the Lichuang Taishan board, I made a smart projector, and netizens commented: “So cool!”
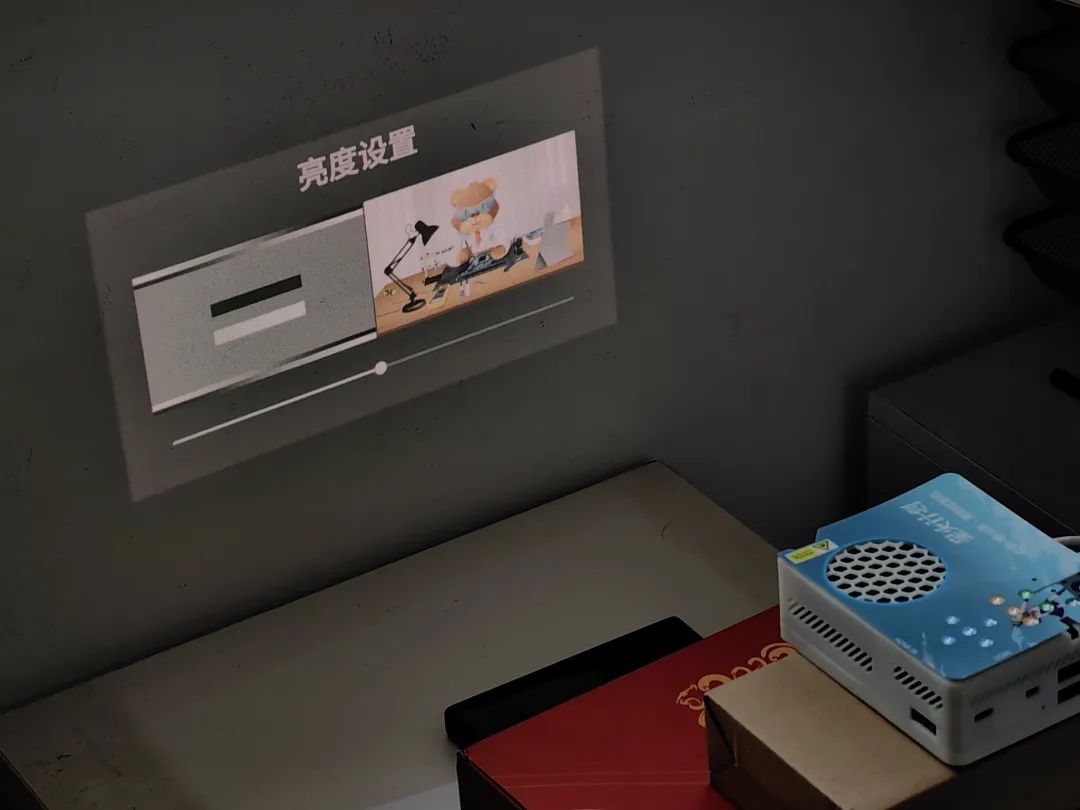
This is a physical demonstration image, note that the effect is clearer to the naked eye!!
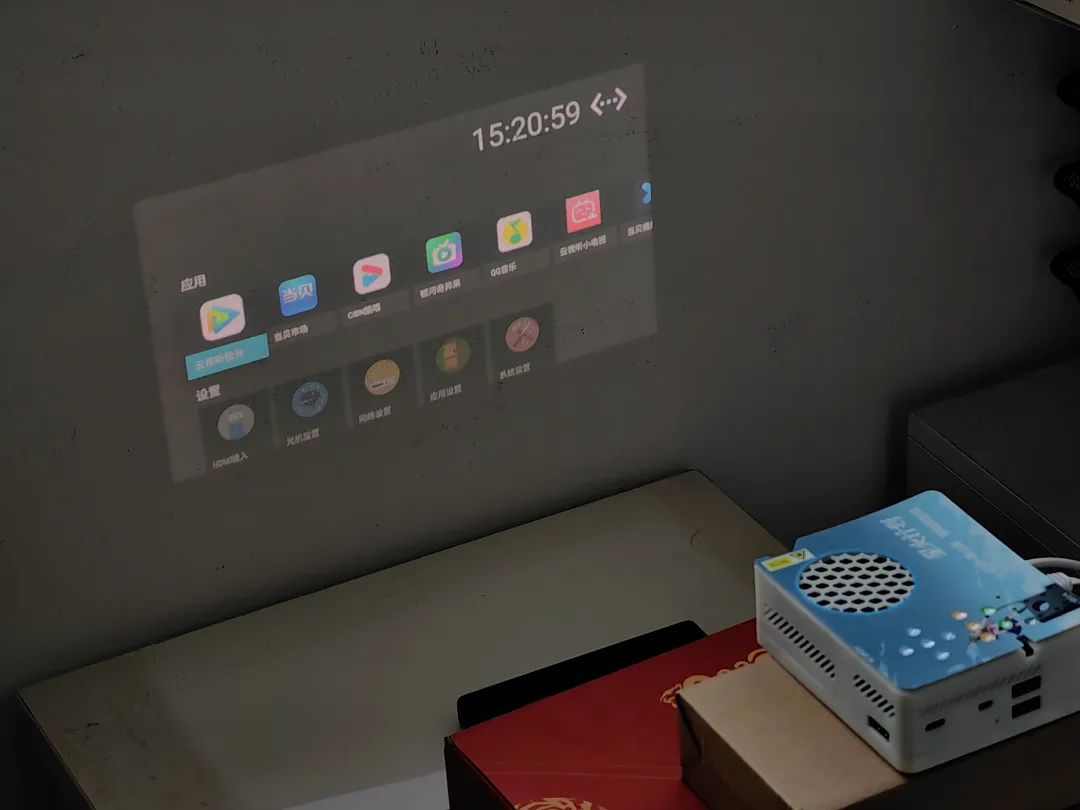
Android TV system, Android version 11
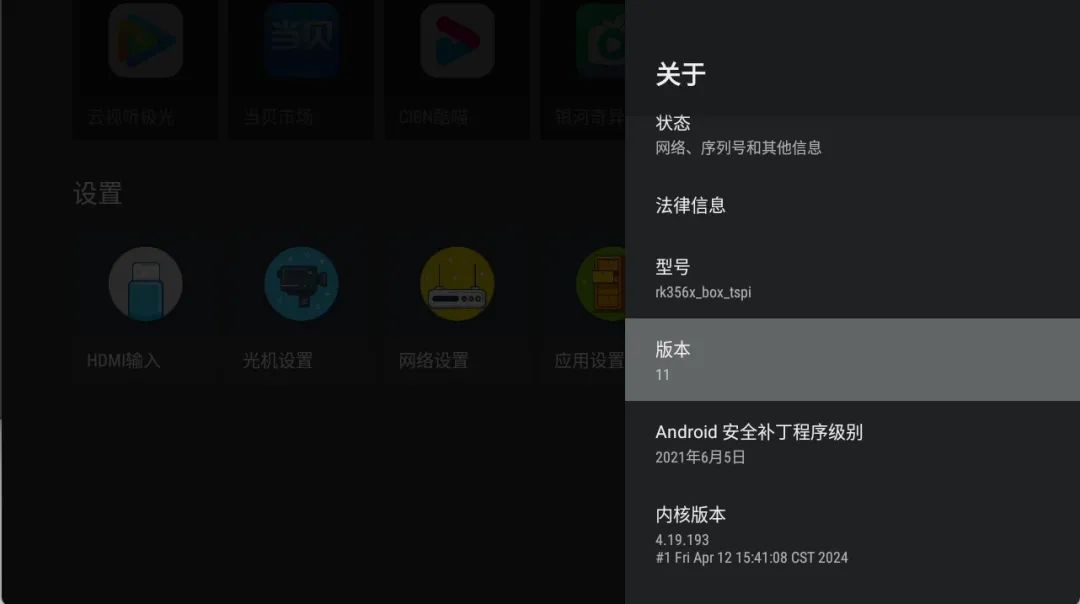
Light machine usesSony CXN0102
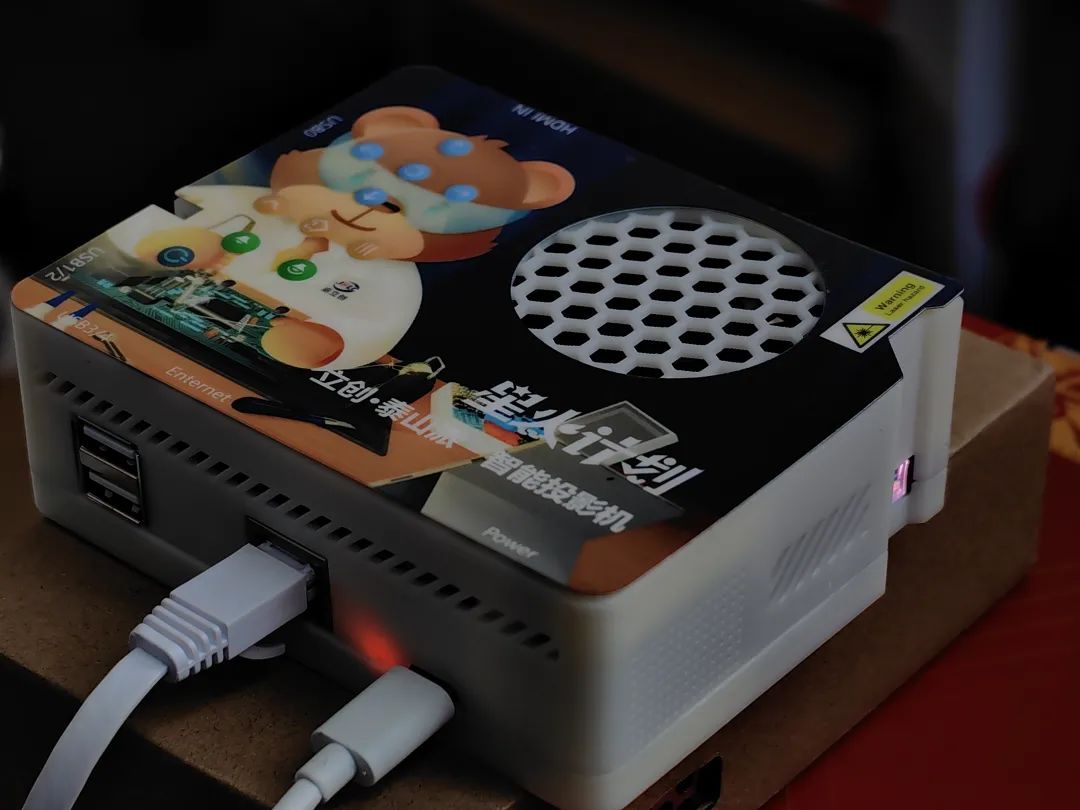
Supportsfour USB inputs: such as USB flash drives, keyboards, wireless keyboards, etc.
SupportsTF card insertion
Supports gigabit Ethernet access, measured940 Mbits/sec
Supports onboardwifi access, supportsHDMI input
Supports infrared remote control, supports five common domestic remote control key values
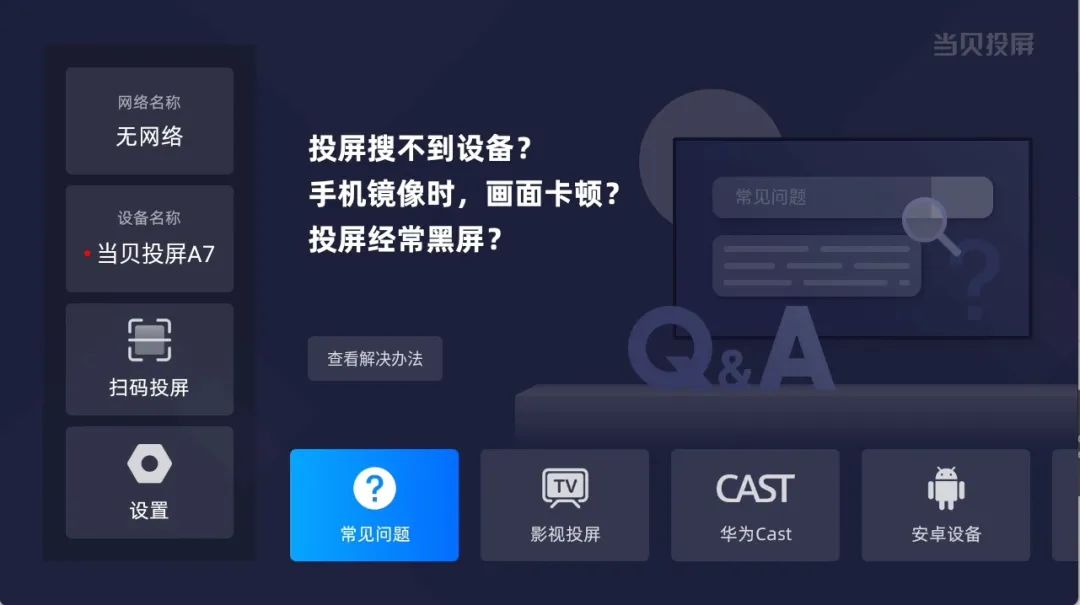
Supports wireless screen projection (achieved by Dongbei screen projection), supports protocols: DLNA, Miracast, Huawei cast, etc.
Supports mono speakers
Supports RTC power-off save time
Supports the light machine’s 12V cooling fan to automatically start and stop based on the light machine’s temperature
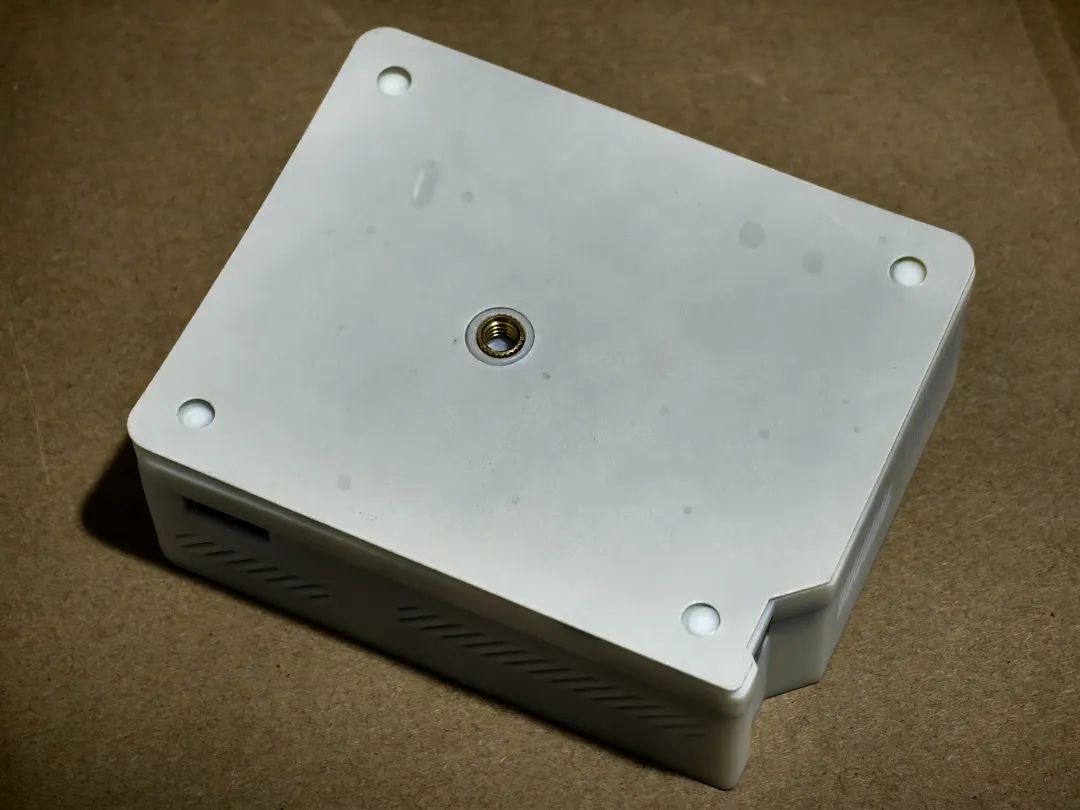
Supports 1/4 interface tripod use
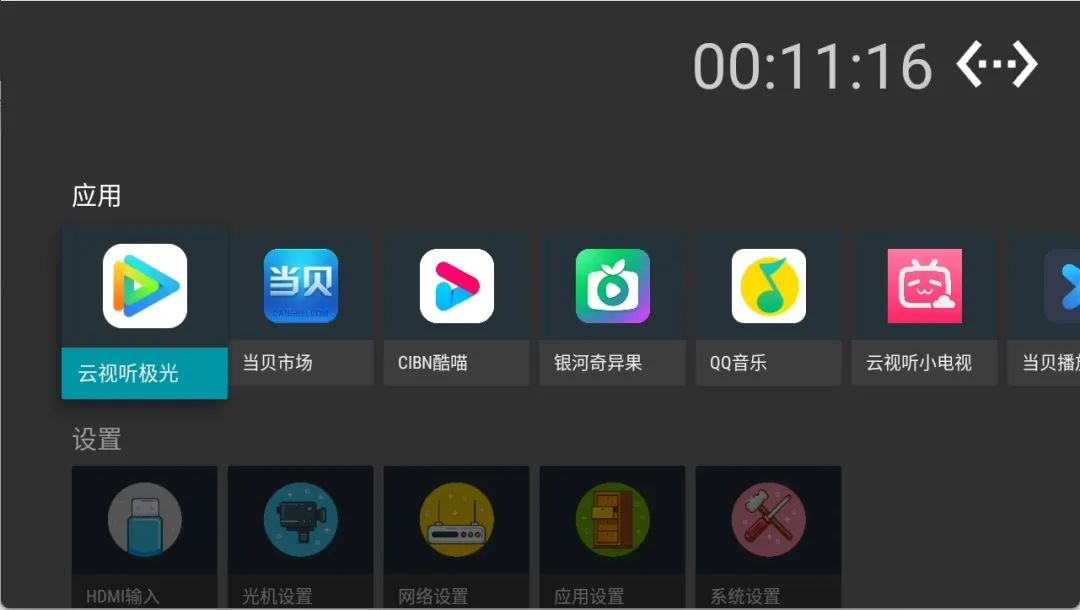
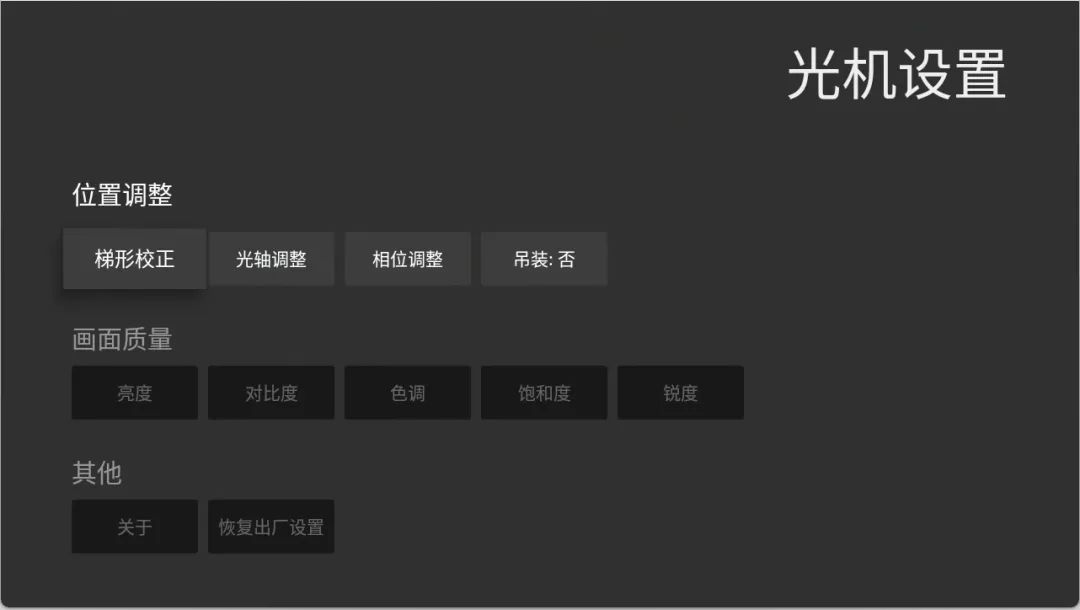
Supports customized system desktop, supports application launch, HDMI input display, light machine settings, etc.
To achieve these product-level functions, how should the circuit and software parts be designed?
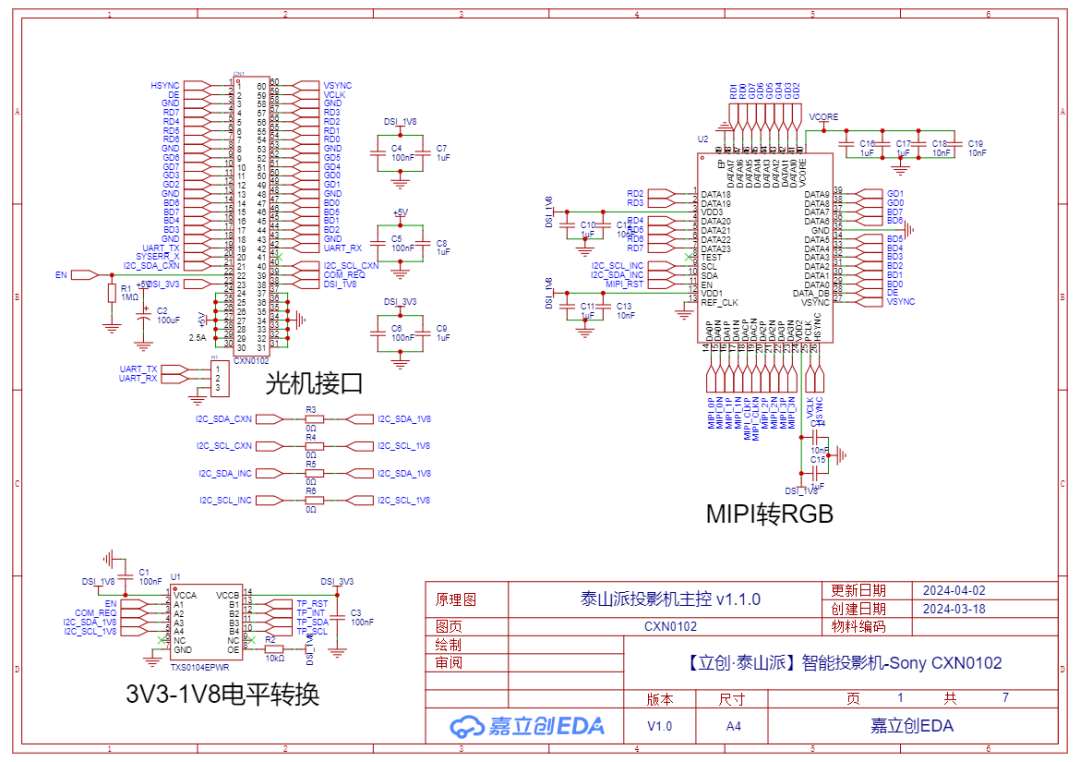
Main control board_CXN0102
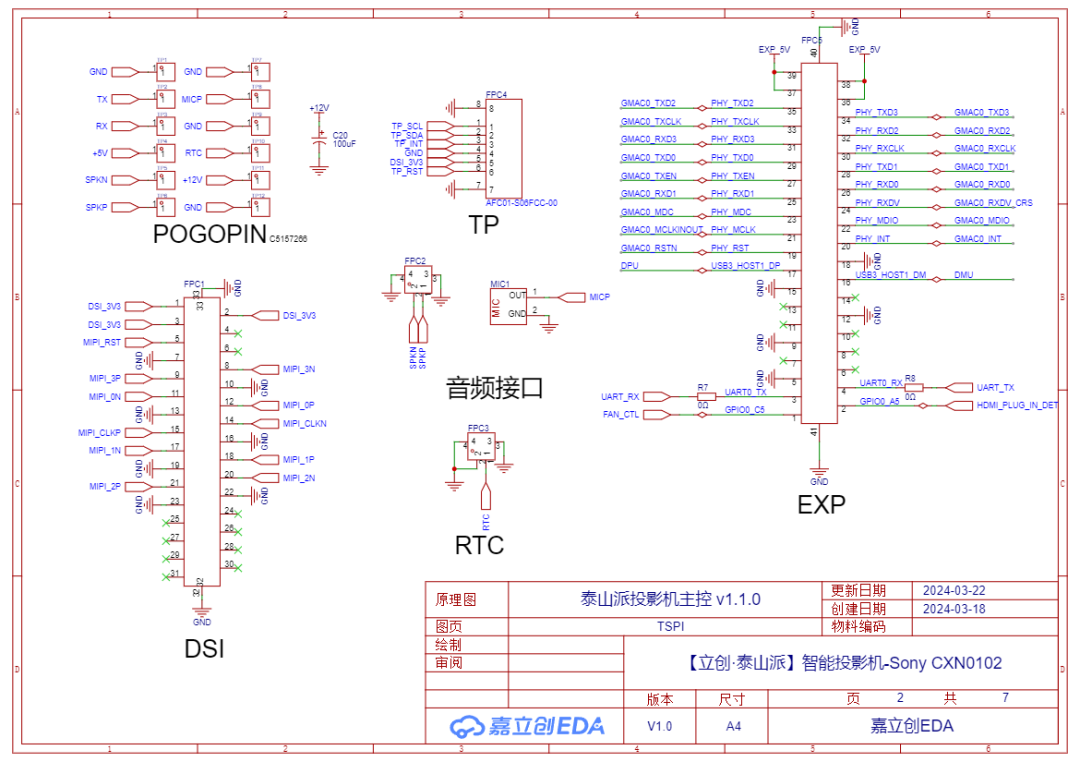
Main control board_ TSPI
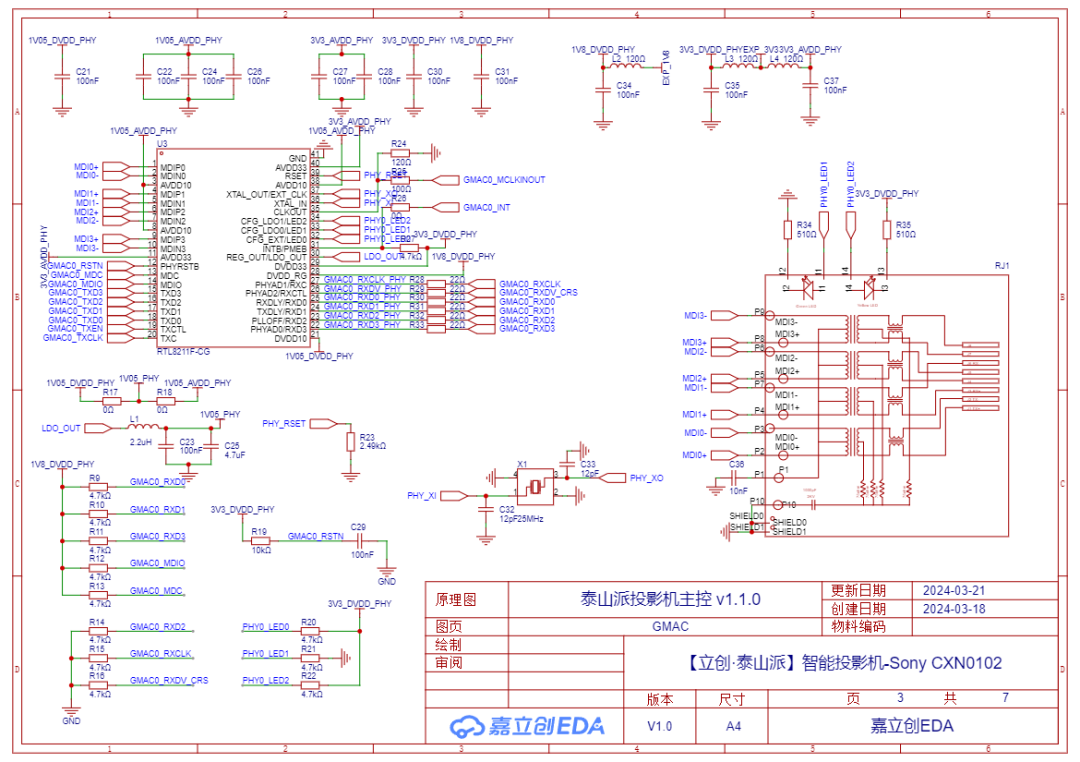
Main control board_ GMAC
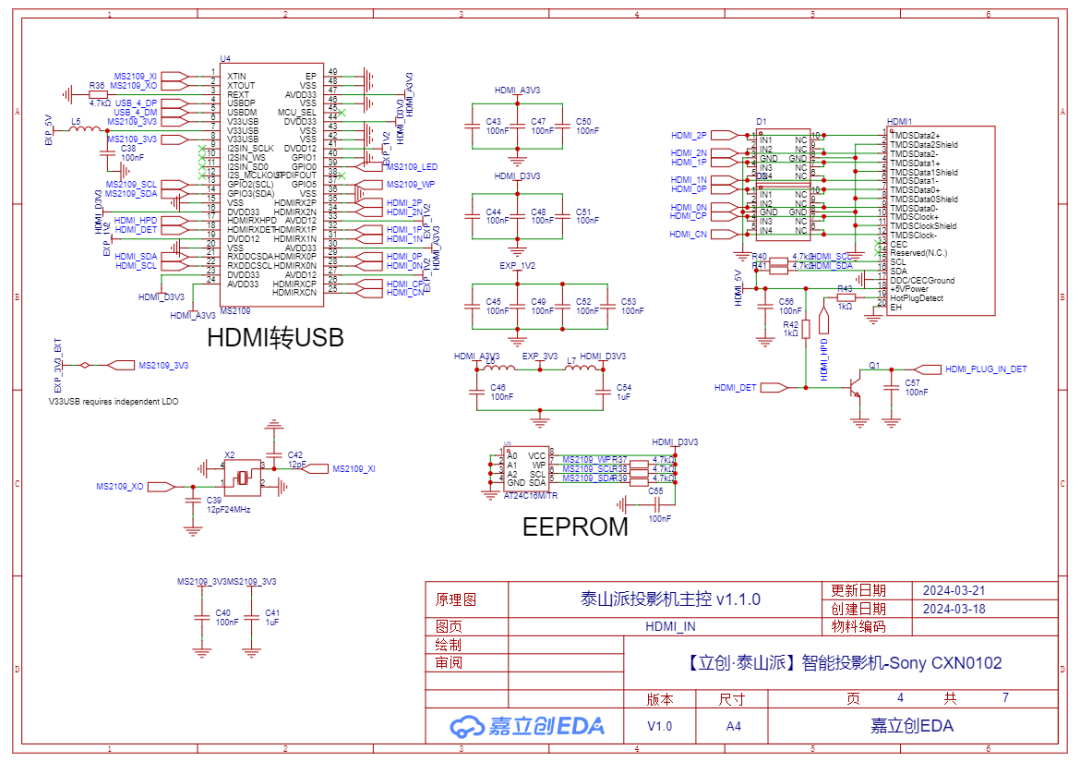
Main control board_ HDMI_IN
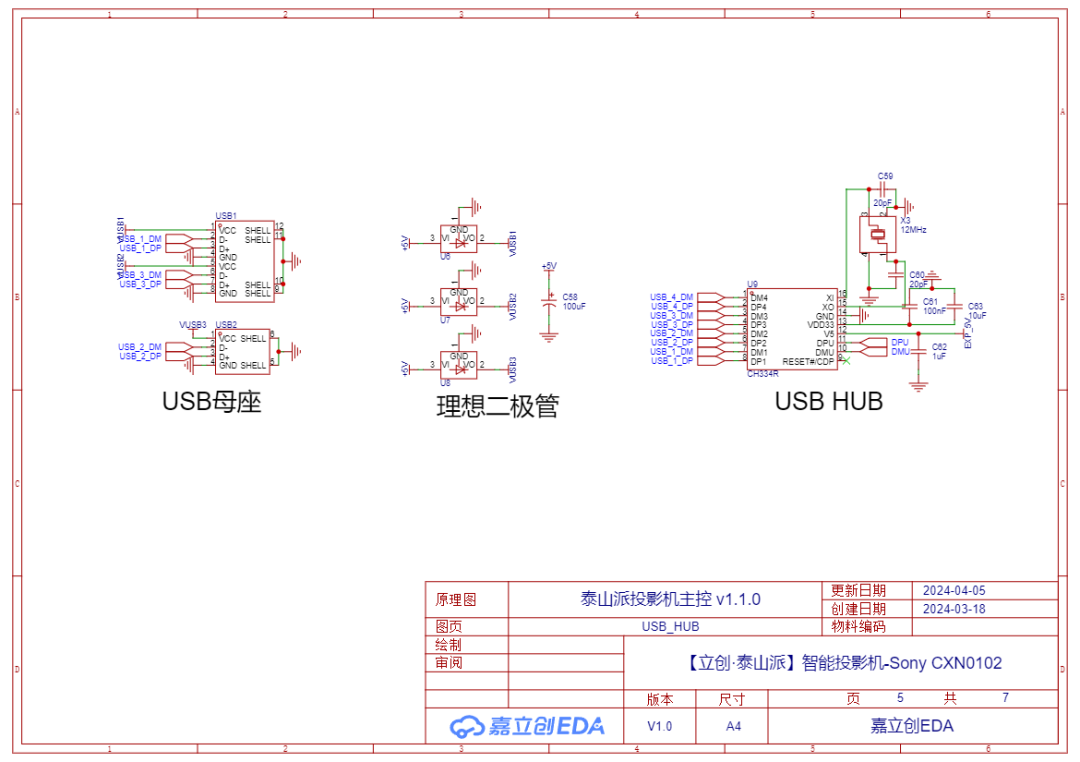
Main control board_ USB_HUB
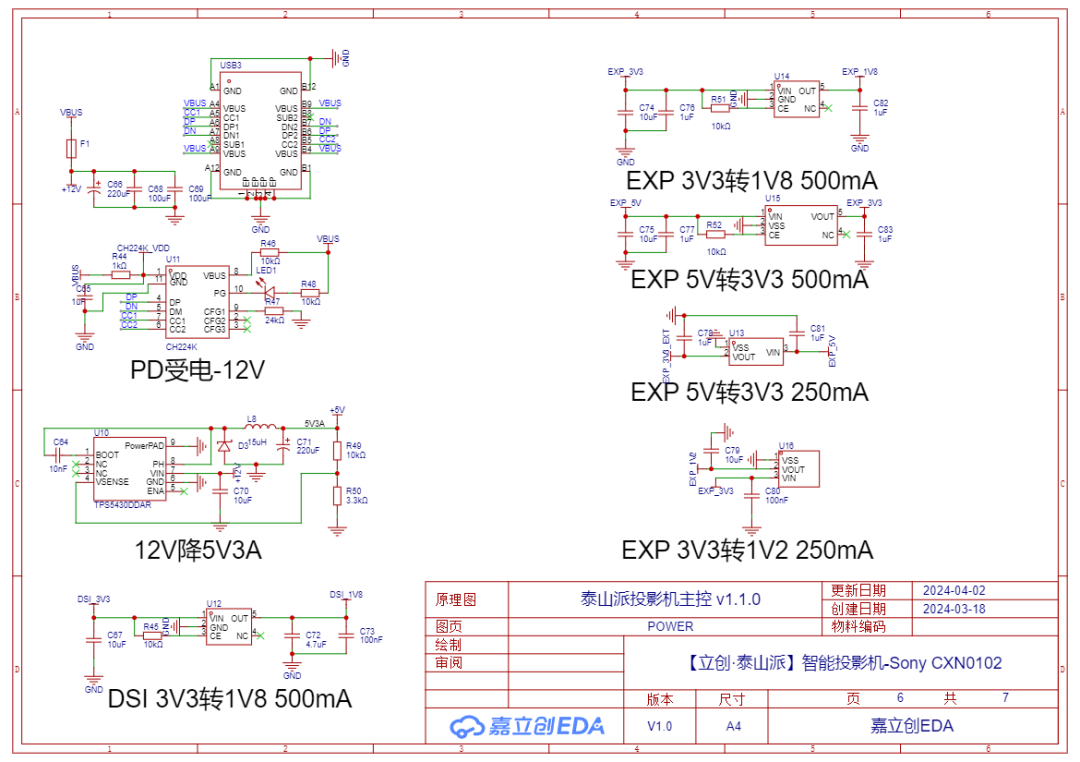
Main control board_ POWER
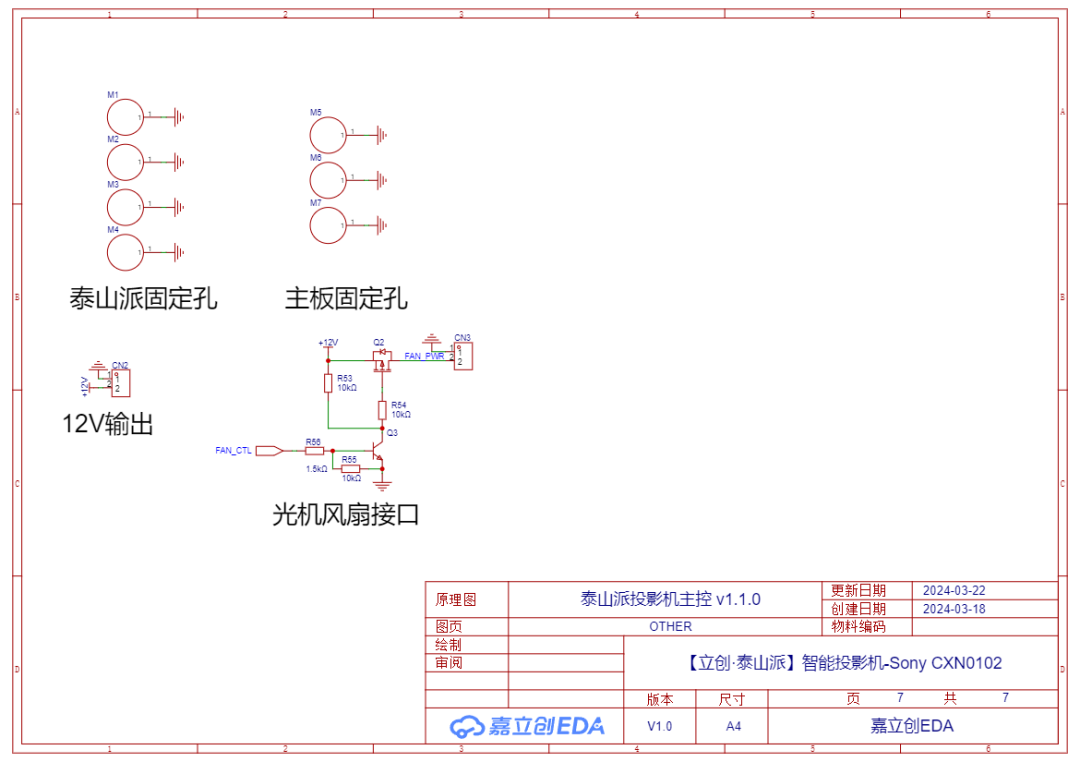
Main control board_ OTHER
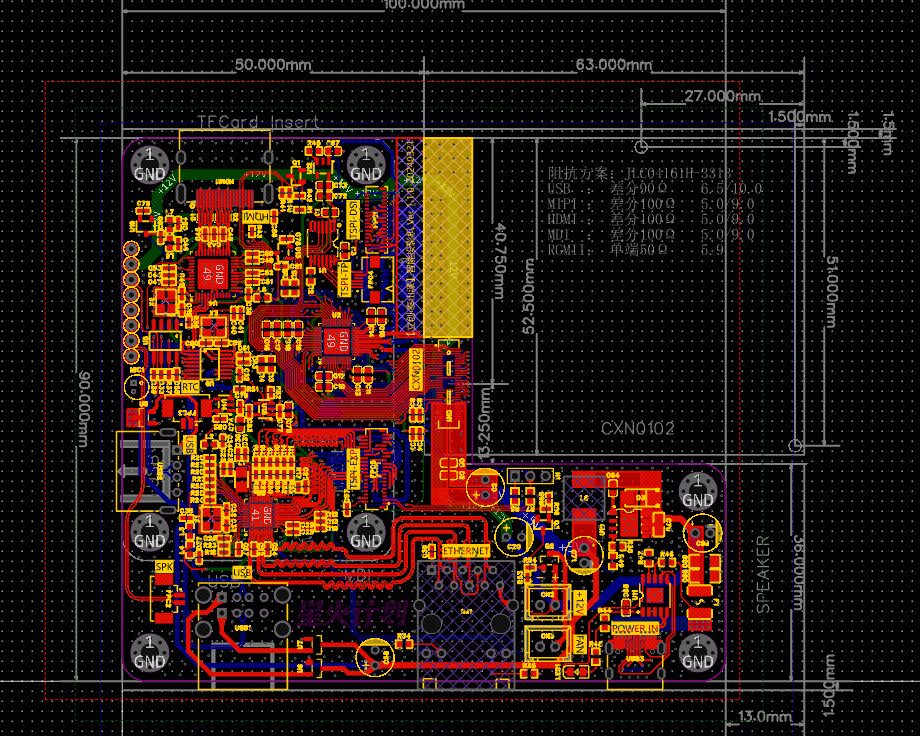
Main control board PCB diagram
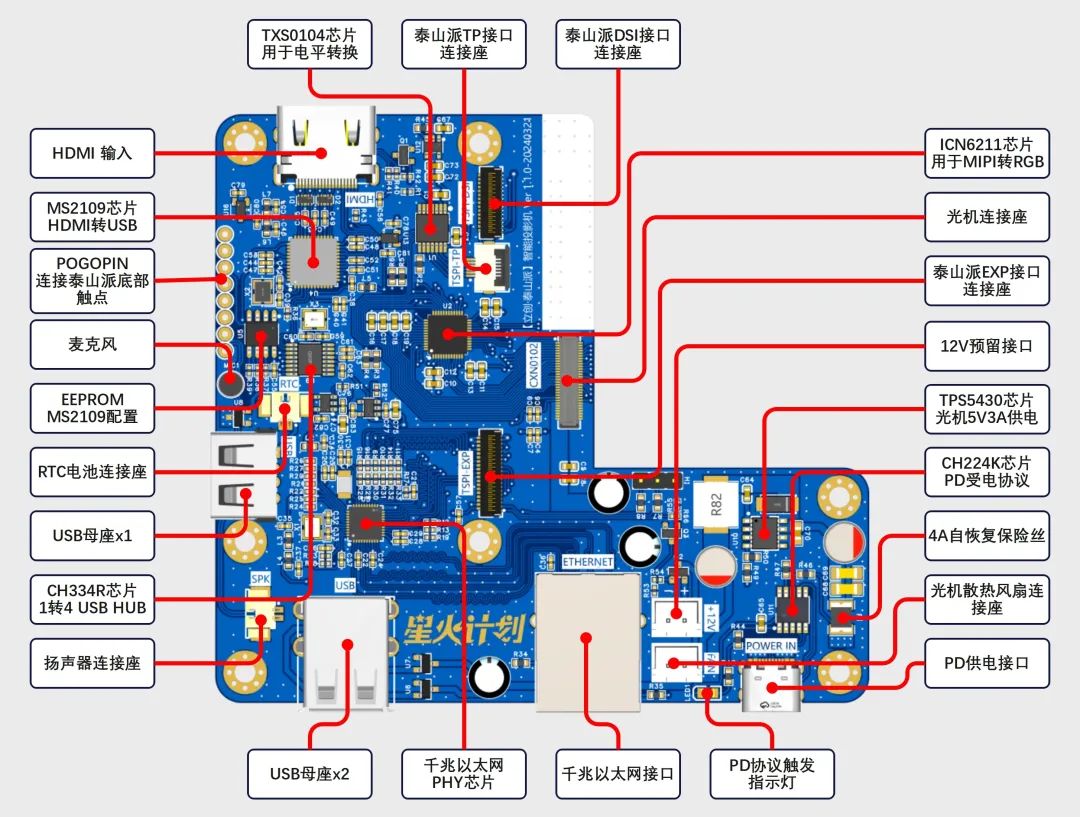
Main control board_PCBA annotation diagram
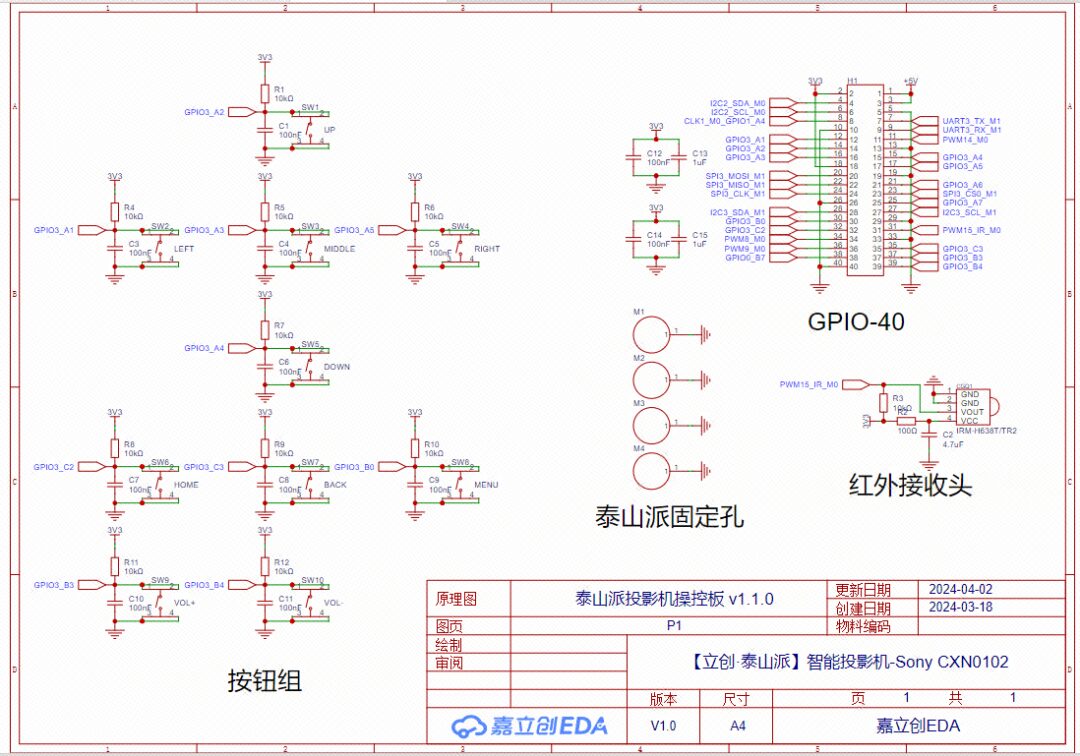
Control board schematic diagram
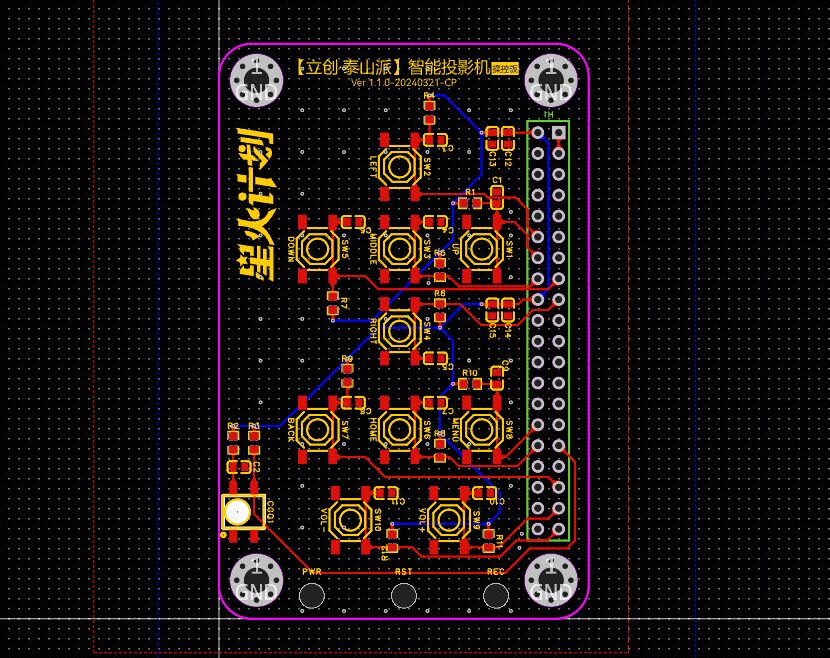
Control board PCB diagram
Scrollable images
Instructions:
UsingICN6211 bridge chip to convert MIPI DSI to RGB signals to drive CXN0102 video signals
UsingMS2109 chip to achieve HDMI capture card functionality to support HDMI input.
UsingRTL8211F as a gigabit Ethernet PHY chip, usingCH334R as USB 2.0 HUB to expand USB interfaces
UsingCH213K ideal diode to prevent backflow in USB interfaces
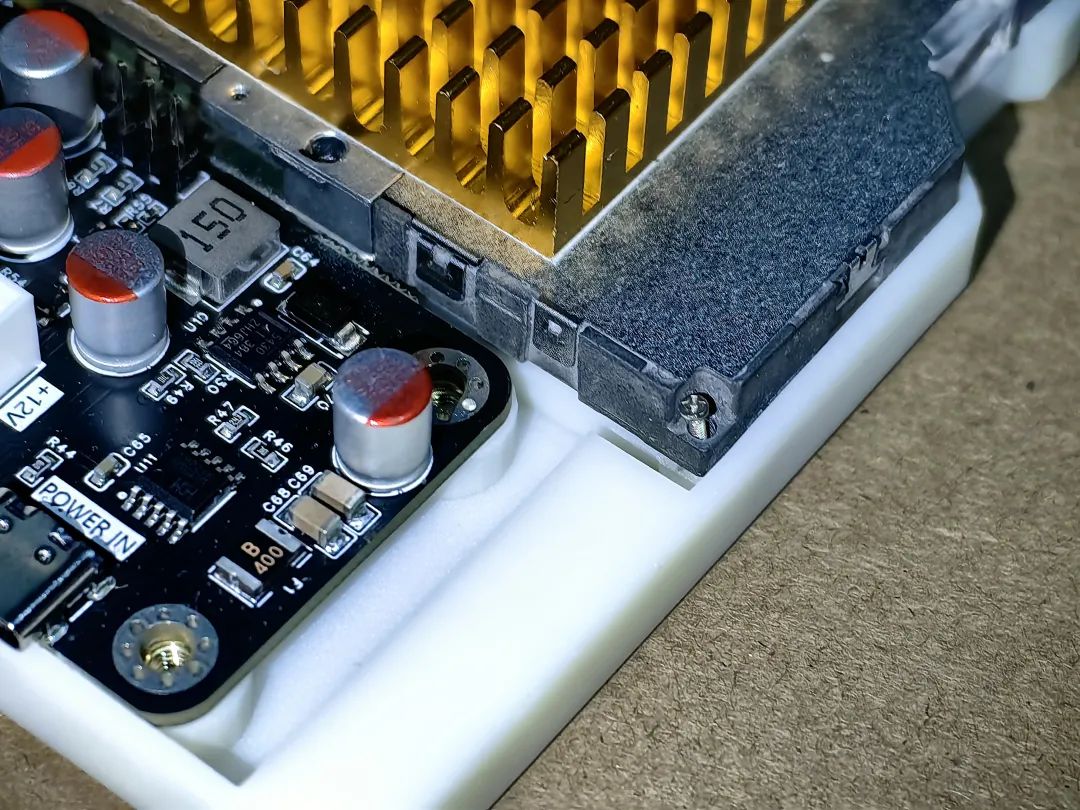
UsingCH224K for PD protocol power supply to accept 12V power supply
The SDK patch is based on the official Lichuang repo version of Android SDK:
SDK Patch:
git clone https://gitee.com/fengmoxi/tspi-cxn0102.git
cd tspi-cxn0102
chmod a+x projector.sh
./projector.sh <Taishan Android SDK Path>
System Compilation:
cd u-boot && ./make.sh rk3566 && cd ../kernel && make ARCH=arm64 tspi_defconfig rk356x_evb.config android-11.config && make ARCH=arm64 tspi-rk3566-user-v10.img -j16 && cd .. && source build/envsetup.sh && lunch rk356x_box_tspi-userdebug && make -j16 && ./mkimage.sh && ./build.sh -uThe shell, circuit, software, and material list have all been open-sourced, please refer to 【Chapter 6】 for guidance to the open-source website~
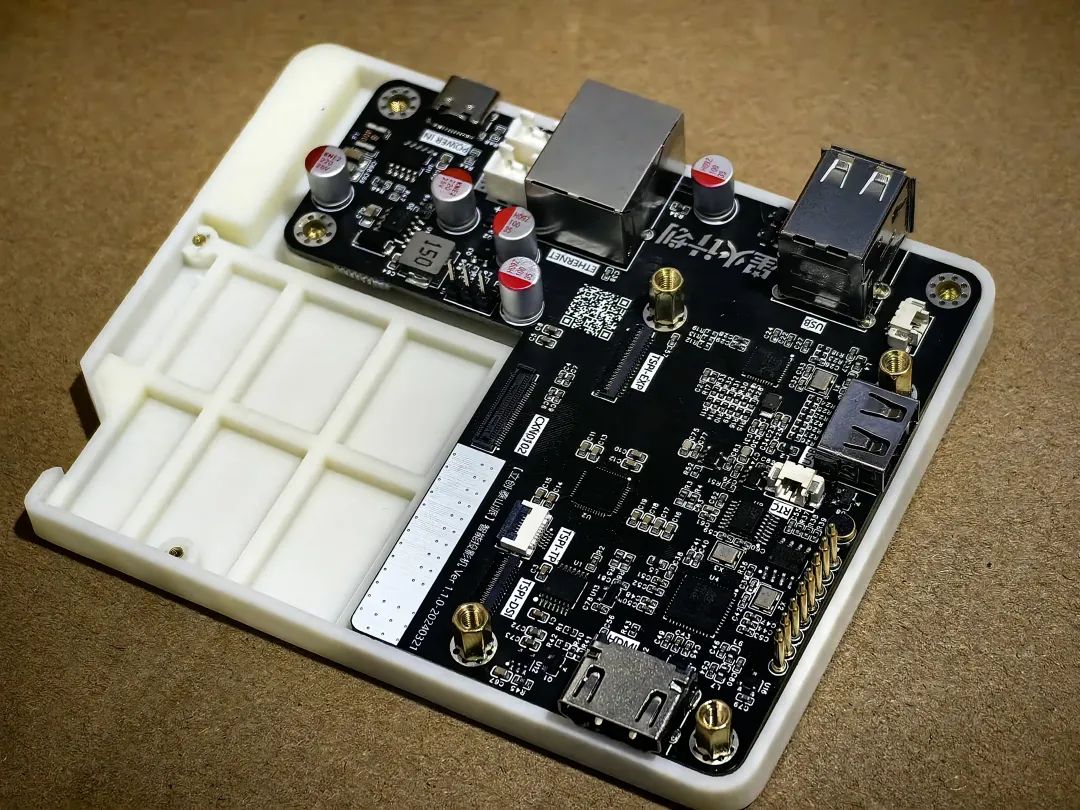
Below is a detailed15-step assembly tutorial! Scroll up and down to view, with rich illustrations!
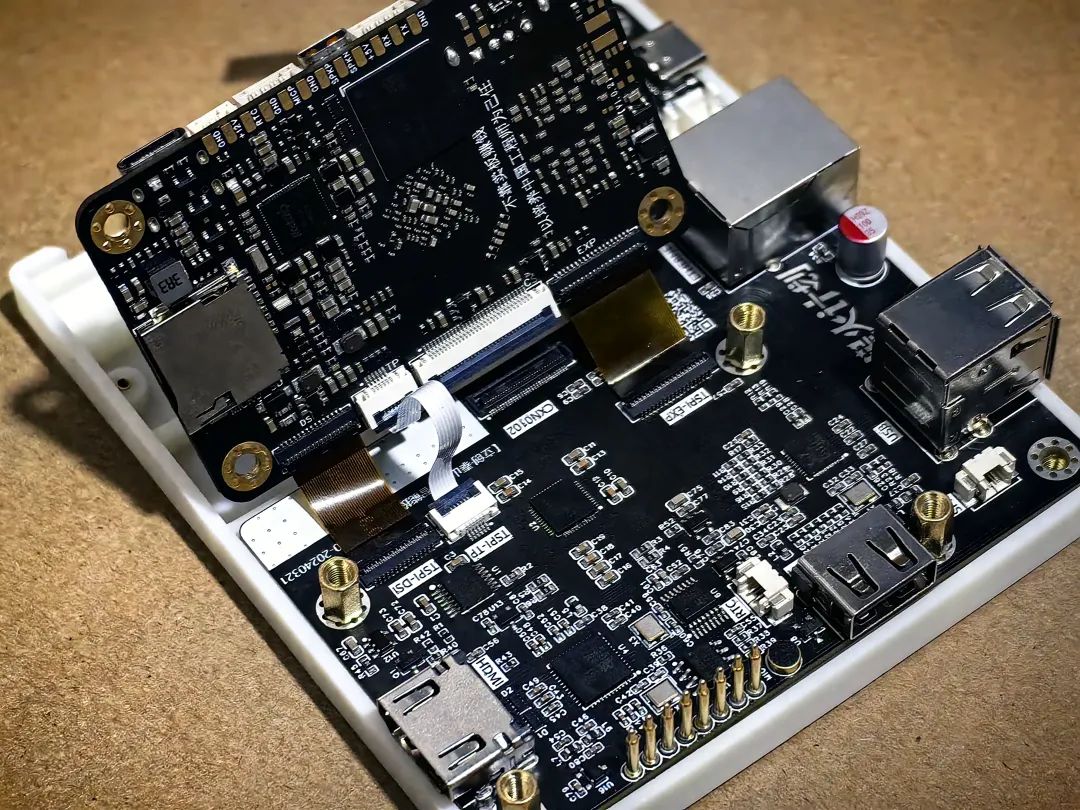
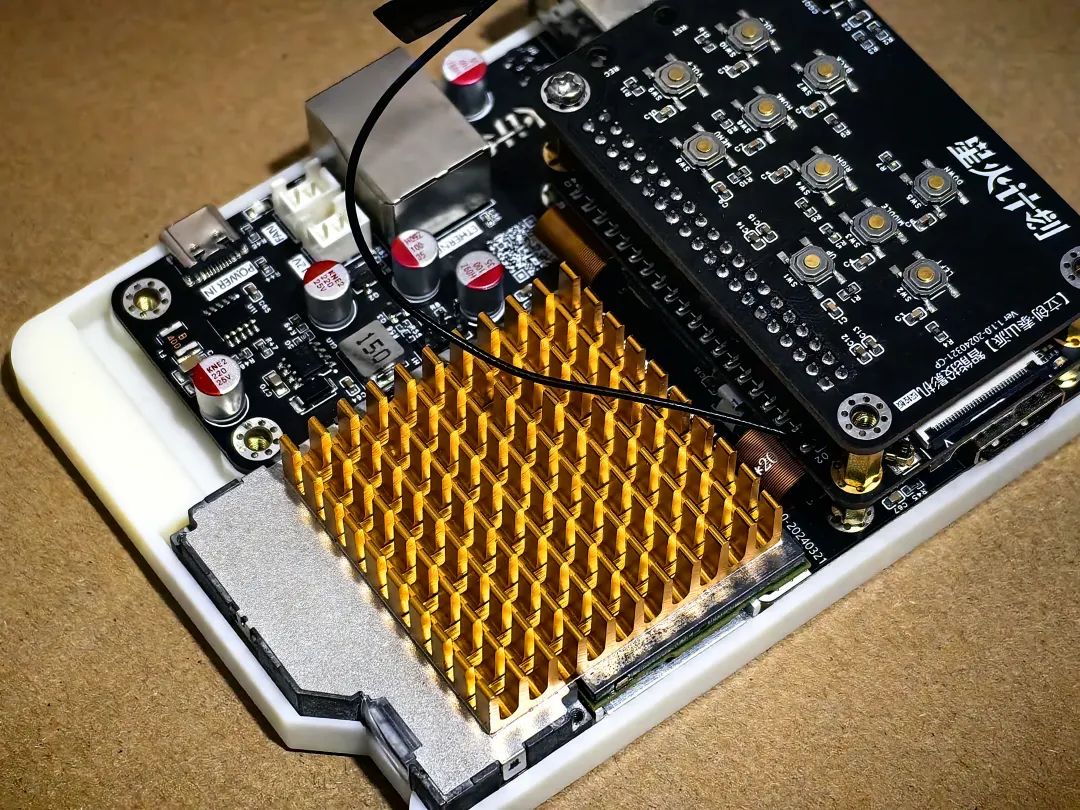
①After embedding the thermoplastic nut, use an 8mm long copper pillar to secure the main control board
②Use a 0.3 pitch 31pin same-direction fpc, 0.3 pitch 39pin same-direction fpc, 0.5 pitch 6pin same-direction fpc, to connect the main control board and the Taishan board
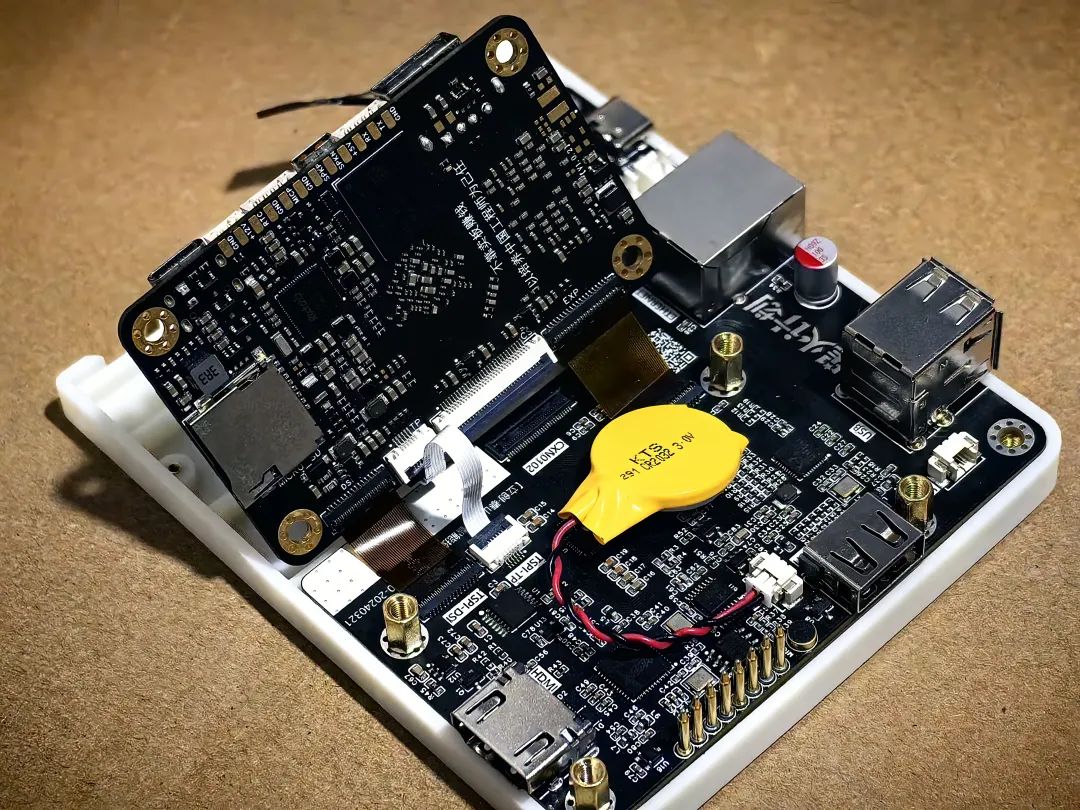
③Install the RTC battery
④Use a 12mm long copper pillar to secure the Taishan board
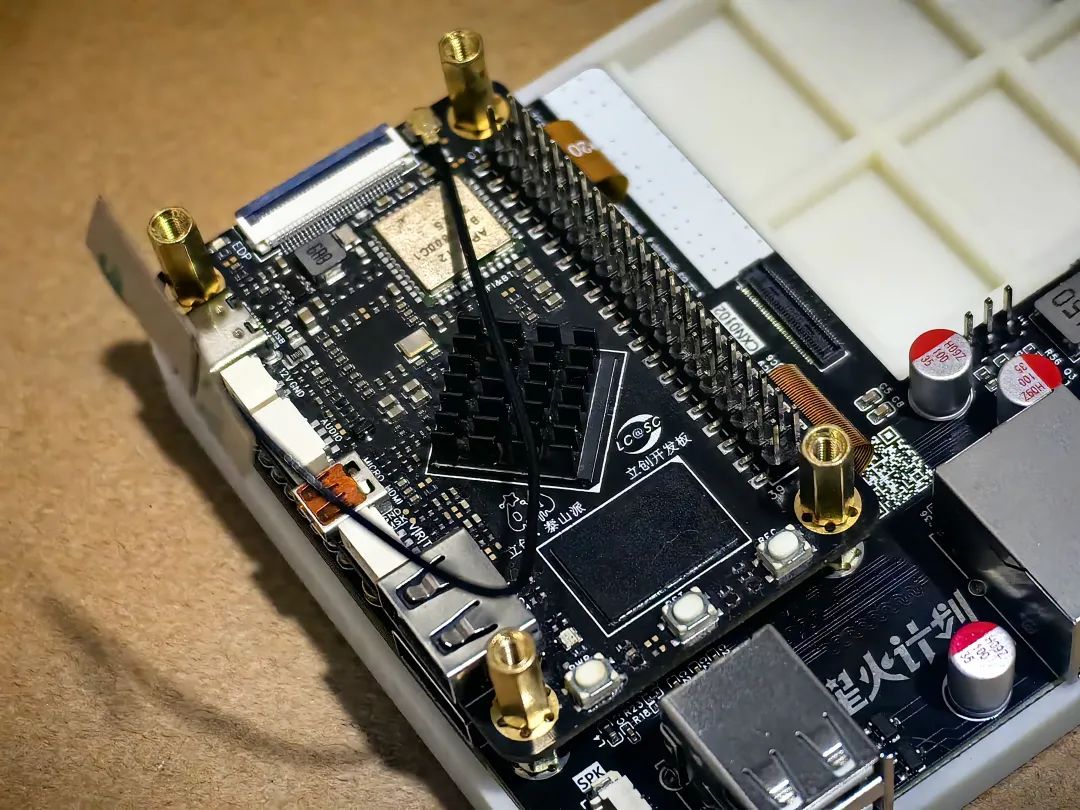
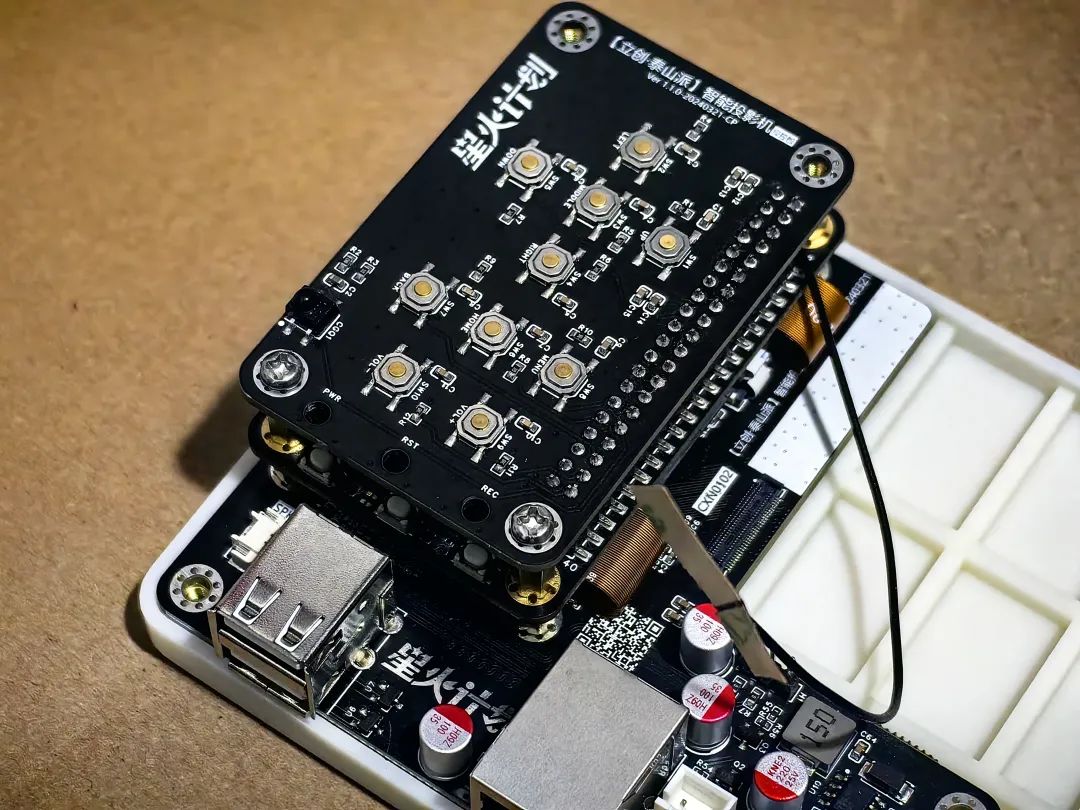
⑤Connect the control board properly on the Taishan board
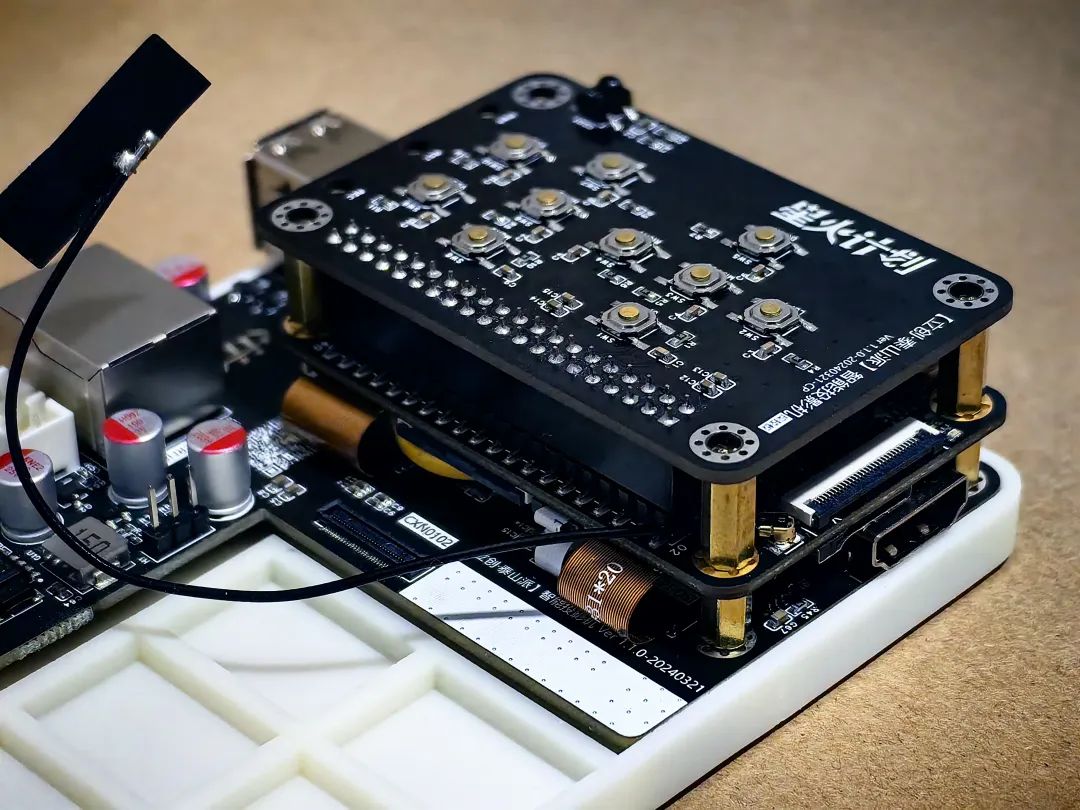
⑥Insert M3*6 screws in the position shown in the control board diagram
⑦Connect the light machine to the main control board via the BTB interface
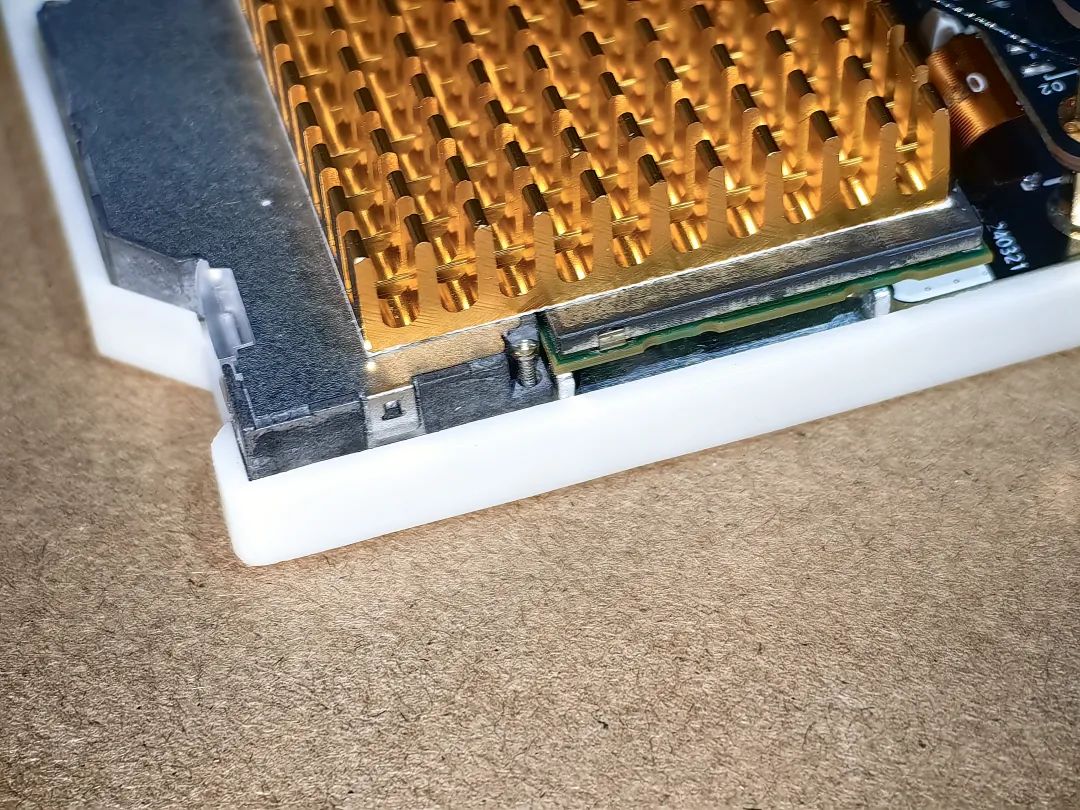
⑧Use two M1.2*6 screws to secure the light machine
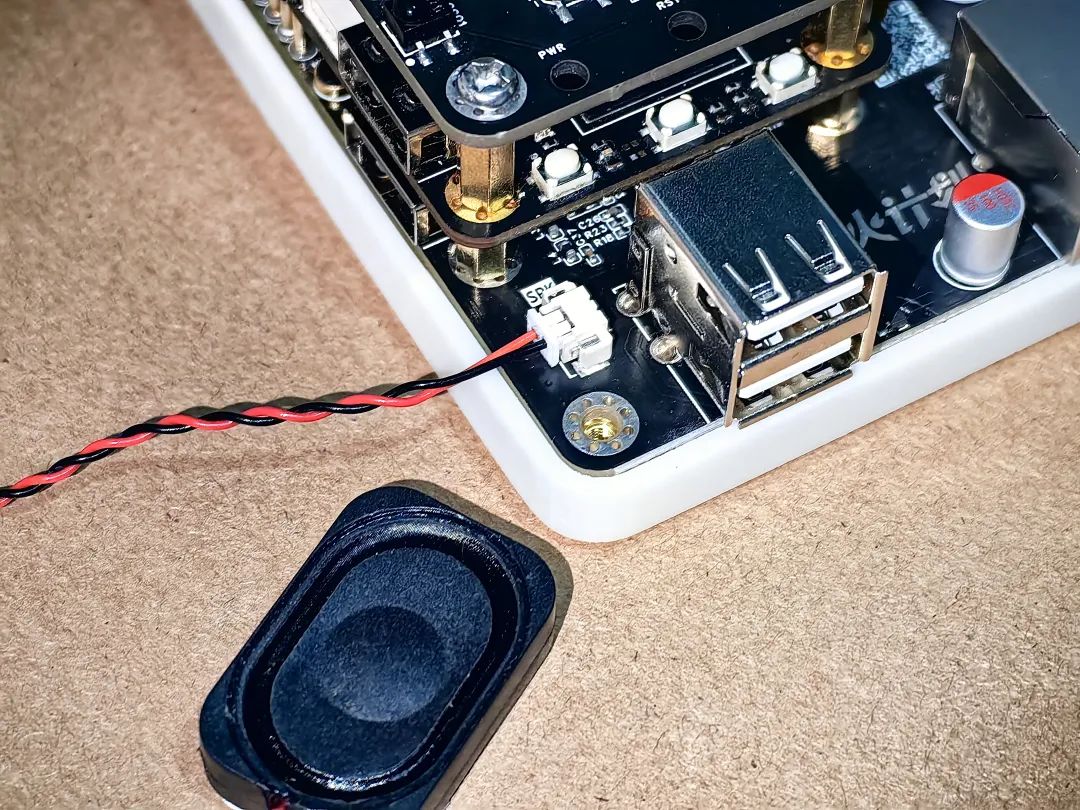
⑨Connect the speaker to the main control board
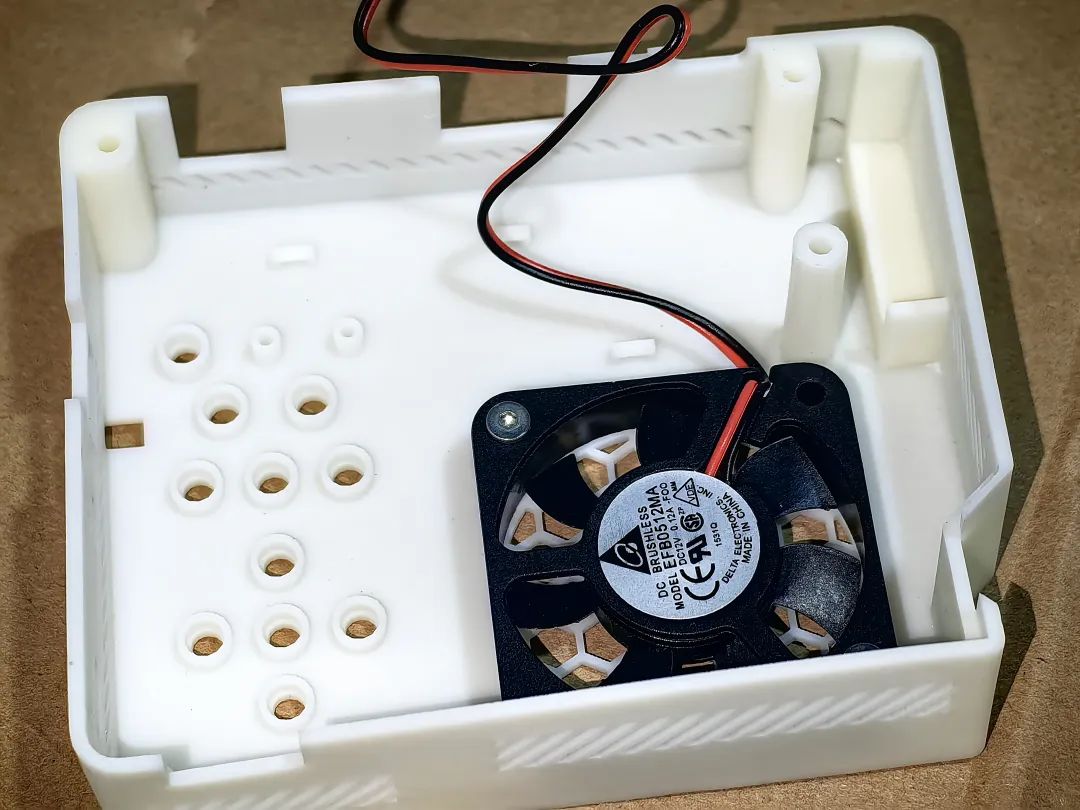
⑩Secure the cooling fan to the top cover;
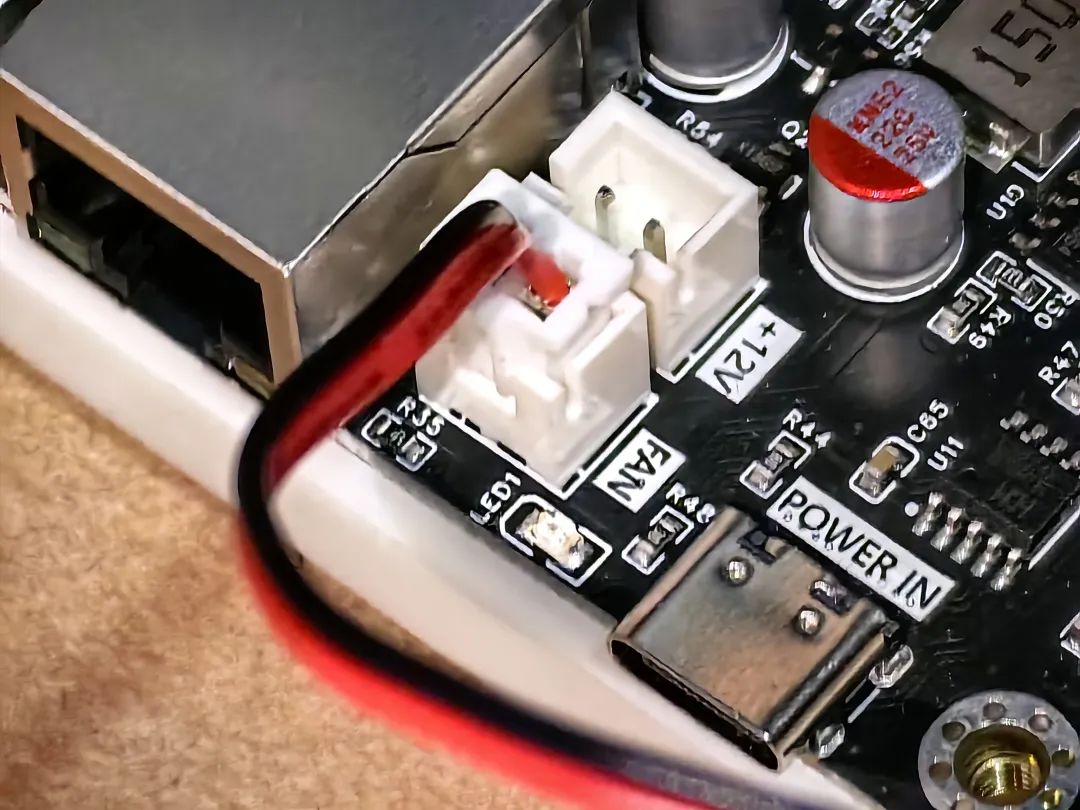
⑪Connect the fan to the main control board;
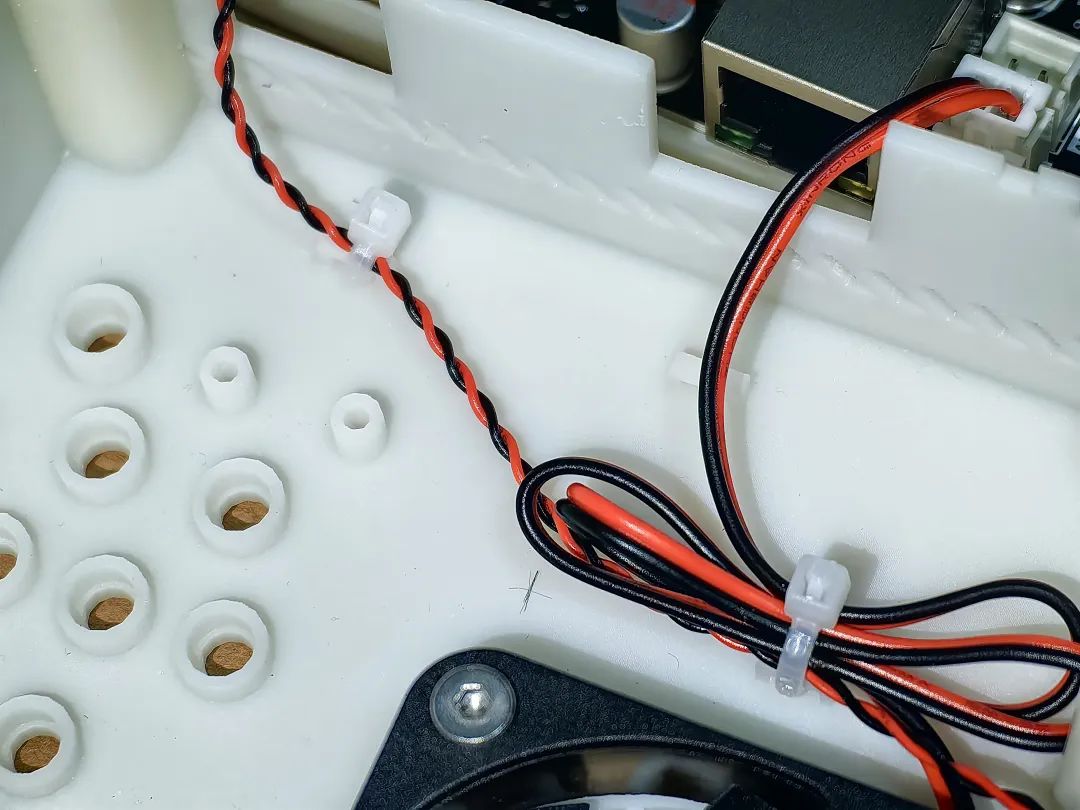
⑫Use cable ties to secure the speaker and fan leads on the top cover;
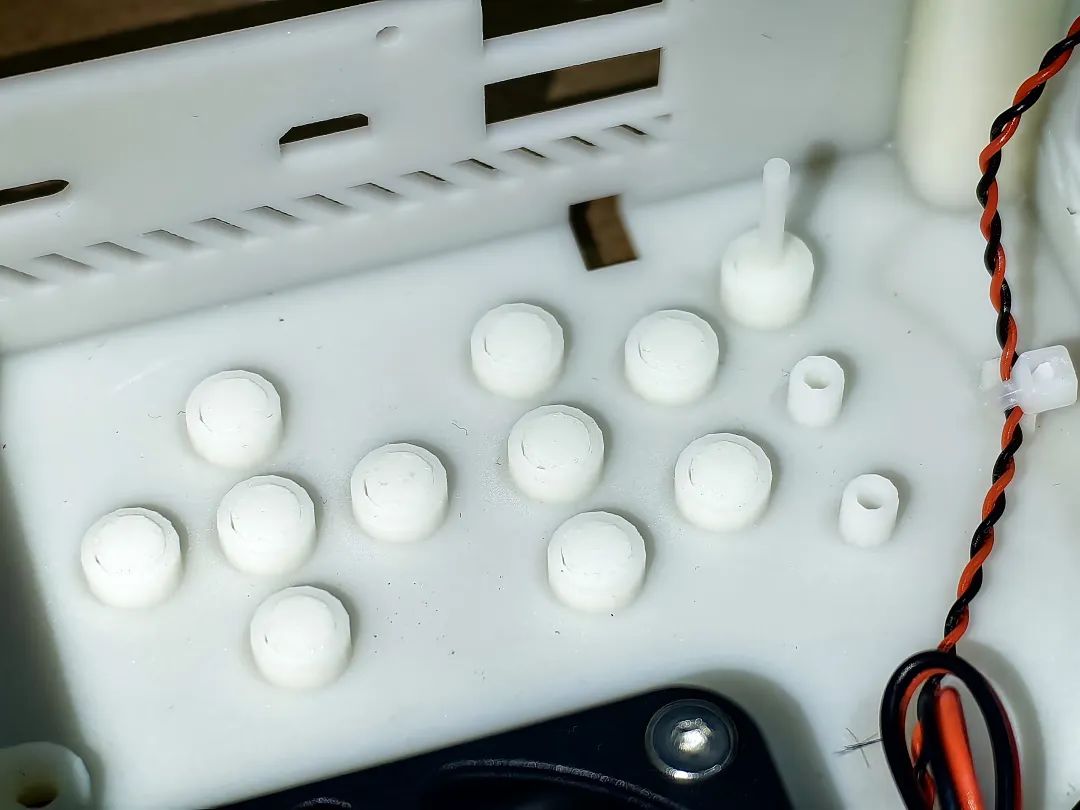
⑬Insert【10 short key caps】 and 【1 long key cap】 into the corresponding installation positions on the top cover, note that the PWR position uses the long key cap;
⑭Cover the top and tighten the screws;

⑮Attach the front and back panels, and you’re done!
|
|
|
|
|
|
|
|


Scroll up and down to view the tutorial
The Android TV mainboard uses the Lichuang·Taishan development board
The MIPI to RGB part refers to the open-source project “Taishan MIPI DSI to RGB Adapter”
This project participated in the advanced track of the 【Spark Plan】 activity, all components, panels, Taishan development board, etc. were reimbursed by the official
In the advanced track of the Spark Plan activity held by Lichuang, any open-source project can be reimbursed for material costs ranging from 2,000 to 20,000 yuan, and there is also a chance to share a 200,000 yuan bonus at the end of the year.
Details/Registration for the Spark Plan event: https://oshwhub.com/activities/spark2024?tab=1#P1
Taishan Development Board【Official Website/Purchase】:
https://lckfb.com/project/detail/lctspi-2g-16g?param=baseInfo
This project has been open-sourced!
——Want to replicate? Want to give the author a thumbs up? You can copy the open-source website to go to the original text.
Open Source Website: https://oshwhub.com/fengmoxi/taspi-smart-projector
Click the end of the article 【Read Original】 to directly enter the original text.


*This article is a reprint of user creations from the “Lichuang Open Source Hardware Platform”. If there is any infringement, please contact for deletion.