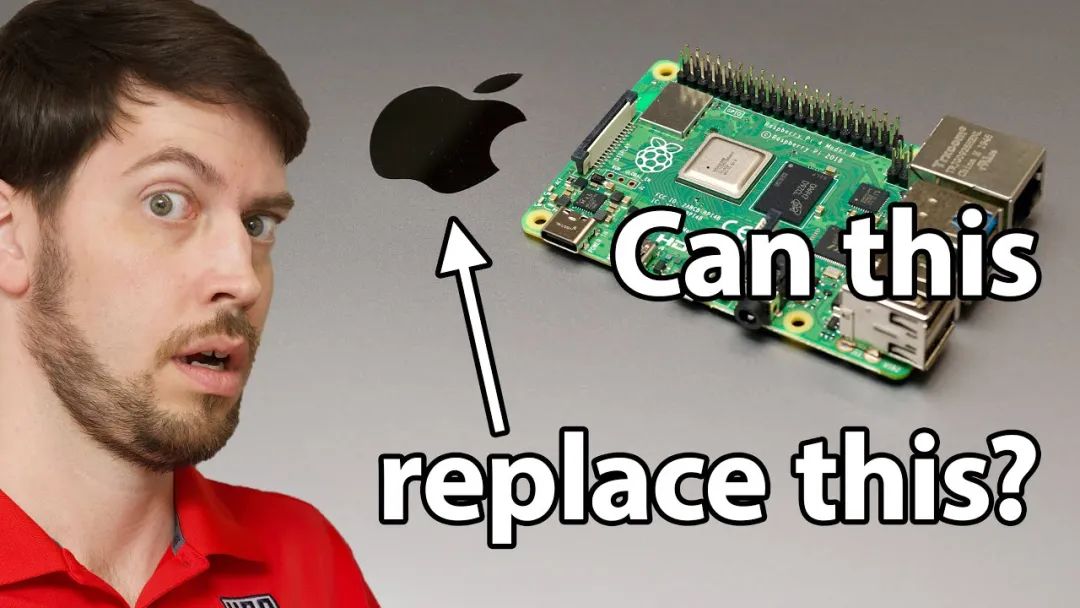
About two weeks ago, the Raspberry Pi 4 announced its latest upgrade: a new 8GB memory version priced at $75. Is this new Raspberry Pi worth it? To answer this question, a YouTuber named Jeff Geerling came up with a bold idea: on a workday, unplug his MacBook Pro and plug in the newly purchased 8GB Raspberry Pi 4 as his main work computer to see what it feels like after a day.

We know that a workday is not just about blogging or coding remotely. If it were just that, any Chromebook, tablet, or cheap old laptop would suffice. In addition to these, the workday content referred to by Jeff Geerling also includes:
-
Using dedicated apps to browse Twitter;
-
Using Slack (Slack uses more memory than most other applications that Jeff Geerling runs combined at any given time);
-
Recording and editing audio and video;
-
Using Docker, Ansible, and Kubernetes for some infrastructure automation.
He recorded the entire process and uploaded it to YouTube, where it has garnered over 10,000 views.
At the end of the day, Jeff Geerling found that if your daily work involves a lot of command-line work, programming, using git, and occasionally browsing the web, Raspberry Pi OS is indeed a cost-effective choice. However, using it as a real work computer was a bit painful, so he gave up the idea after one day (initially planning to stick with it for a few more days).
He wrote a blog about his implementation steps for the day, let’s experience it together.
Jeff Geerling: A Day Replacing My MacBook Pro with an 8GB Raspberry Pi

Step 1: Plugging in the Device
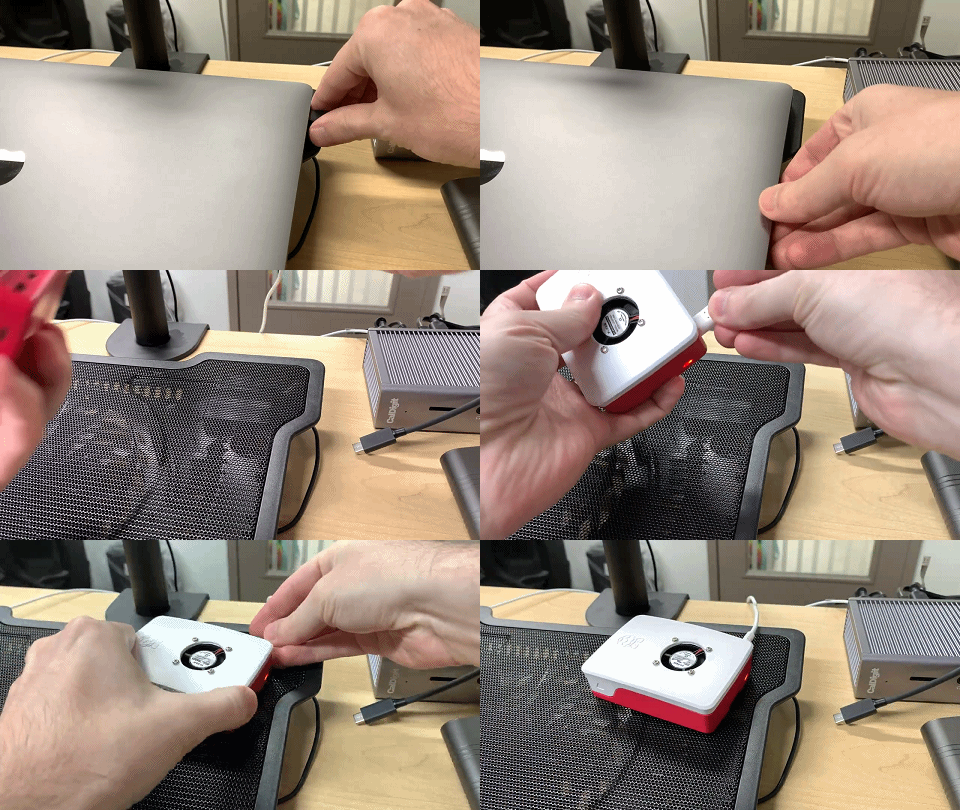
The primary task of the day was to unplug the MacBook Pro from my CalDigit TS3 Plus Thunderbolt 3 hub and figure out how to plug everything needed into the Raspberry Pi.
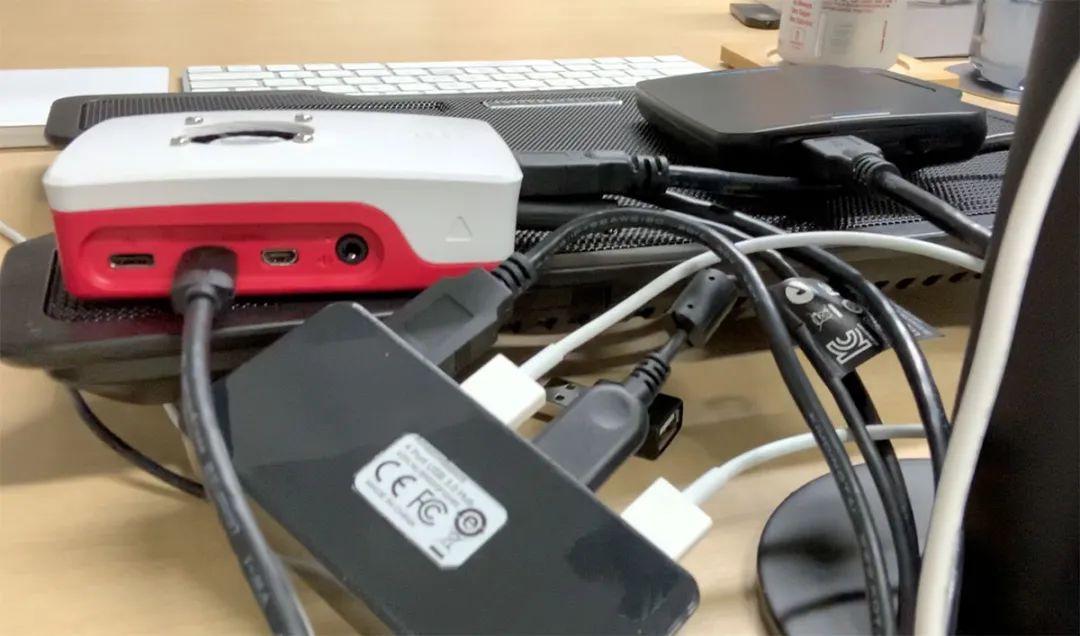
I plugged in an AmazonBasics powered USB 3.0 hub into the Raspberry Pi to prevent the Raspberry Pi’s internal bus from powering all devices, which included:
You may not realize how much cable clutter can arise when switching computers.

I plugged in the official Raspberry Pi 4 USB-C power supply and a micro HDMI to HDMI adapter, which was plugged into my LG 4K 27-inch monitor, and then waited for the Raspberry Pi to boot up!
The first thing I did was spend nearly 30 minutes figuring out how to achieve consistent font sizes across all applications and system controls in 4K resolution (at 30Hz, the Raspberry Pi cannot output 60Hz through its HDMI connection).
The settings in the Appearance Preferences seemed to apply to some window chrome and buttons, but not to the internal applications. Therefore, at 4K resolution, when I increased the font size, the main window text of the file manager became readable. However, to make file names and other lists readable, I had to go into the file manager settings and increase the font size.
Next, I enabled the “Pixel Doubling” feature, which effectively builds the original 1 pixel into a 2×2 pixel block, making all content exactly twice the size, allowing the Raspberry Pi to run on a 4K display.
If you want to play games or watch videos, this is sufficient, though watching videos at 4K settings may result in some slight tearing. Other content on the computer will be displayed at 1080p resolution.
Finally, after a long time setting up, I decided to stick with the original 1080p resolution, even though it made my display seem a bit outdated. I did this to:
-
Reduce the burden on the Raspberry Pi’s GPU (therefore less tearing);
-
Allow the Raspberry Pi’s GPU to apply anti-aliasing;
-
Allow for a 60Hz refresh rate, which makes watching 60fps videos easier on the eyes.
During this time, I also had to give up using the Apple Magic Trackpad because even after adjusting many settings, the tracking was not very precise. It felt like the trackpad was drunk.
I plugged it directly into the Raspberry Pi but still encountered the same issue. So, I switched to an old Logitech mouse used in the office, which worked better.
Step 3: Workflow and Apps
I began looking for alternatives for the apps I regularly use, with mixed results. Chromium is a decent browser and works fine. VSCodium is a good code editor that can replace my favorite Sublime Text 3. Sublime Text 3 has a Linux version, but it is not available for ARM64, and many apps have this issue.
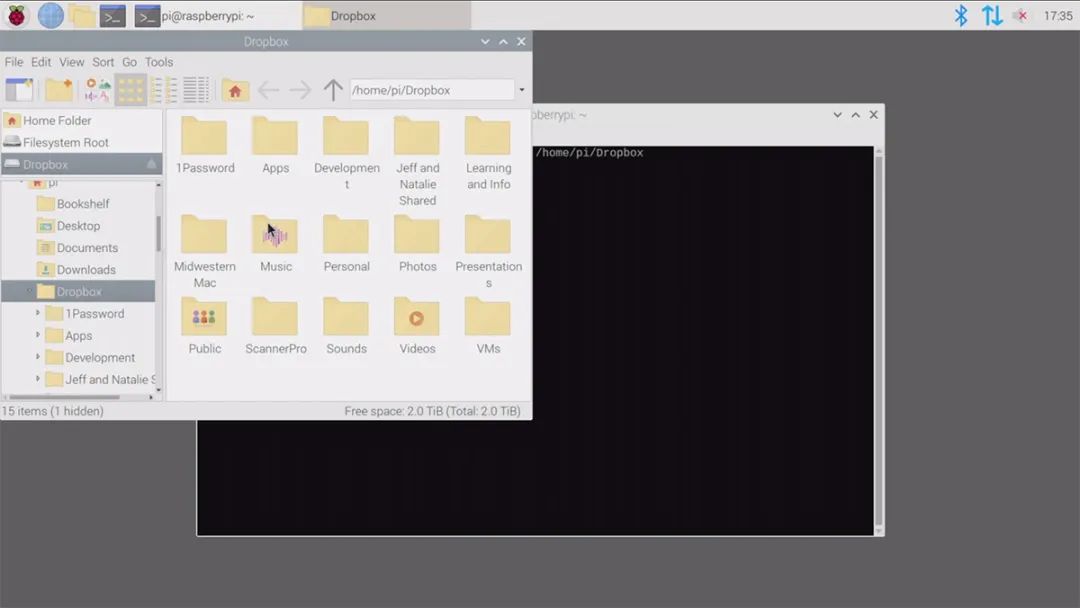
I tried to compile Dropbox on Pi OS beta but failed. So, I installed Rclone to achieve many goals.

For command-line interface tasks, the Pi OS Terminal is sufficient.
For chatting, Pidgin and LimeChat work well on the Raspberry Pi.
At this point, aside from not being able to find pre-built arm64 Docker images for some of my projects, I was able to smoothly accomplish many open-source and foundational tasks.
However, I also encountered many new problems.
Step 4: Discovering Issues
At this point, I discovered a problem: many small things that can be done on a Mac either could not be done on the Raspberry Pi or involved a cumbersome process.
For example, I usually use Reeder to quickly browse dozens of RSS feeds every morning. To achieve this, I had to use a painful web UI since I could not find a Feedly reader that could be compiled on ARM 64.
Moreover, most people frequently use Twitter. Cawbird can be installed on the Raspberry Pi, but there are two issues: 1) it frequently encounters transient errors during use; 2) it must be installed via Snap, so… I had to install snapd first and then restart the Raspberry Pi.
Let’s not even discuss the issues with Snap here. The point is that for all the software I wanted to use, I had to spend a lot of time finding versions that could run on Linux, then narrow it down to “that run on Linux ARM64”.
I often needed to spend several minutes compiling source code and placing shortcuts in the system to directly open programs.
Step 5: Multimedia Functionality is Hard to Achieve
A day passed, and I wondered if I could do some audio and video work, creating a “day experience” video on the Raspberry Pi.
However, I encountered problems right from the start. I could not get the audio and video devices to work properly.
I opened Zoom, which recognized the Logitech C920 webcam as a video source, but I could not select the microphone as the audio source. I saw the Behringer USB audio interface, but selecting it still resulted in no sound.
I tried BlueJeans, but did not see the camera or microphone; the only option was “Join by Phone”. But when I clicked that option, the BlueJeans interface locked up, and I had to refresh the interface!
Google Hangouts Meet recognized the webcam for video but had no audio either.
Later, I listed my audio playback devices using aplay -l, and then the Behringer interface appeared. Arecord also listed the webcam and Behringer as valid input devices:
$ arecord --list-devices
**** List of CAPTURE Hardware Devices ****
card 2: U192k [UMC202HD 192k], device 0: USB Audio [USB Audio]
 Subdevices: 1/1
 Subdevice #0: subdevice #0
card 3: C920 [HD Pro Webcam C920], device 0: USB Audio [USB Audio]
 Subdevices: 1/1
 Subdevice #0: subdevice #0
So, I spent 30 minutes trying to record using the webcam’s microphone or the Behringer audio interface. After several attempts, I came up with two valid FFmpeg commands:
# Gets sound and video from the webcam:
$ ffmpeg -ar 44100 -ac 2 -f alsa -i hw:3,0 -f v4l2 -codec:v h264 -framerate 30 -video_size 1920x1080 -itsoffset 0.5 -i /dev/video0 -copyinkf -codec:v copy -codec:a aac -ab 128k -g 10 -f mp4 test.mp4

# Sound from Behringer, video from webcam:
ffmpeg -ar 44100 -ac 2 -f alsa -acodec pcm_s32le -i hw:2,0 -f v4l2 -codec:v h264 -framerate 30 -video_size 1920x1080 -itsoffset 0.5 -i /dev/video0 -copyinkf -codec:v copy -codec:a aac -ab 128k -g 10 -f mp4 test-webcam-audio.mp4
One more thing to note about recording video: the Raspberry Pi’s processor cannot transcode and encode 1080p in real-time. Fortunately, the Logitech C920 has built-in hardware H.264 encoding, so you can extract the stream directly from the camera and save it to disk without any rendering.
However, if I were using another camera without a built-in encoder, the Raspberry Pi could only record at 5-8 fps at 1080p/30fps. If I set it to 480p/30fps, the Raspberry Pi would record well and save it in mp4 format.
For pure audio recording, I tried gnome-audio-recorder, but it couldn’t even start recording or find any audio sources, just showing the error “Unable to set pipeline to recording state”.
After all this, is the 8GB Raspberry Pi 4 worth getting? The author’s conclusion is: if you want to use it as a general-purpose computer, then it definitely won’t work. But for some people, this Raspberry Pi has its unique advantages.
If your computer usage mainly involves browser, code editor, and command line (such as backend web development, infrastructure development, blogging, etc.), then the 8GB Raspberry Pi 4 is completely sufficient. Even if you open a bunch of tabs, Chromium will run well.
The total cost adds up to about $250, including keyboard, mouse, monitor, external SSD, plus the $75 Raspberry Pi, which still has advantages over low-spec Chromebooks or old laptops. The author mentioned that he is considering using the Raspberry Pi 4 as his child’s first computer.
However, if you frequently use media editing software like Final Cut Pro or iMovie, it is recommended to save up for a MacBook Pro. At least, there are currently no similar tools that run well on the Raspberry Pi unless you are willing to sacrifice usability and stability.
The author stated that he might increasingly use the Raspberry Pi in server applications because the cost-performance ratio and energy efficiency of the Raspberry Pi have been improving with each generation, even rivaling much more expensive computers under certain workloads.
But he does not believe this year is “the year of the Linux desktop”. He stated that for mainstream users, “Linux on the desktop” will forever be something 20 years away, just like nuclear fusion.
Original link: https://www.jeffgeerling.com/blog/2020/i-replaced-my-macbook-pro-raspberry-pi-4-8gb-day
Recommended Reading:
-
Code Runner for VS Code Breaks 10 Million Downloads! Supports Running Over 40 Languages
-
Breaking News! Microsoft Releases Visual Studio Online: Web Version of VS Code + Cloud Development Environment
-
Microsoft Loves Python Too! VS Code Python Newly Released! Native Support for Jupyter Notebook is Finally Here!
-
Microsoft Loves Java Too! Microsoft Announced Azure Spring Cloud Services at SpringOne Conference!
-
What Is It Like to Work at Microsoft? (Part Two)
-
Microsoft Internal Referrals, Long-Term Valid
-
VS Code Zhihu Live, Participation Exceeded 1000 People!
-
Code Editor Comparison: Why VS Code Can Take the Lead
-
Did You Know, VS Code Is More Than Just Open Source
-
Those Years, We Chased VS Code Together
VS Code · Programming Development · Industry News


