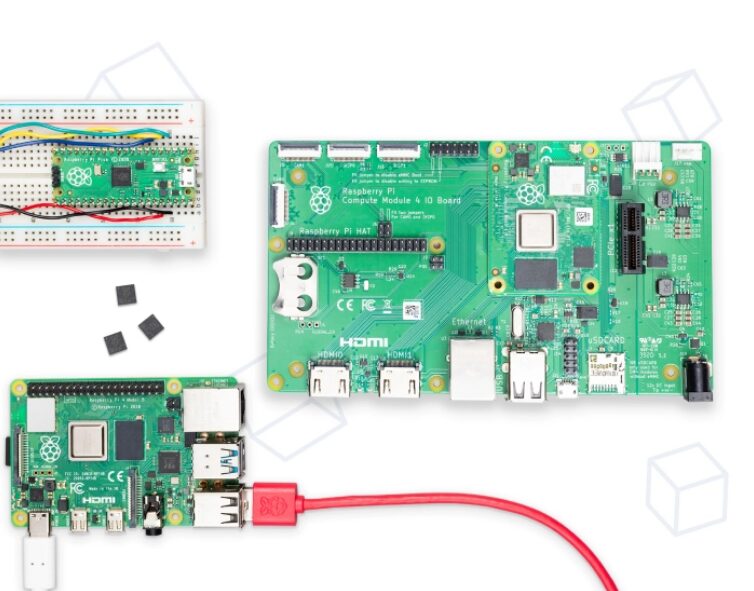
The Raspberry Pi needs an operating system to function. The Raspberry Pi operating system (formerly known as Raspbian) is the officially supported OS, and you can download the corresponding version from the official site.
The official site is: https://www.raspberrypi.org/
1. Choose the version to download:
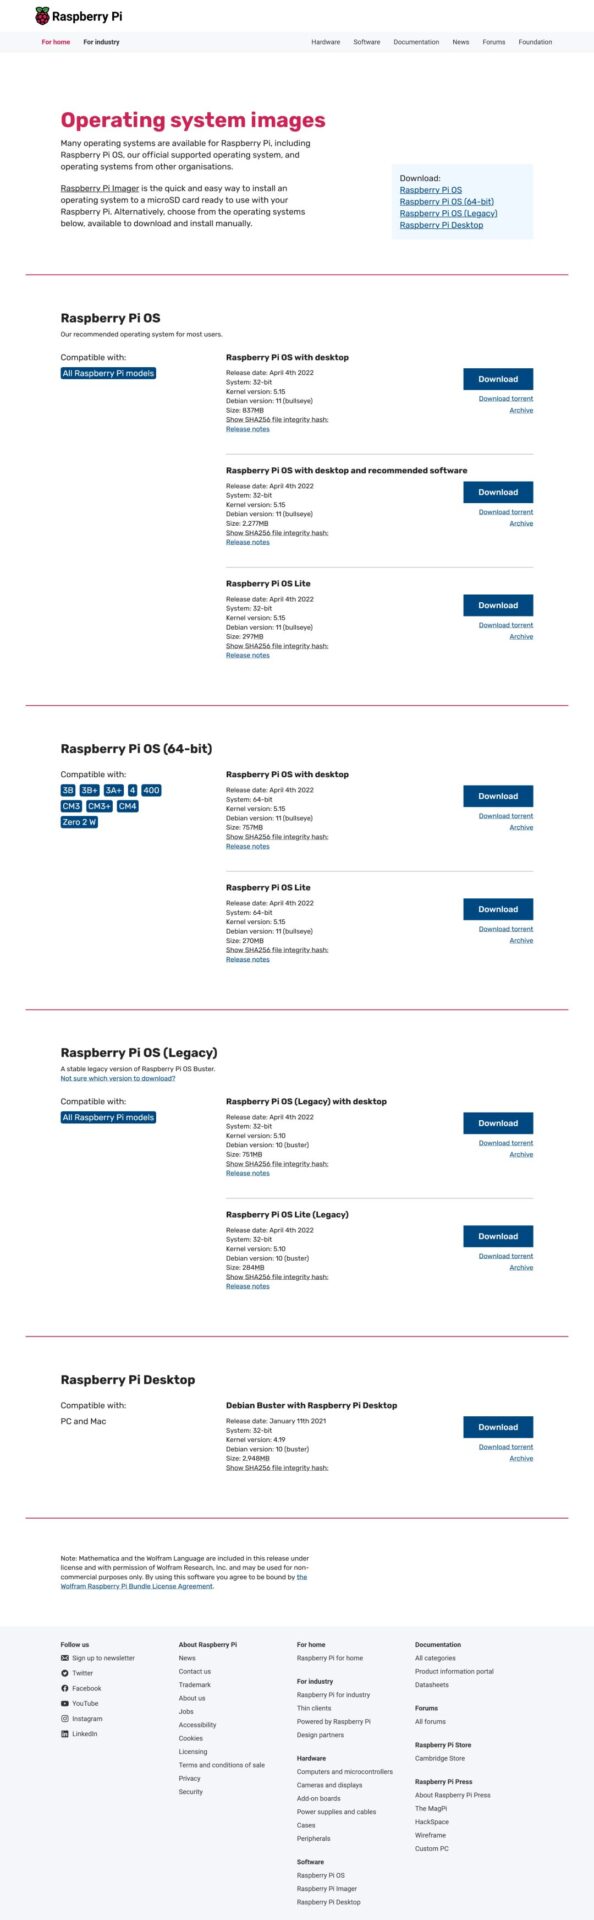
There are three versions available: Full Desktop, Lite Desktop, and Minimal Version. Download the version that suits your needs.
2. Format the TF card
Prepare a TF card, format the TF card (officially recommended to be larger than 4GB, the bigger the better), and download SDFormatter V4.0 (portable) or FormatTool to format the TF card to FAT32.Note: Do not use the built-in formatting tool in Windows, as it cannot restore the original size.
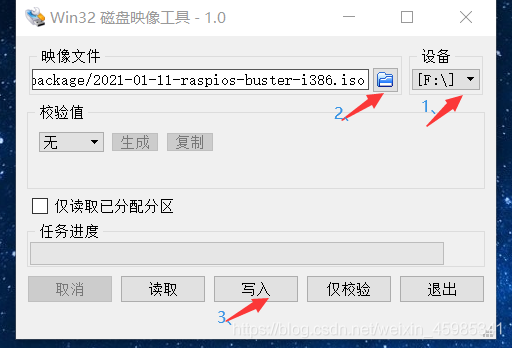
3. Burn the image
Download the burning tool: Win32DiskImager (official), after installation, open Win32, select the SD card to format and the path to the image you want to burn, click write and wait.
4. Configure the system – Wired Keyboard and Mouse
After powering on, it will automatically enter the desktop and pop up the configuration wizard. Just follow the steps, similar to configuring Windows.
Upon first entry, there will be a welcome screen; select next to proceed with the initialization configuration.
Step 1: Select your country, just choose China, and check the box for “Use US Keyboard”; it is recommended to also select to use English.
Step 2: Change the Raspberry Pi password; the default password is raspberry, modify it according to your preference.
Step 3: Set up Screen, just click next.
Step 4: Connect to WiFi; connect if available, otherwise skip it, it’s not a big deal.
Step 5: Update; you can skip this as the server may not connect, and it can be slow. If you have a VPN, feel free to use it.
Step 6: Restart