Because I need some knowledge related to embedded Linux in my work, I started to learn.
Yocto is a complete set of tools under the Linux Foundation used to build Linux for embedded devices.
With Yocto, we can create our own Linux system for our embedded devices, customize and trim the necessary modules, and package our applications into it.
If I want to develop a smart hardware device, I can build a Linux system based on the hardware information of the device in advance. This way, during development, I don’t have to worry too much about low-level hardware operations, and I can develop like a regular Linux program.
Today, I will discuss the Hello World of Yocto, building a Linux system that can run in a QEMU virtual machine from scratch.
The system built is called Poky, which is the reference system for the Yocto project. We can modify this template to create our own system.
The original text is here: https://docs.yoctoproject.org/brief-yoctoprojectqs/index.html
First, prepare a Linux environment; mainstream distributions are fine. My computer is running Ubuntu 20.04, so I will only write operations under Ubuntu below.
Install Necessary Packages:
$ sudo apt install gawk wget git diffstat unzip texinfo gcc build-essential chrpath socat cpio python3 python3-pip python3-pexpect xz-utils debianutils iputils-ping python3-git python3-jinja2 libegl1-mesa libsdl1.2-dev pylint3 xterm python3-subunit mesa-common-dev zstd liblz4-toolClone Poky Source Code with Git
$ git clone git://git.yoctoproject.org/pokyView all branches:
$ cd poky
$ git branch -a
A long list of branches will be displayed. In this example, switch to the honister branch:
$ git checkout -t origin/honister -b my-honister
$ git pull
Build the Image
-
Initialize the build environment:
$ cd poky $ source oe-init-build-env -
Check the local configuration files: After running the above command, you will enter the
build/conffolder, which contains alocal.conffile. This file includes many configurations related to building the image. For example, if the target machine is not specified, the default built image isqemux86. Other configurations include what package management tool is used, etc. Since I am also a beginner, I won’t explain it here. -
Start building:
$ bitbake core-image-satoThe entire build process will take about one to two hours. If your network is poor, it may take longer. During the build, it will download many software packages. After the build is complete, it will occupy dozens of GB of disk space, including various downloaded and generated files.
-
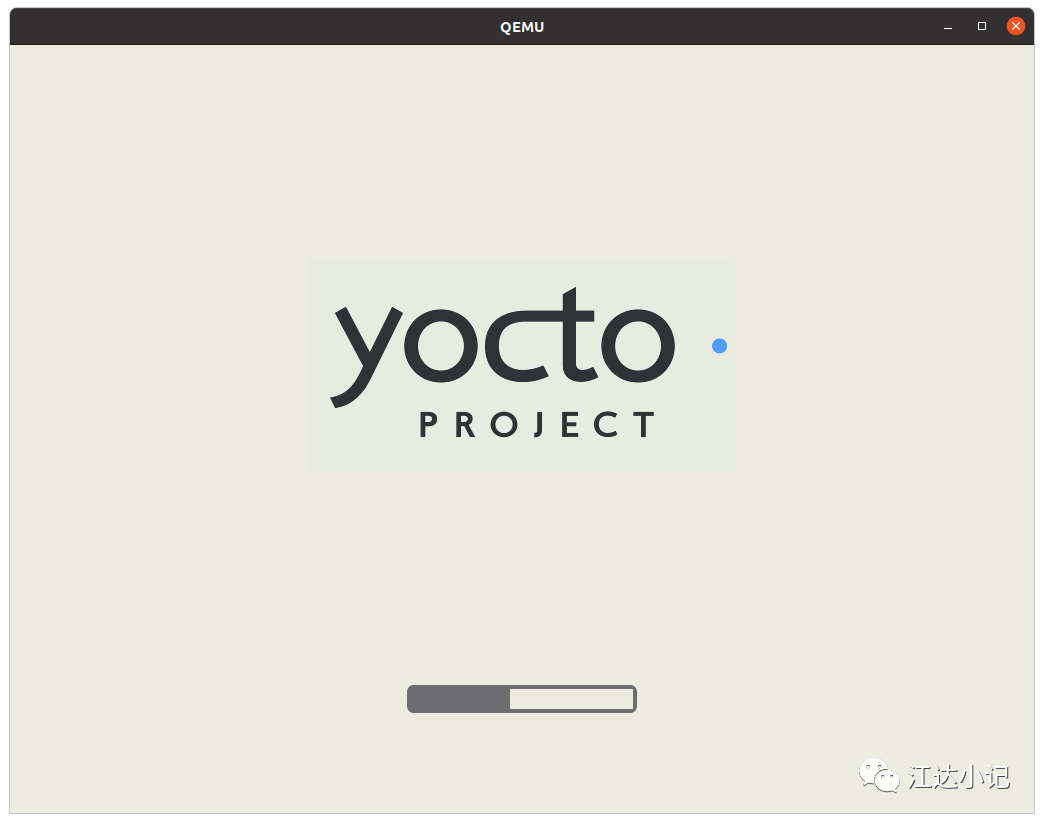
Run the built image with QEMU
$ runqemu qemux86-64A QEMU window will pop up during the run, similar to booting a computer. First, a series of characters will scroll by, followed by the startup screen, and finally entering the system interface.
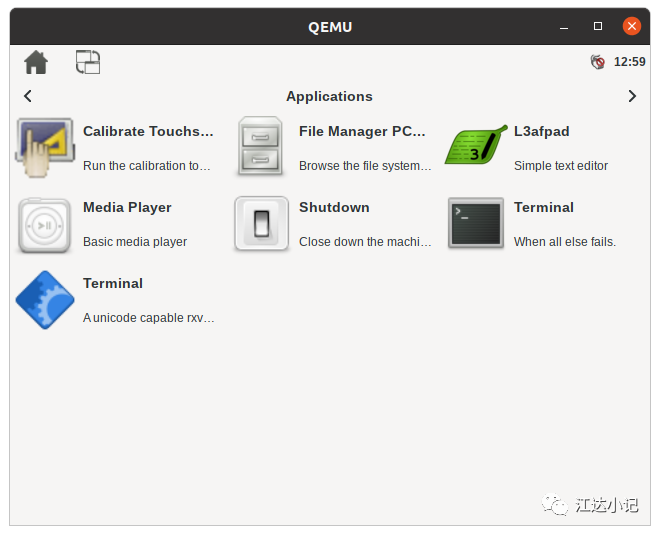
I used it briefly and found that the cursor does not display when the mouse hovers over, but I am not sure why. However, the mouse clicks work, and the keyboard is also functional.
-
Close QEMU
You can close it by clicking the red cross in the upper right corner.
That’s all for today. See you tomorrow!