
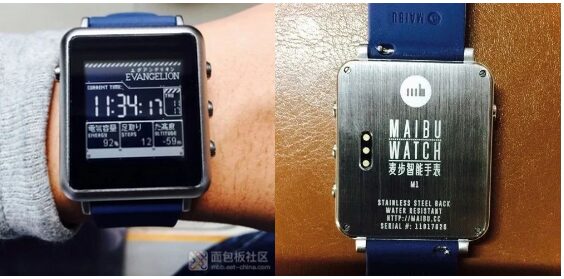
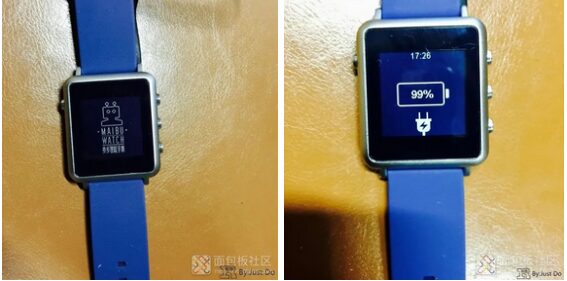
In 2016, I remember that only time-telling wristbands were quite popular. At that time, companies like Xiaomi, Huami, and Apple hadn’t yet ventured into the smartwatch market. I randomly bought my first DIY watch face watch from a crowdfunding site. Now, let’s take it apart and see its internal structure! Here’s a picture of the intact watch~ I would call it the first generation of DIY watch face watches.
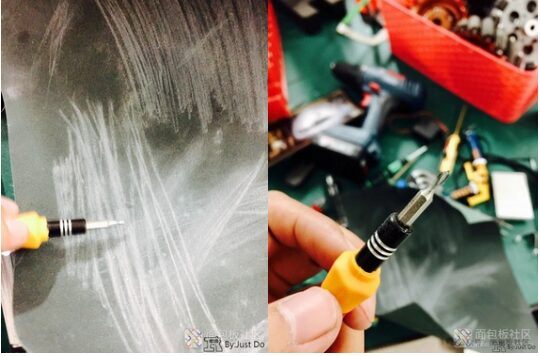
 After getting a suitable tool, I started disassembling it.
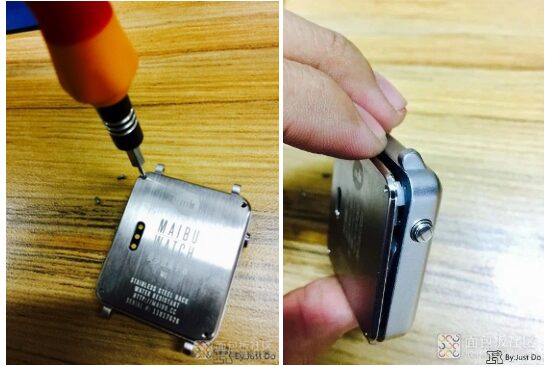
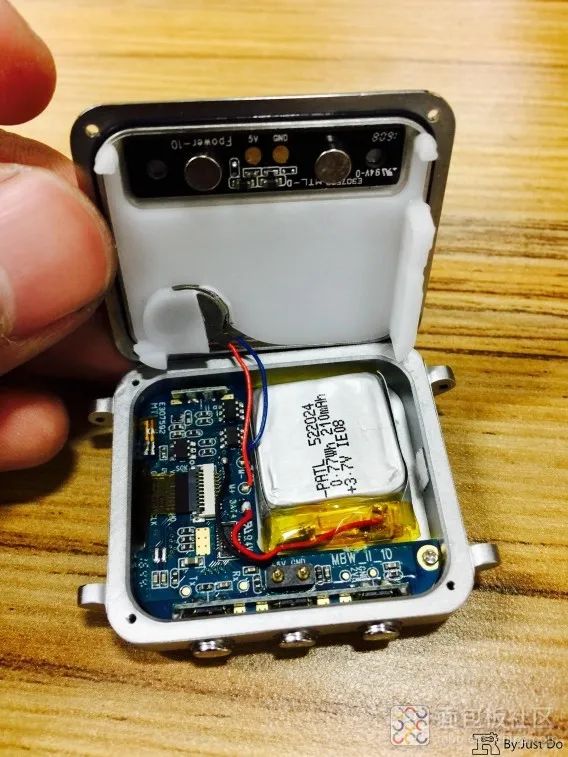 Indeed, there is a vibration motor connected, which is soldered on… After disassembly, the first feeling is that it is quite empty, and there are many subtle places that can be utilized. There is a spacer fixed to the seat, which is glued to the motor. It came off slowly.
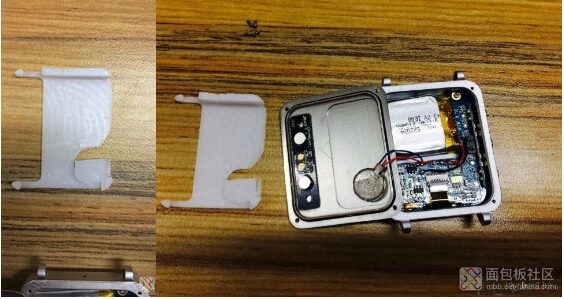
 So I decided to use a soldering iron to remove them all.
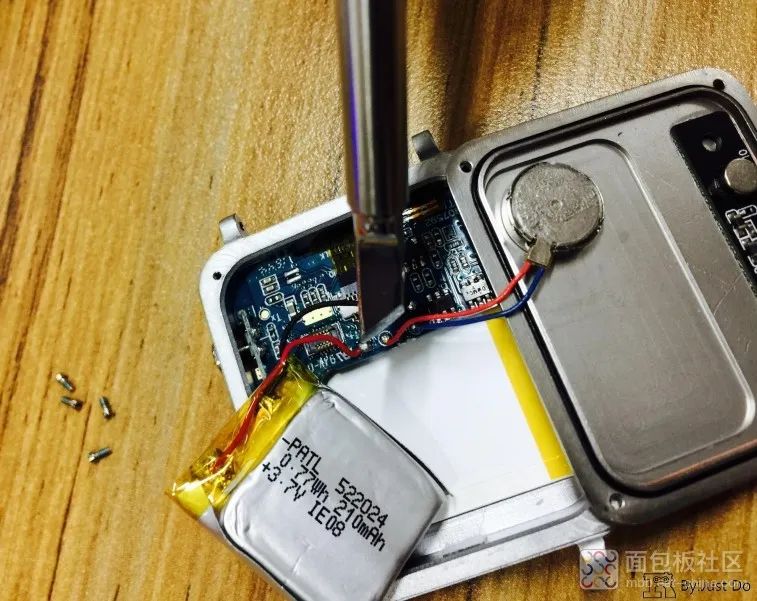 Of course, make sure to turn off the power first. Although it is an MCU and the program is in flash, sudden power loss shouldn’t cause any problems, but just in case. The battery was removed.
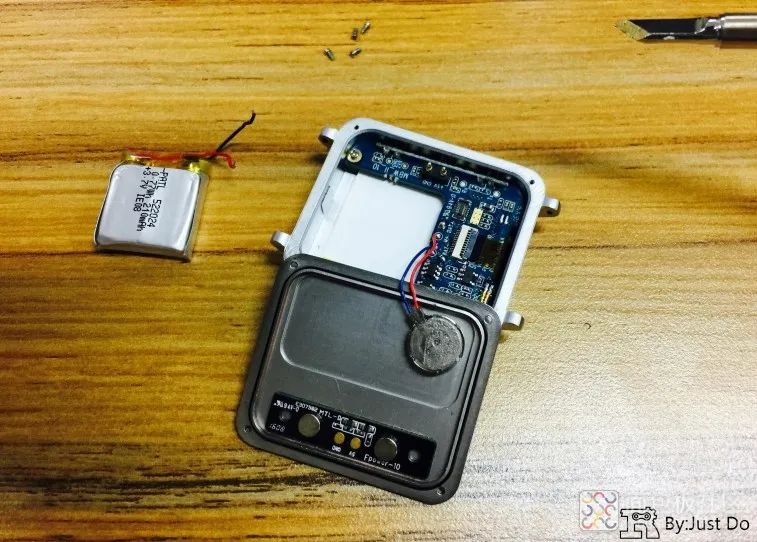 The motor was also removed. Set it aside and continue with the mainboard.
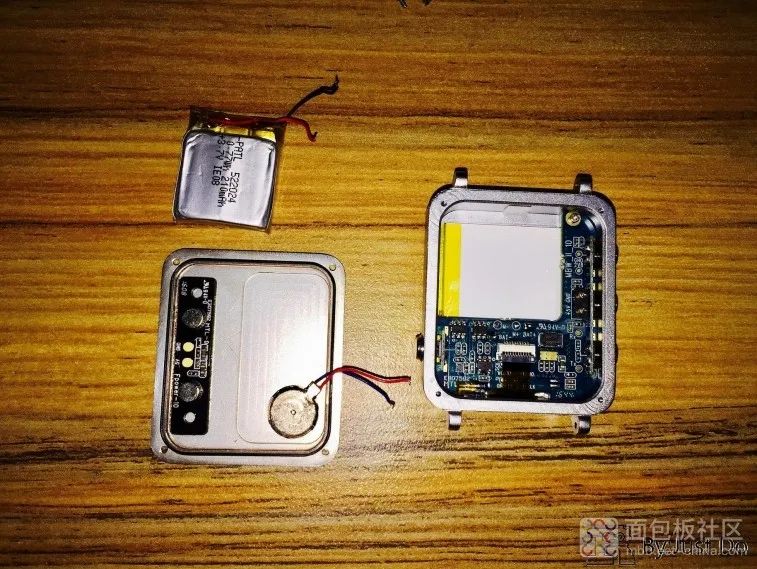 There is only one screw on the mainboard, which I decisively removed. (Later I found out that the screw seems to have other uses)
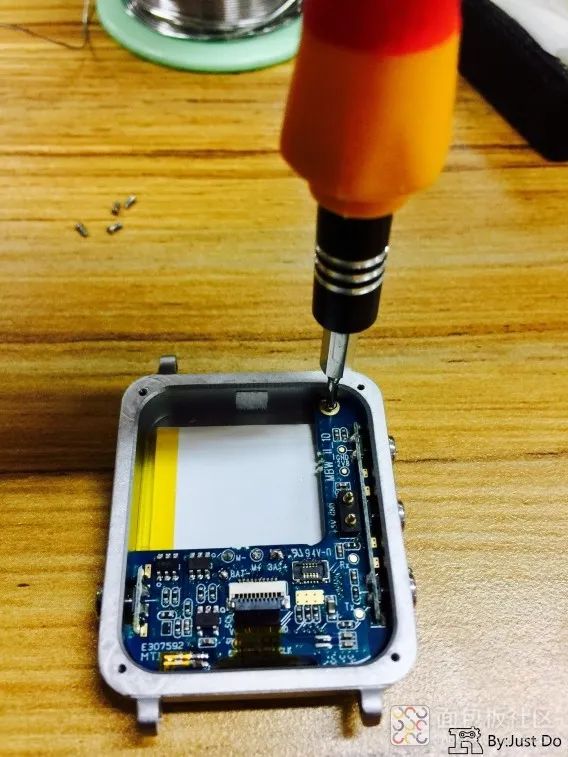 To remove the mainboard, I had to disconnect the screen’s ribbon cable.Gently pry open the ribbon cable socket with tweezers and pull it out.
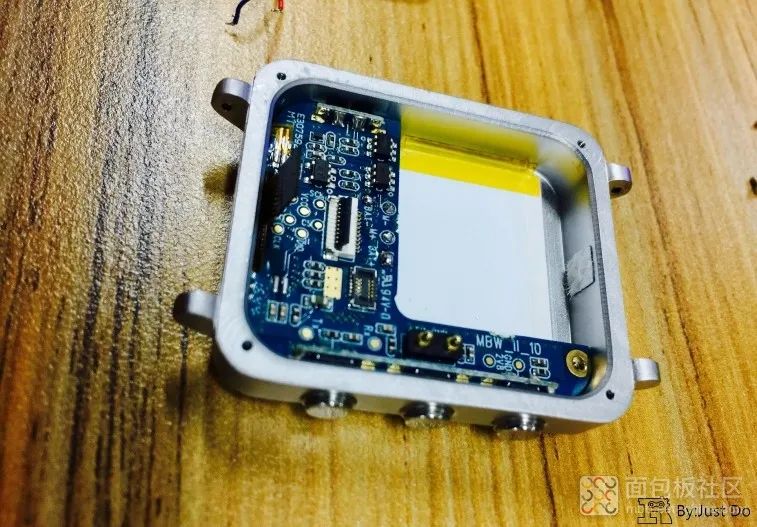 After removing the main ribbon cable, don’t think you can just pull out the mainboard. If you do, you might lose the backlight later. There is still a small ribbon cable at the bottom, which is for the screen’s backlight and is soldered on… It needs to be gently unsoldered with a soldering iron.
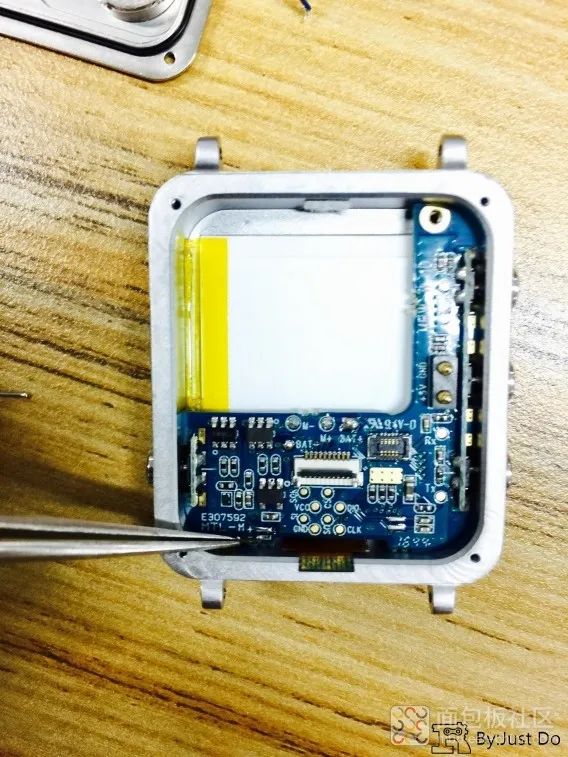 Then prying the mainboard a bit will allow it to come out.
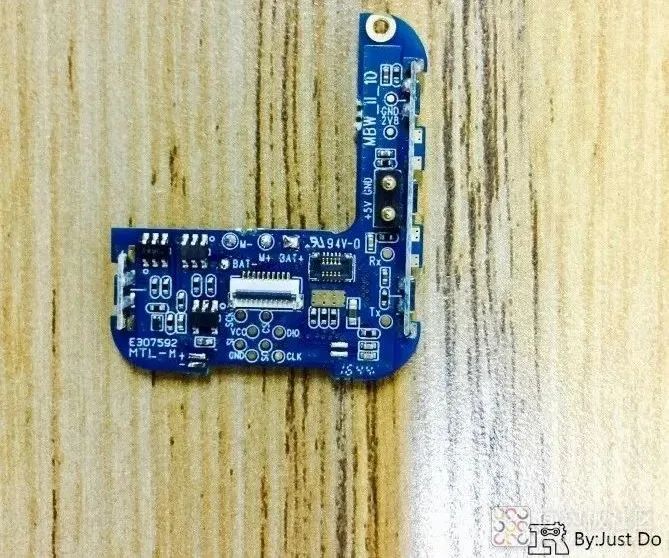
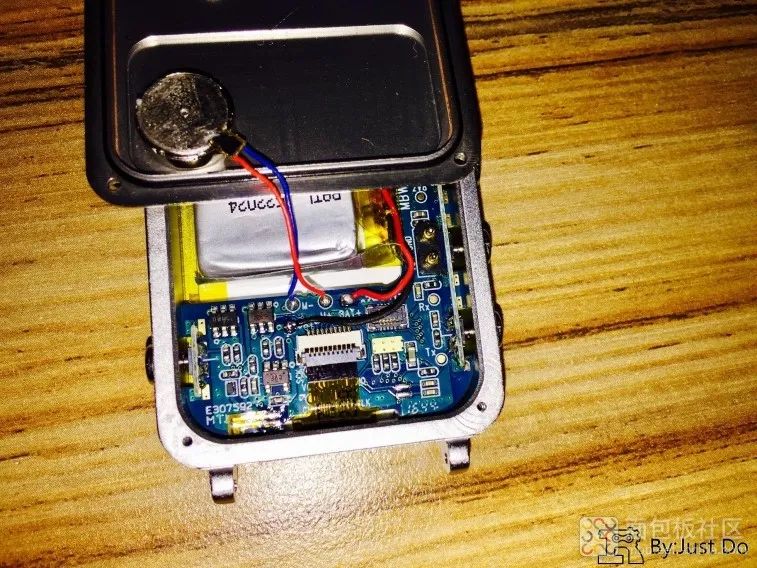
 On the back, there is an interface whose purpose is unknown; it might be for future heart rate upgrades. Let’s take a look at the main chip on the mainboard~~ The main changes in the enhanced version are mainly in this part.
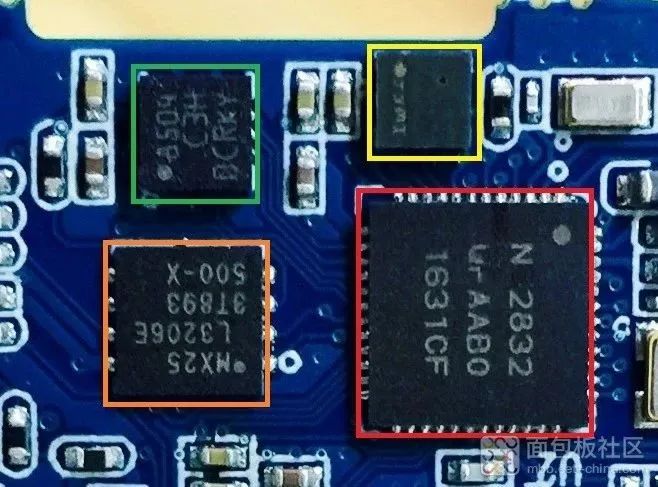 Red: Main Control NRF52832-QFAA-R 32-bit ARM® Cortex™-M4F CPU 512kB + 64kB RAM Supports low-voltage Bluetooth… Orange: Memory MX25L3206E32M-BIT CMOS SERIAL FLASH32M bits of memory, which is 4Mb, unique to the enhanced version.
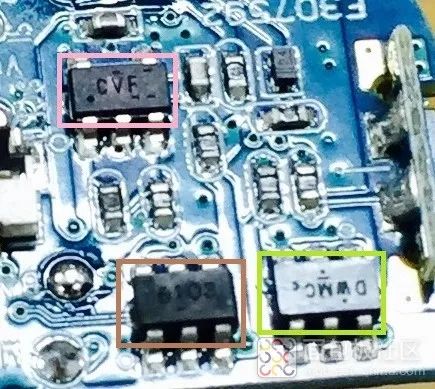 Pink: SN74LVC2G07 Power-related IC Brown: The silk print is 6103 Couldn’t find the information. Guess it should be a charging management chip? Yellow-green: DW01MC-SA Lithium battery protection chip. If you’re interested, check out the brief introduction at the bottom; I won’t translate it. If you want to know more details, just Google it yourself~The red box should be the Bluetooth antenna, connected to the screw hole there. No wonder. With an all-metal body in a closed environment, how does Bluetooth transmit? It turns out it’s connected through that screw at the beginning of the article (possibly the antenna in the outer shell and the black frame of the glass) to enhance the signal.
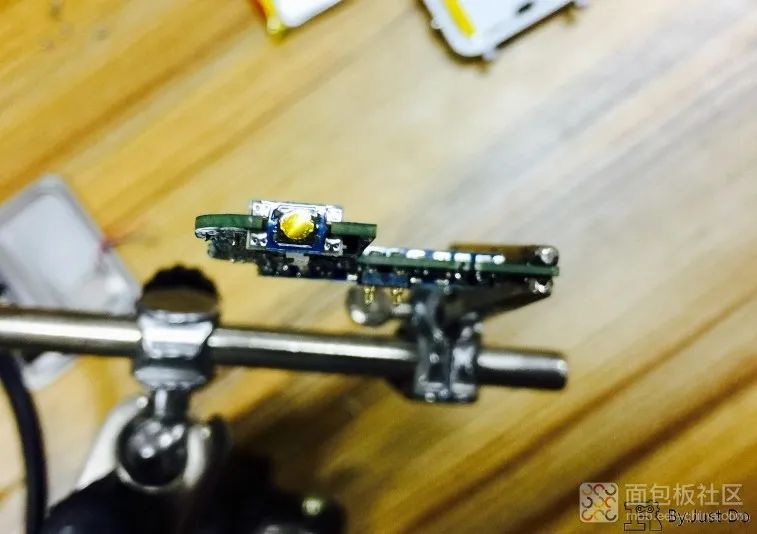
 Two close-ups of the buttons. Soldered vertically on the mainboard.
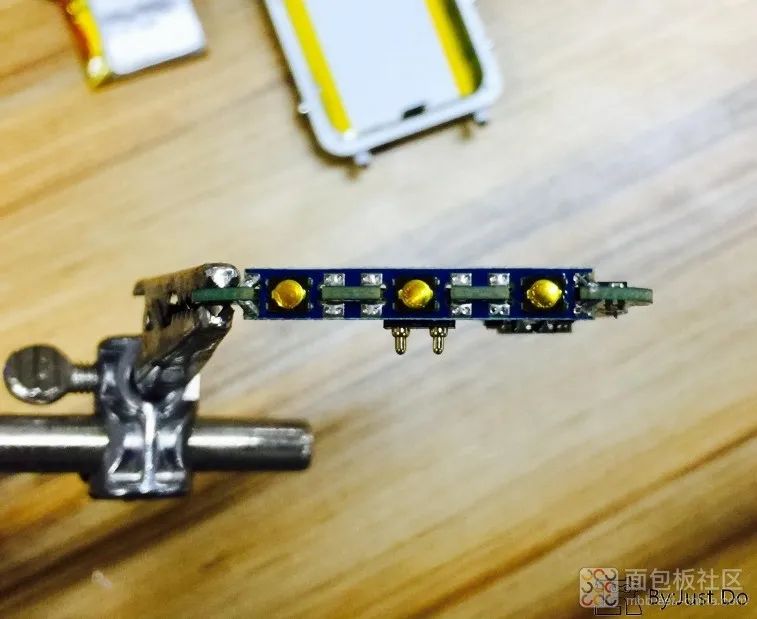
 Battery close-up of the 522024 model, 210mAh battery combined with the above power control, memory LCD, low-power main control, and software algorithm optimization, allows the Maibu to achieve such standby performance.
 Back cover close-up, a fairly common vibration motor, and the suction-type charging circuit board. There are some filtering circuits on top to eliminate the damage caused by contact voltage pulses to the circuit.
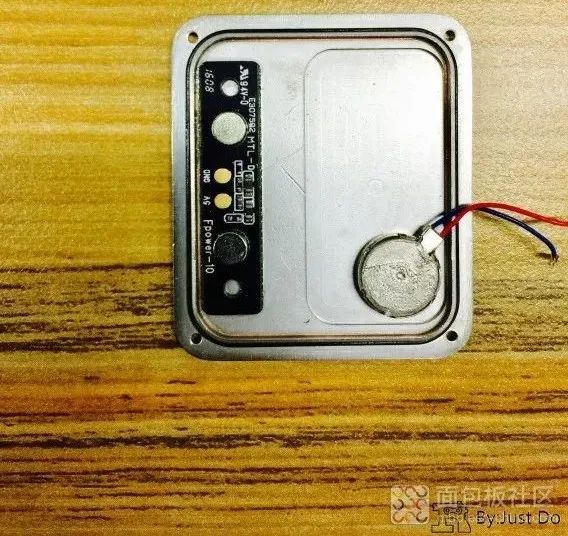 Next, the more controversial screen shell, it is indeed a bit heavy. But the weight varies from person to person; I feel it is quite suitable. Please note that there is a white part on the top of the picture. That is the filtering patch for the internal and external ventilation holes, and waterproofing is related to that. It can only let air in, not water. Some forum friends have worn the watch while washing hands or taking a shower, and then the air pressure doesn’t work well, right? It’s estimated that water got into this hole, unable to get in or out. So it’s better not to wear the watch while swimming or showering.
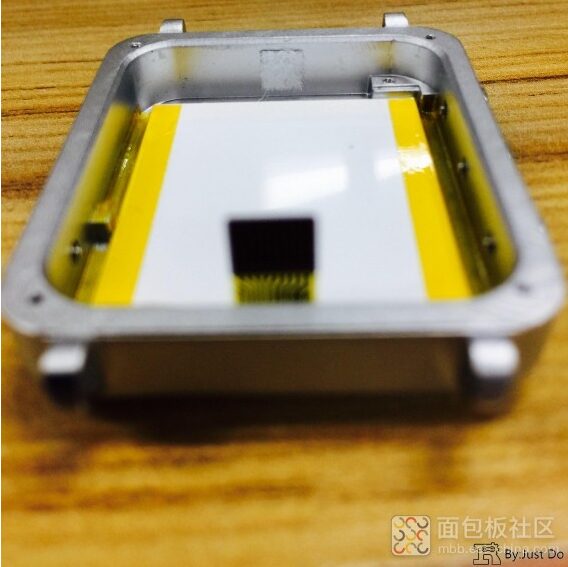
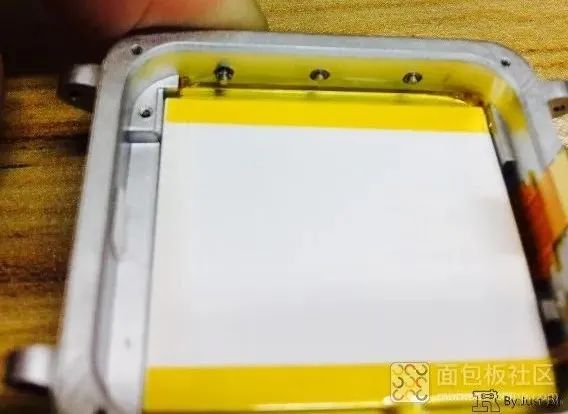 Disassembling the screen: tearing off the yellow tape fixed on both sides.
 Gently pry it up from one side, and it comes off.
 You can see the black edges on the screen~ This is a hard flaw, the hard flaw of the screen. Because the LCD needs power to move, the black frame contains fine lines. Only when the screen supplier solves this problem can the wide frame issue be resolved like that of smartphones.
 Silk print M2852D1, I don’t know which supplier it is..
 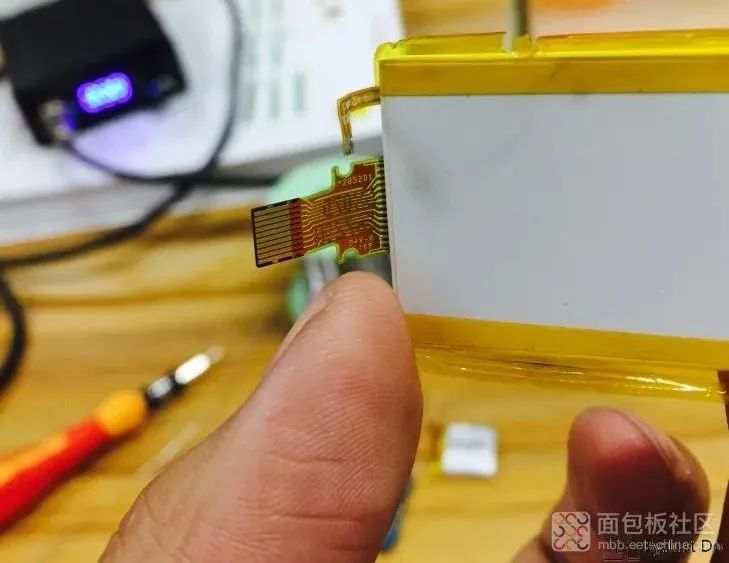 With the thickness of the shell, this display size seems to be maximized.
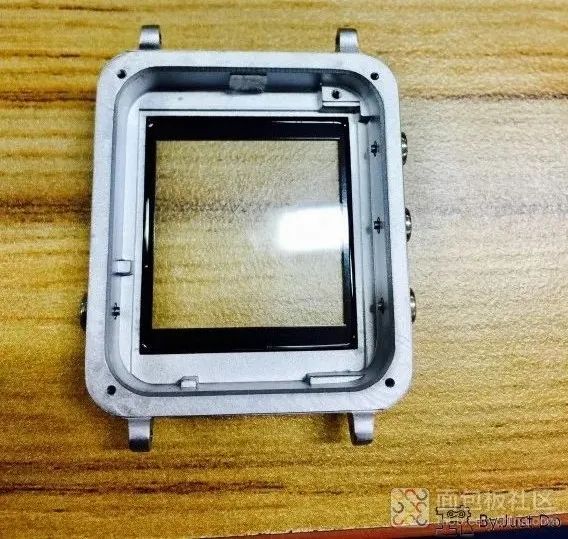 Finally, a family photo~
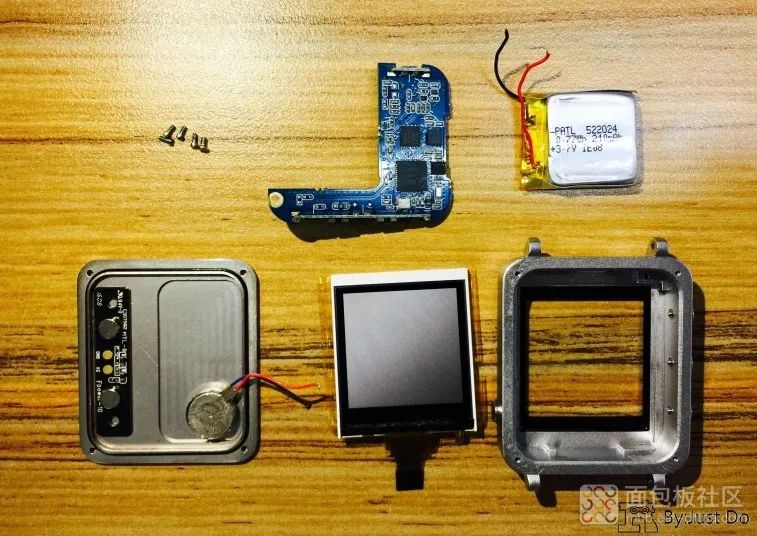 Installation section
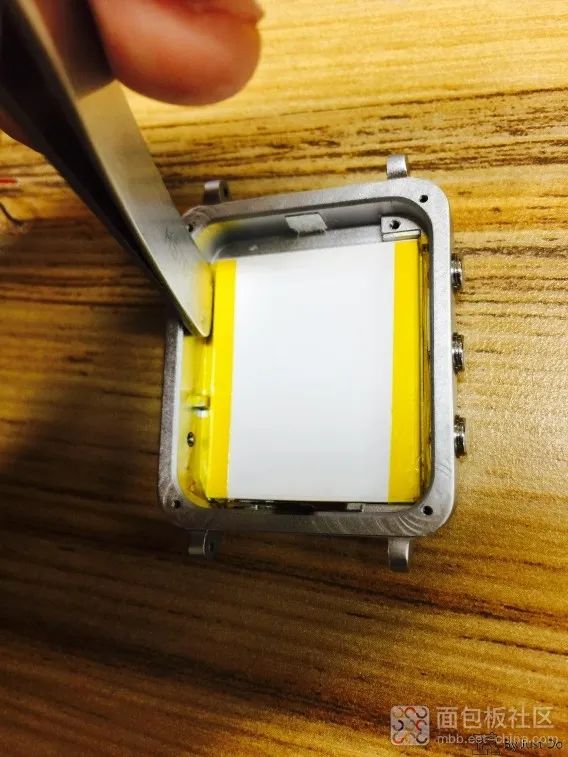 Put the mainboard back, screw it on. Solder the small ribbon cable and plug in the large ribbon cable.
 Solder the motor and battery back on.
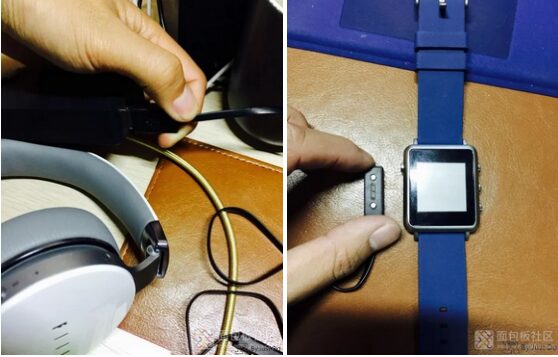
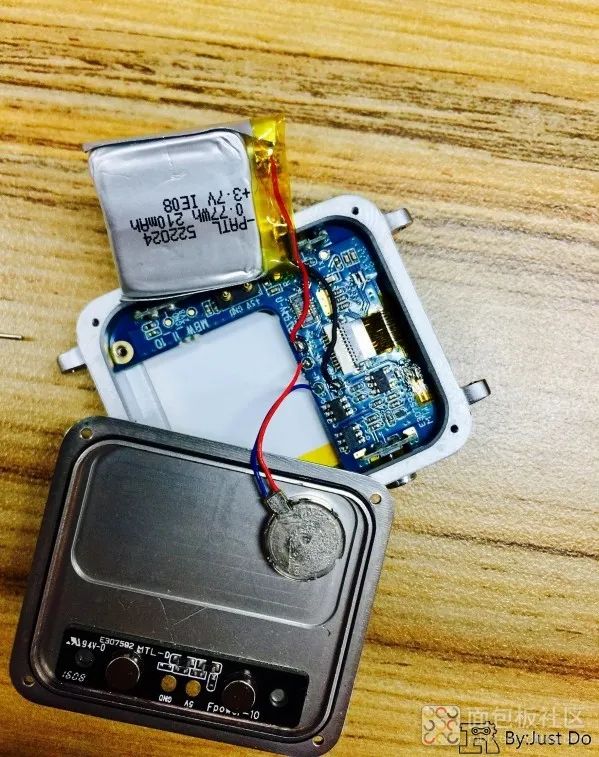 It took just a few minutes to finish, and I tried to power it on. Why isn’t it responding!!
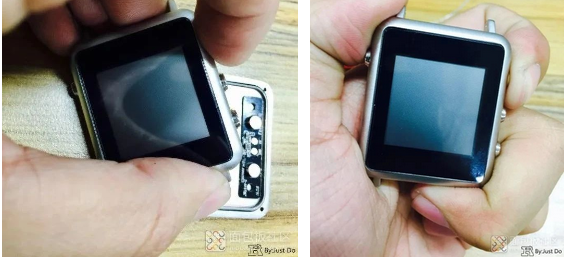
 Author: JustDo, Blogger at Breadboard Community
END