Using OLED Screen with Arduino Uno (Basics)

Using OLED Screen with Arduino Uno (Basics)

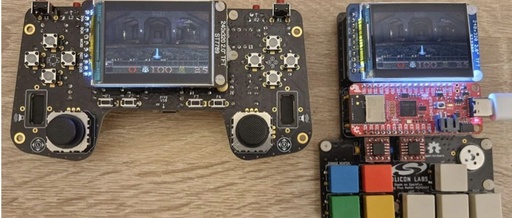
Experiment Effect

A simple demonstration of how to light up the OLED screen with Arduino Uno and display some simple English or characters.

Note! This example uses an OLED screen with an SSD1306 chip, please confirm whether the OLED screen you have uses the same model chip.

Component Description

Using OLED Screen with Arduino Uno (Basics)

The OLED display does not require a backlight, thus it can achieve very good contrast in dark environments. Additionally,

Driving Nokia 5110 Display with Arduino

In this article, we will learn how to use Arduino to drive the Nokia 5110 display. Previously, I learned how to drive the Nokia 5110 display with Raspberry Pi to show system information.

1. Hardware Connection

#define PIN_SCE 7#define PIN_RESET 6#define PIN_DC

Design of a Microscopic Observation Platform Based on Arduino

Abstract

In order to simulate the moisture absorption performance of clothing fiber in textiles, an experimental platform that can manipulate and observe mesoscopic liquid was designed. This experimental platform can compile an executable program and upload it to Arduino development board to control the pulse signal of stepper motor, and then make the stepper motor and digital microscope to achieve micro-scale high-precision spacing control and observation. The change of droplet morphology was observed by controlling the fiber spacing. It was found

Measuring Young’s Modulus of Metal Using Arduino Microcontroller

Measuring Young's Modulus of Metal Using Arduino Microcontroller

Abstract

Measuring Young's modulus is a fundamental experiment in university physics. This paper designs an experimental device and method based on Arduino to measure the Young's modulus of metal using the optical lever amplification method, introducing a photosensitive resistor to measure the small deformation of the brass rod under different stress conditions. The results show that the measurement accuracy is relatively high. This experimental design can effectively stimulate students' interest in experiments,

Ding Dong~ Your Prize Package, Please Sign for It!

To help more people understand and learn to use laser cutting technology and application design, and to promote the substantial development of science and technology education, the 3D Education and Equipment Specialized Committee of the China Simulation Society held the "Laser Creation, Open Source Sharing" 2020 annual laser cutting creation case collection event, which successfully concluded in December 2020.

This event received enthusiastic responses, not only did it receive a large number of wonderful works from contestants, but it also received

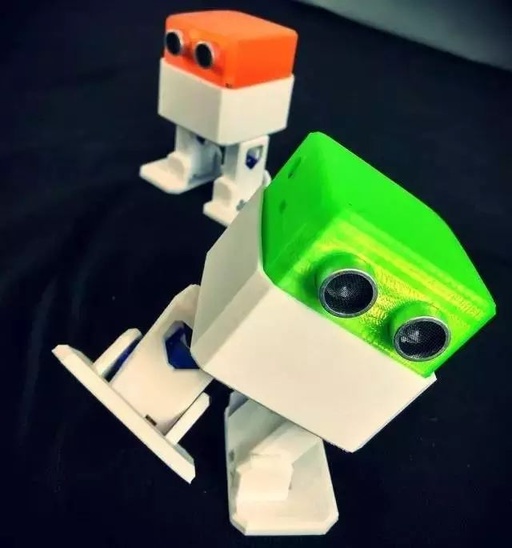
How to Create an OTTO Robot: A Step-by-Step Guide

How to Create an OTTO Robot: A Step-by-Step Guide

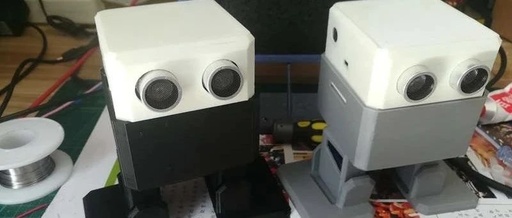
OTTO is an open-source small robot, using an Arduino Nano board with an IO expansion board. It is powered by four SG90 9g servos and supports ultrasonic sensors in the standard DIY version. Programming can be done using tools like Arduino IDE or mBlock. It's simple and fun.

All files can be obtained from its official website, including 3D printing model files and installation files, etc. The website is https://www.ottodiy.com/

Open Source Social Robot Kit for Raspberry Pi and Arduino

Open Source Social Robot Kit for Raspberry Pi and Arduino
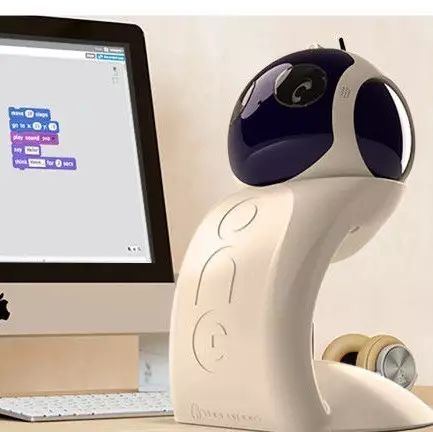
The "Q.bo One" robot released by Thecorpora is based on RPi 3 and Arduino, and provides stereo cameras, microphones, speakers, as well as visual and language recognition.
-- Eric Brown
Compiled from | http://linuxgizmos.com/open-source-social-robot-kit-runs-on-raspberry-pi-and-arduino/ | Author | Eric Brown | Translator | geekpi

The "Q.bo One" robot released by Thecorpora is based on RPi 3 and Arduino, and provides stereo cameras, microphones, speakers, as well as visual and language recognition.

In 2010,

Creative Kids and Technology: Building Arduino Expansion Boards and Sensors

Creative Kids and Technology: Building Arduino Expansion Boards and Sensors

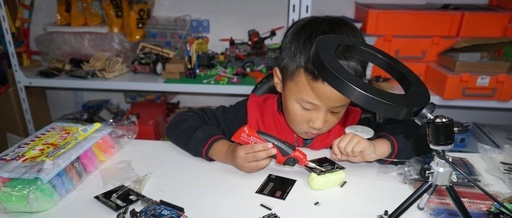
The little friend Qiu Qiu made

“The Running Box”

Had a lot of fun playing

Creative Kids and Technology: Building Arduino Expansion Boards and Sensors

Feeling happy

Also developed a strong interest in circuit boards

Asked many questions

Wants to make a set by himself

Creative Kids and Technology: Building Arduino Expansion Boards and Sensors

There happened to be

an Arduino expansion board designed by

the students of “Sunshine Little Maker” LEVEL-4

and an empty PCB board

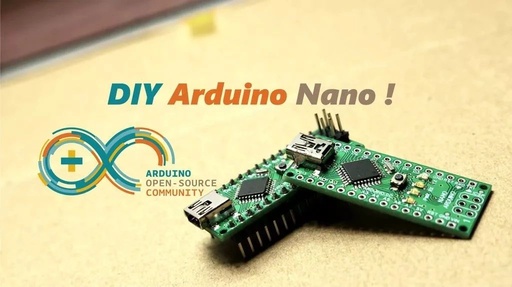
Step-by-Step Guide to Creating Your Own Arduino Nano

Step-by-Step Guide to Creating Your Own Arduino Nano

MAKER: samvanhook / Translated by: Fun Without End Cherry

Since Arduino has officially open-sourced the complete hardware scheme, creating your own Arduino has become possible. All you need to do is prepare the required components, use the PCB files provided below to get the PCB made, and you can solder your own Arduino Nano. If you can modify the PCB files, you can also adjust them according to your needs (a

Back to Top
Product has been added to your cart
×